
Ever planted something in your garden and later couldn’t remember what it was? If you want to keep your plants organized, using plant markers is an easy and practical solution.

With these simple and creative plant marker ideas, you can clearly label your garden and always know what is growing where. This will save you time and effort while helping your garden stay neat.
1. Painted Stones for Your Garden

You can create garden markers by painting smooth stones with waterproof paint or markers. These stones hold up well in all weather and fit naturally into your garden’s look. Using painted stones makes it easy to label plants while adding a simple, lasting touch.
Recommended Products

1.Value Set: Darfuke Plant labels include 120pcs, enough plant markers to meet your different needs, and a free marker pen for you, which can help you to mark all kinds of plants, flowers, seeds and vegetables with garden markers.
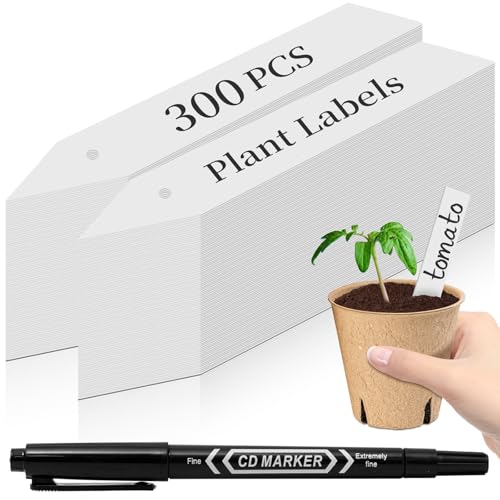
【Package Included】 The package include 300pcs plant labels and 1 permanent marker pen. Labels size: 4" (100mm) length and 0.62" (16mm) width. Sufficient plant labels and dual tip permanent marker pen can meet your various needs.
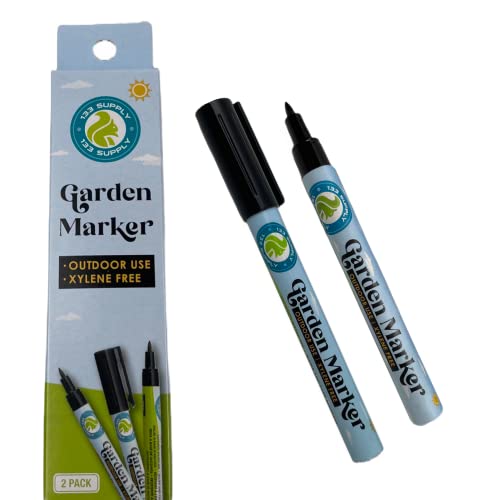
2 PACK GARDEN MARKER PENS ( NO PLANT TAGS) 2 Pack of Garden Markers Pens (no plant labels) - labeling your gardening plant labels markers, outdoor or indoor herb garden, wood crates, flower pots, signs, plant pot, garden tools, tool kit, and outdoor greenhouse planters, seed starter tray, nursery pots, plastic tray, gardening gloves, and much more has never been easier! A great addition to your gardening supplies!
2. Wooden Spoons

You can use wooden spoons as simple and natural plant markers. Paint or write the name of each plant on the handle or scoop. Place them directly into the soil. These spoons break down over time and add a warm, cozy feel to your garden space.
Recommended Products

【Perfect Size】These plant labels size:6x10cm (2.4x3.9 inch),suitable for most plant pots and plants,enough room to write,Package contains 100 Pcs Plant labels,Value for money
3. Cork Labels with Wooden Sticks

You can turn wine corks into useful plant labels by writing the plant’s name on each cork with a permanent marker. Then, push the cork onto a wooden skewer or stick to create a simple, durable marker. This method is cost-effective, water-resistant, and a neat way to organize your garden.
Recommended Products

200 Pcs VALUE FOR MONEY: This pack includes 200pcs of plant labels, enough quantity to meet more plants in your garden.

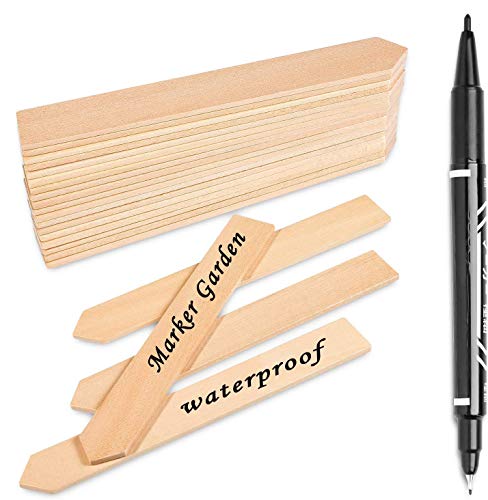
PREMIUM WOOD MATERIAL: These plant labels are crafted from 100% natural wood, making these garden supplies environmentally friendly choice compared to plastic alternatives. Unlike plastic plant markers that contribute to waste, these garden labels are biodegradable and renewable, ensuring a minimal environmental footprint. Whether you're labeling vegetables, flowers, or herbs, these garden plant markers blend seamlessly with nature while keeping your garden organized

Straight,Smooth,Nicely finished wood.Easy to write on and stick in soil
4. Reusable Chalkboard Plant Tags

You can attach chalkboard labels to sticks or small boards to mark your plants. Writing with chalk or a chalk marker lets you easily change names as needed. These tags help keep your garden neat and allow you to update labels without waste. They offer a simple, tidy way to organize your plants.
Recommended Products

【Great Value Pack】:Our plant labels pack include 200 pcs white plastic plant tags 4 x 2.4 Inches (10x 6cm) with a bonus permanent marking pen. Enough plant markers can meet your different needs and white plant name tags will make plant header look clearer.

PACKAGE CONTAINS: This pack includes 100pcs labels, enough quantity to meet more plants in your garden, and more quantity has better cost performance.

♥30-Pack Metal Plant Labels: Set of 30 zinc metal labels made with galvanized iron, waterproof, rustproof, sturdy, corrosion resistance and the color will never change or fade
5. Using Clay Pot Pieces as Plant Labels

You can reuse broken clay pots by turning the shards into plant labels. Write the plant’s name on the curved side with paint or a permanent marker. These pieces give your garden a natural, earthy look that matches well with soil and terracotta containers.
Recommended Products

Size : Approx. 6.1 x 3.1 x 11.6cm/2.4x3.1x4.6inch. These mini chalkboards are made of environmentally friendly wood.

【Slate Plant Labels Size】0.8 inch x 6 inch(2 x 15 cm)

Package includes 4 pieces of fine point black permanent markers, suitable for applying in a home, gardening, work, and other kinds of long-term marking work, which can meet your daily needs.
6. Simple Popsicle Stick Labels

You can use popsicle sticks as easy and affordable garden labels. Write your plant names on them with a waterproof marker to keep them clear. These markers work well for small pots and seedling trays and are quick to make.
Recommended Products

[EASY TO USE]-KINGLAKE plant labels are pointed on end are easy and stiff flexible enough to stick in soil,both side are blank,you can write on any side,smooth edges,will not hurt your hand and plants

🌻【Great Value Pack】Compared to other brands, these HOMENOTE plant labels include 60 pieces and a bonus marking pen, allowing you to conveniently mark various types of plants, seeds, or vegetables with these durable garden markers.

🌻【Great Value Pack】Compared to other brands, these HOMENOTE plant labels include 100 pieces and a bonus marking pen, allowing you to conveniently mark various types of plants, seeds, or vegetables with these durable garden markers.
7. Small Slate Tiles

You can label your plants easily with small slate tiles. Use chalk or waterproof pens to write on them, making changes simple. These tiles fit well with clean, modern garden styles and can be reused season after season.
Recommended Products

[LARGE PLANT LABELS SIZE] -This set includes 10 pcs rectangular natural slate plant labels 4inch/10cmx2.8inch/7 cm, paired with 15.8inch/40 cm stainless steel metal stakes and 2 soapstone chalk pencils. The practical size provides large writing space for marking plant names, varieties and planting dates
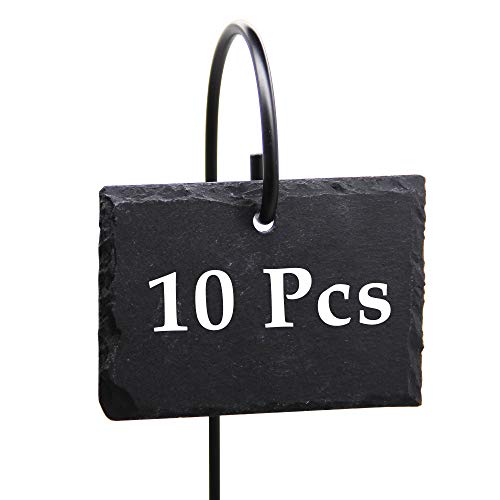
Best Choice of Plant Labels: Set of 10 slate plant labels designed to hang from the metal rods. Each plant label marker measures 2.7 x 3.9 inch with a thickness of 0.25 inch, stainless steel metal rod about 16.5 inch long. They're thicker, stronger, wider and easier to write on than other plant labels for garden classification.

Reliable and Weatherproof: our garden tags for plants are made of quality natural slate, coming with rugged and notched edges, not easily broken or broken, not afraid of the wind, rain and sun, reliable to serve you for a long time
8. Reusing Tin Can Lids for Garden Labels

You can turn old tin can lids into strong plant labels for your garden. Simply make a hole in the lid, write the plant’s name, and hang it or stick it in the soil. This method is a smart way to reuse kitchen waste while keeping your garden organized.
Recommended Products

DIMENSIONS: 10 inches tall by 7/8-inch-wide durable natural wood garden stakes, perfect for marking and identifying plants in your garden beds.
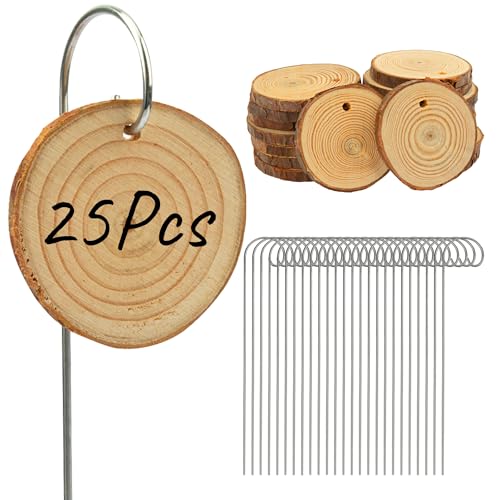
Package and Size: 25 x wooden plant label (approx 1.6~2 inch/4~5 cm, 0.5 cm thick), 25 x stainless steel stake (7.9 inch/20 cm).
Size & Quantity – 15.3 cm / 6" in length, 2 cm / 0.8" in width. Package Qty: 50Pcs Pointed Plant Labels + 1 Marker Pen. Double-sided writable tags, providing enough space to write
9. Carved Wood Discs for Plant Labels

You can create plant labels by carving or burning names onto small wooden discs. These markers bring a natural, handmade feel to your garden. They last a long time and work well in gardens with a rustic or woodland style.
Recommended Products

Erasable and Reusable: these 10 sets of slate plant markers are equipped with 2 pieces of stone chalks, mark the plants with the chalk or a permanent marker if you plan to reuse, and wipe with a damp cloth before relabeling

Set of 10 slate plant labels 4"x 2 3/4"

Set of 5 slate plant labels designed to hang from the metal rods
10. Using Mason Jar Lids as Plant Labels

You can turn mason jar lids into strong and stylish plant labels. Paint the lids or add labels inside them to mark your plants clearly. These lids also add a classic look and hold up well outside.
11. Engraved Vintage Silverware Plant Tags

You can transform old forks, spoons, or knives into durable garden labels. Use engraving tools or metal stamps to carve the names of your plants onto the handles. These markers resist weather damage and bring a nice decorative touch to your garden.
12. Painted Garden Labels with Stencils

You can use stencils to neatly paint plant names on wooden, metal, or plastic stakes. This method helps create clear and tidy labels. It adds a clean and attractive touch to your garden while keeping track of your plants.
13. Colorful Brick Tags

You can use bricks painted with outdoor paint to label your plants. Write the names clearly on each brick. Their weight keeps them in place, and they work well for bigger garden areas as both markers and small signs.
14. Corkboard Signs on Stakes

You can attach corkboards to garden stakes for easy and flexible plant labels. Simply pin your notes or cards to the corkboard, then cover them with a waterproof layer to keep them safe. This method works well if you often change what you grow or rearrange plants.
15. Using Old Plastic Utensils as Plant Labels

You can turn old plastic forks, spoons, and knives into simple garden markers. Write your plant names on the handles with a waterproof pen. Then, push them into the soil to mark each plant’s spot clearly and easily. This method saves money and reduces plastic waste.
16. Using Ceramic Tiles as Plant Labels

You can turn ceramic tiles into neat garden markers by writing the plant names with a permanent marker or paint pen. Place the tiles either flat on the ground or standing up next to your plants. These tiles stand up well to sun and rain, so they last a long time outside.
17. Laminated Paper Tags Attached to Wire

You can create plant labels by writing or printing names on paper and then laminating them. These tags are durable and protect against moisture. Attach the laminated tags to wire loops or stakes for easy placement. This method works well for short-term labeling in greenhouses or seed trays.
Recommended Products

Garden Magic with Gnome: Our garden markers plant labels feature adorable Gnome designs that are perfect for plant lovers. Place them in your garden and let them work their magical powers to protect your plants and help them thrive.

PREMIUM WOOD MATERIAL: These plant labels are crafted from 100% natural wood, making these garden supplies environmentally friendly choice compared to plastic alternatives. Unlike plastic plant markers that contribute to waste, these garden labels are biodegradable and renewable, ensuring a minimal environmental footprint. Whether you're labeling vegetables, flowers, or herbs, these garden plant markers blend seamlessly with nature while keeping your garden organized

Material: These vegetable garden markers are made from 100% natural bamboo, plant bamboo label is durable, does not pollute the soil, will not cause harm to the earth, and is environmentally friendly and renewable.