10 Creative Vertical Pallet Garden Ideas for Small Spaces
Last update on 2026-02-10 / Affiliate links / Images from Amazon Product Advertising API
1. Herb Kitchen Garden
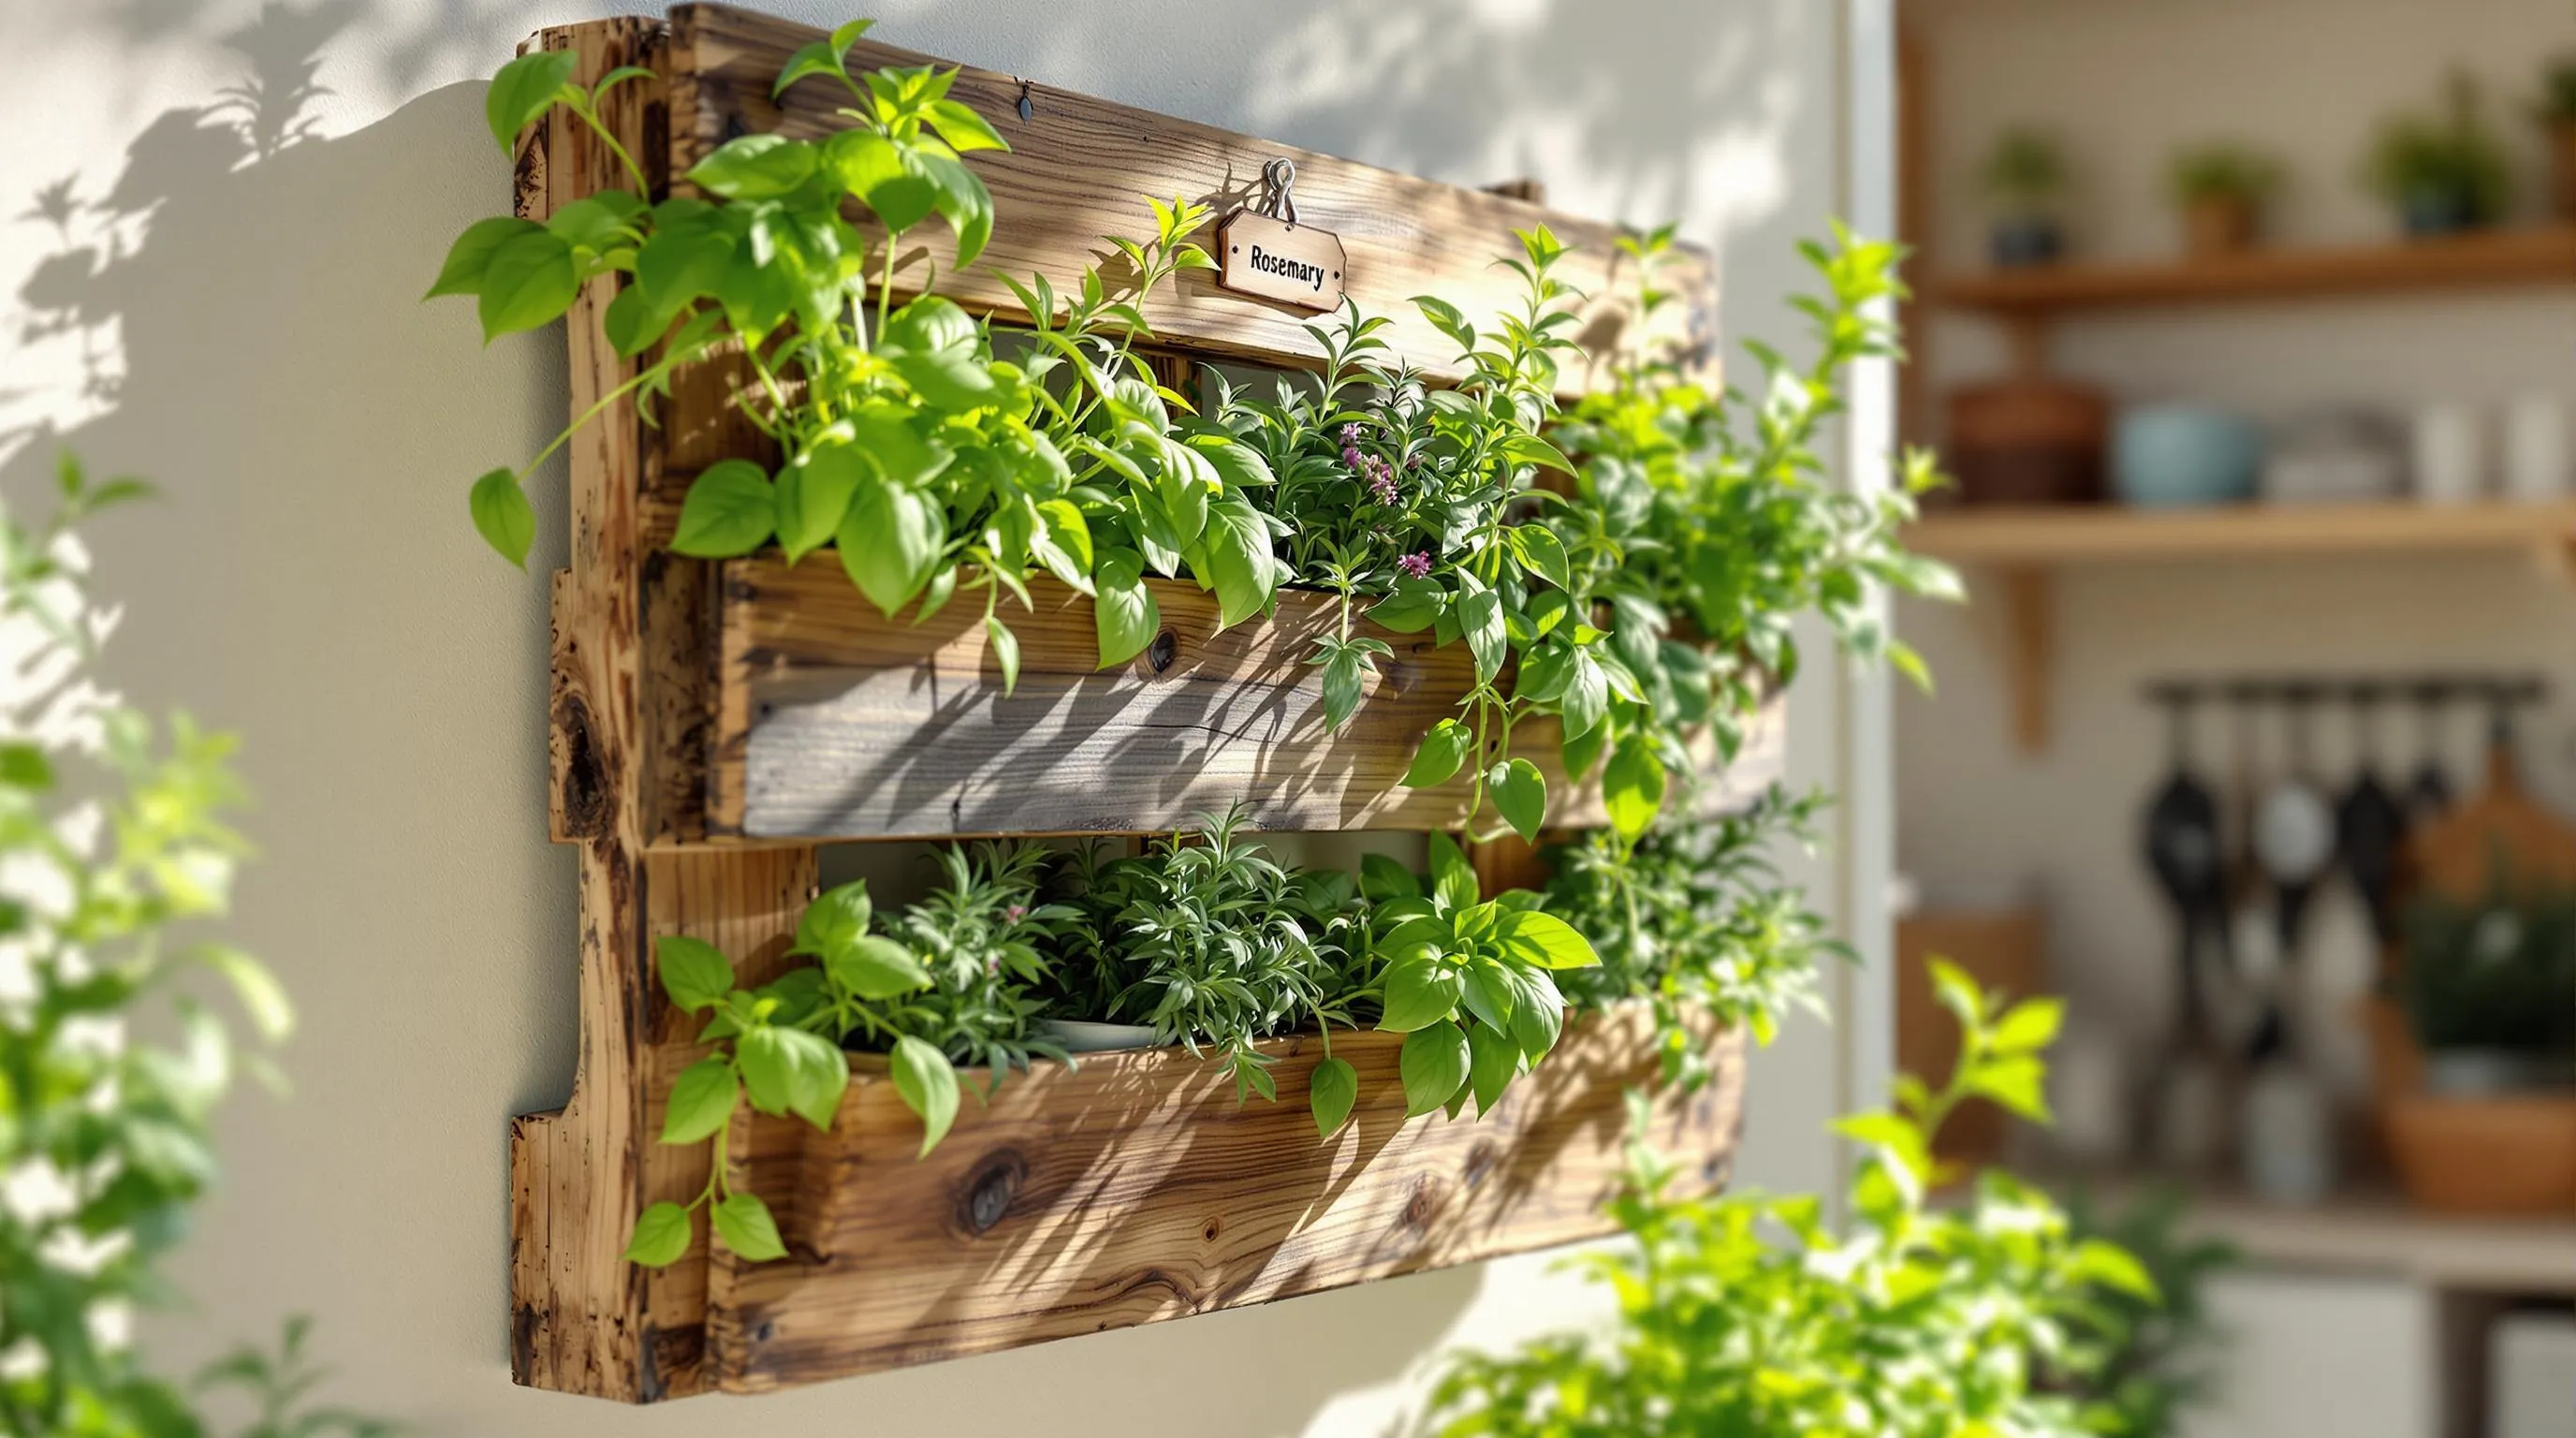
A vertical herb garden puts fresh flavors within arm’s reach. I’ve found mounting a pallet on a kitchen wall or balcony creates the perfect growing space for culinary herbs. Fill each row with basil, mint, thyme, and rosemary for easy access while cooking. Small wooden tags help identify each herb, making this setup particularly valuable in small kitchens where counter space is limited. For best results, place your herb pallet in a spot that receives at least 6 hours of sunlight daily.
2. Flowering Wall Display
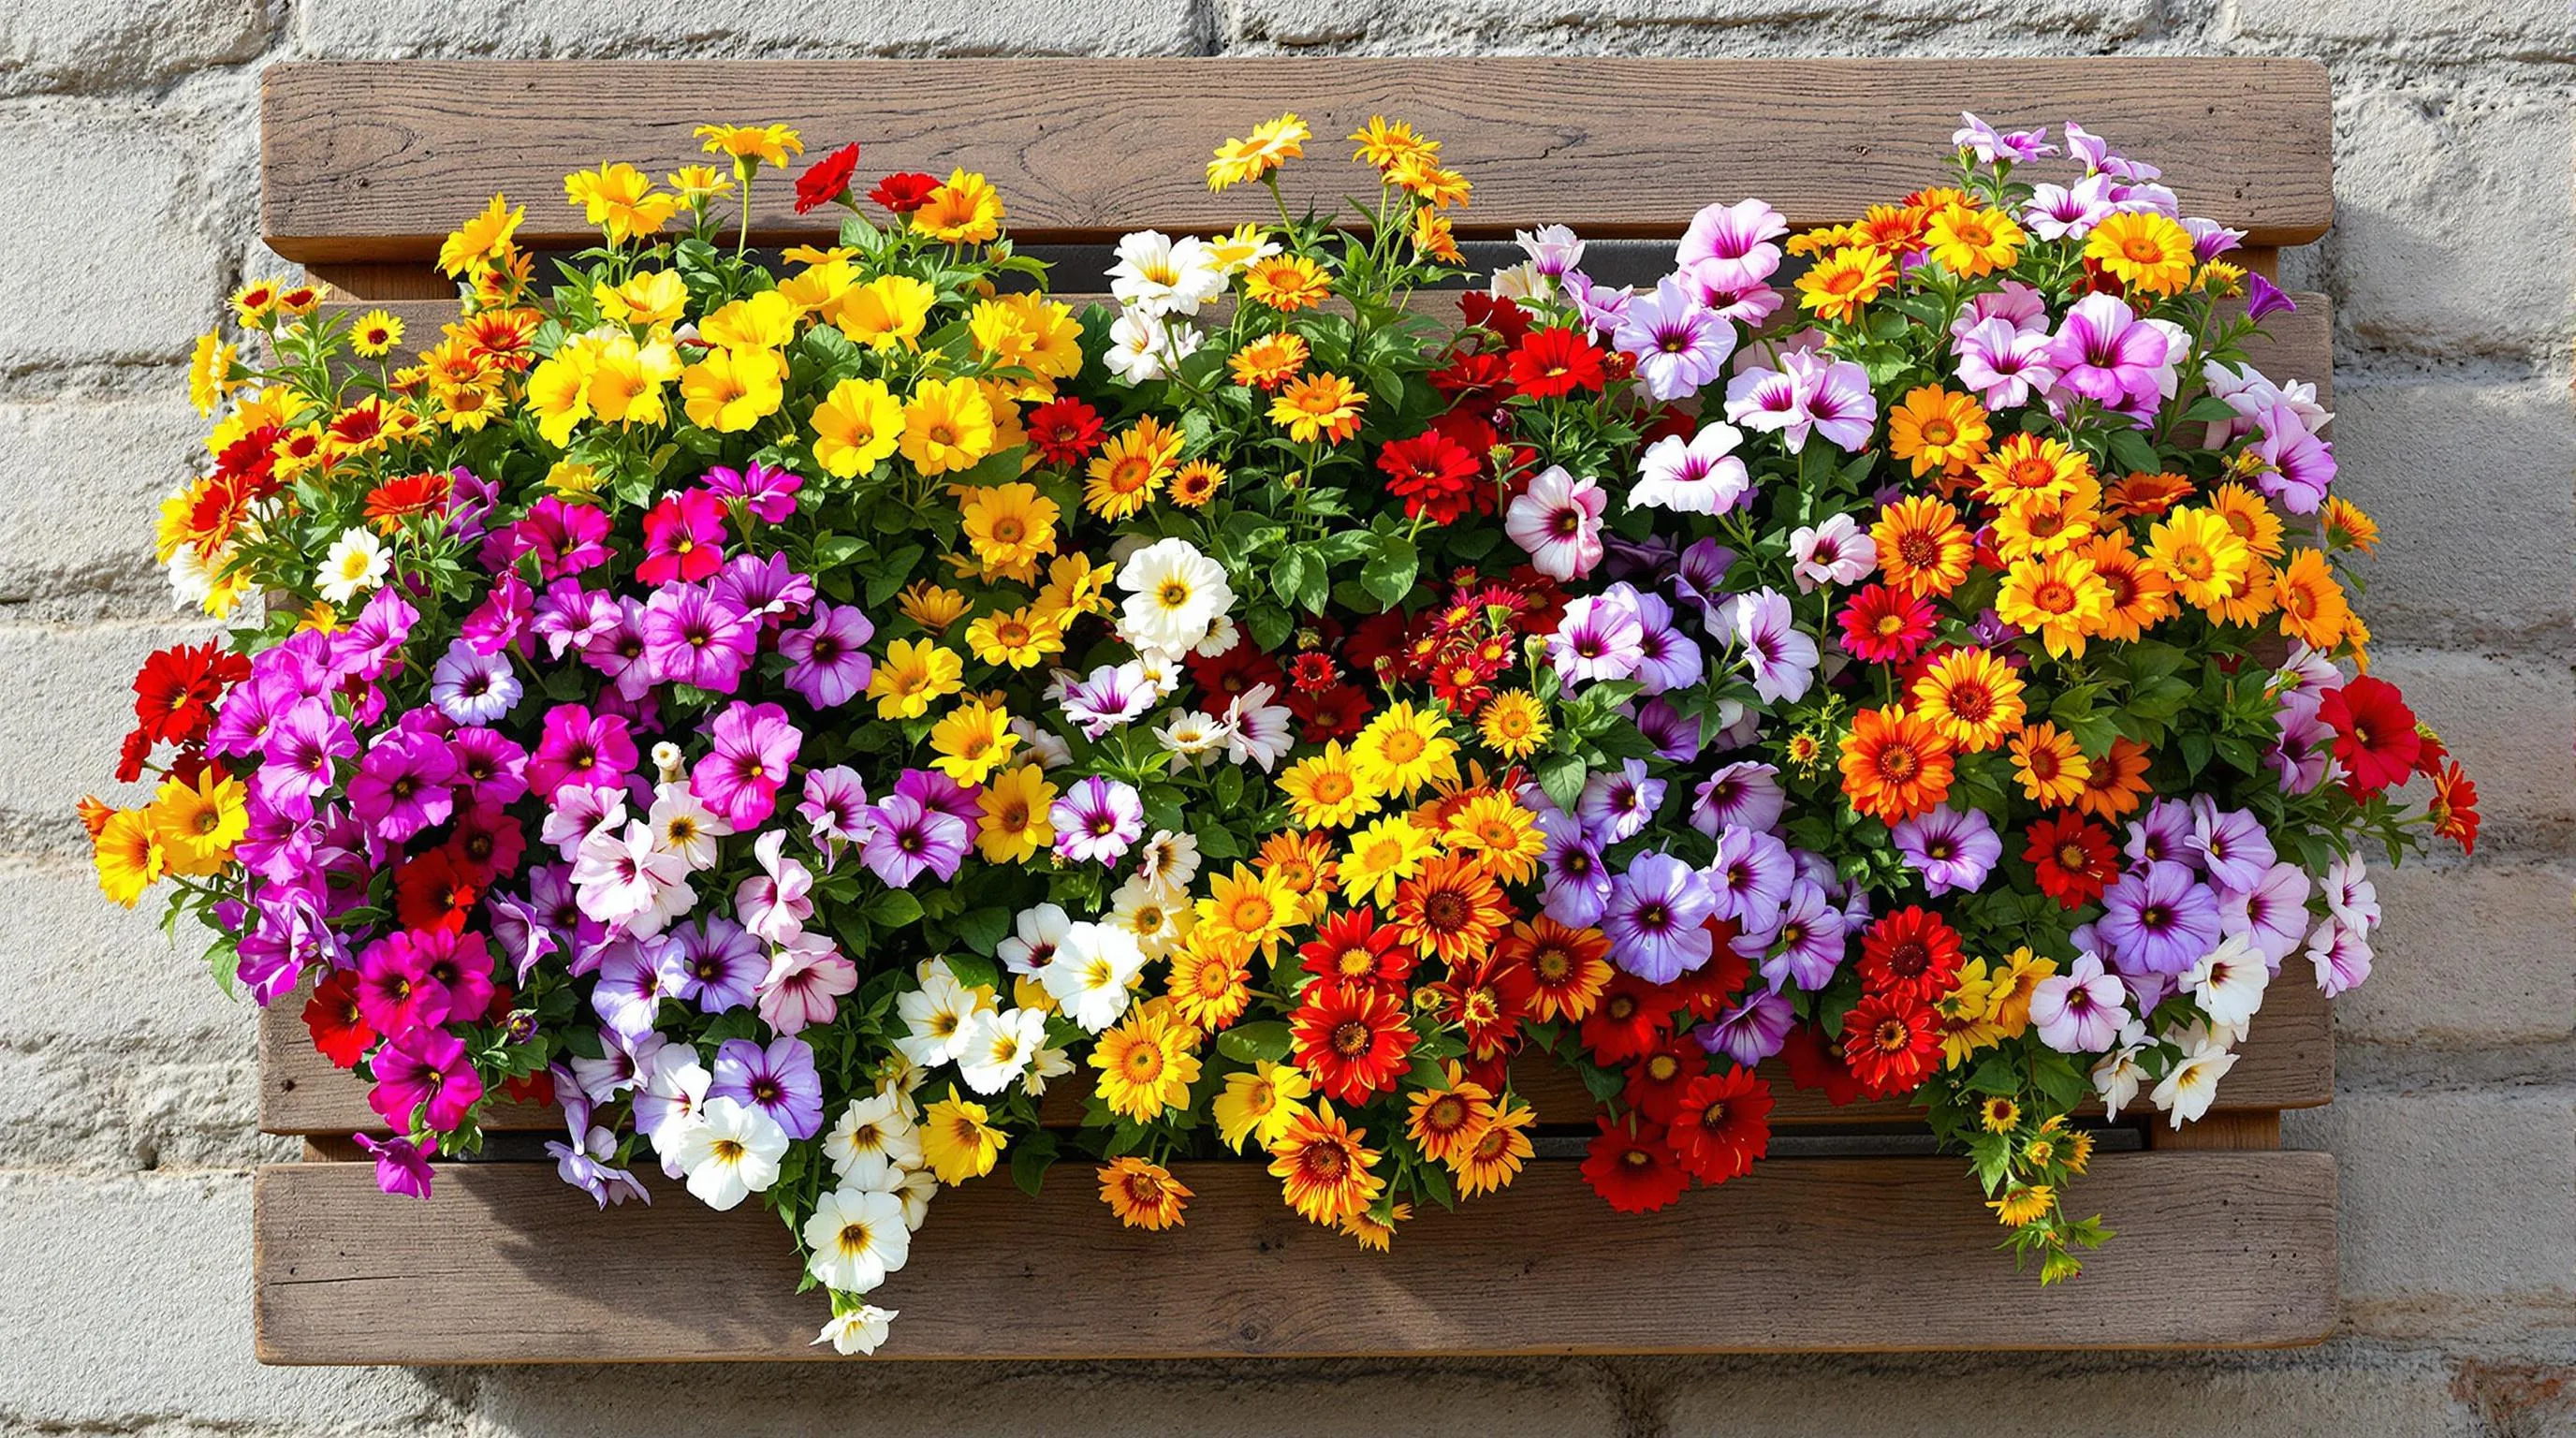
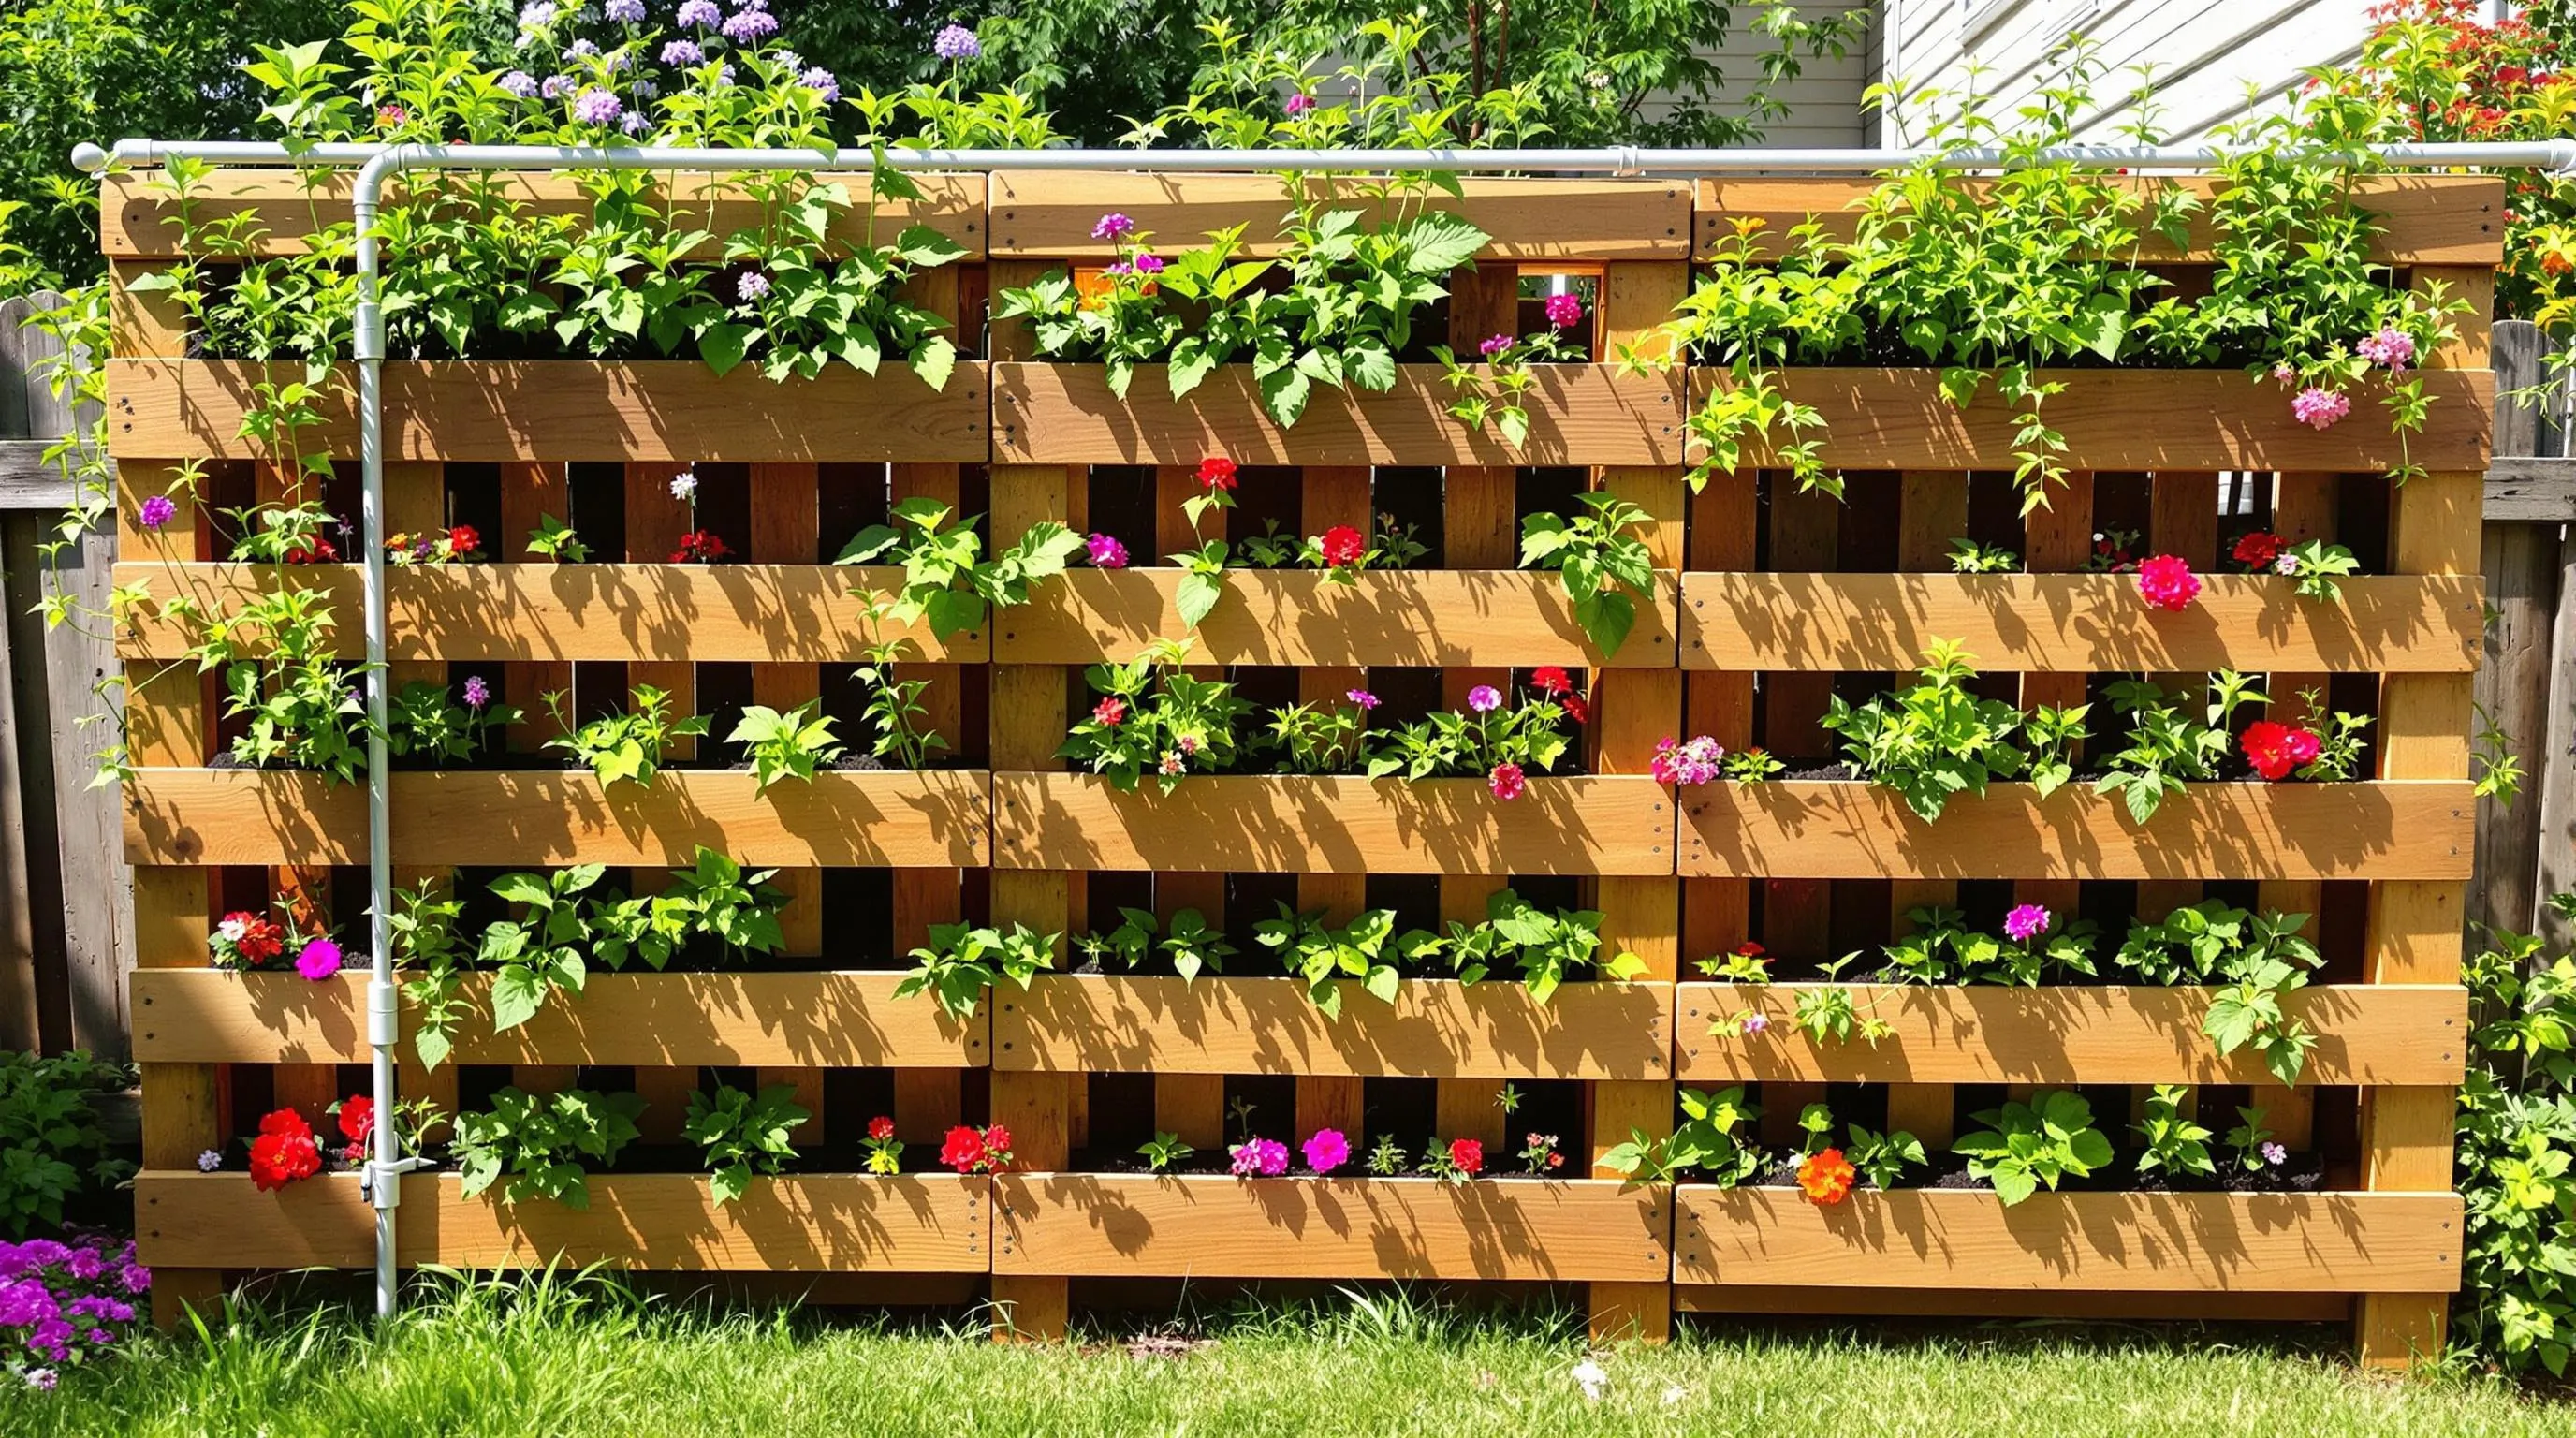
Turn a plain wall into a living display of color with a flower pallet garden. I recommend choosing flowers that thrive in similar light and water conditions. Mix heights and bloom times for year-round interest. Petunias, pansies, and marigolds work exceptionally well in these setups, creating a striking contrast against the wooden frame. This approach instantly adds vibrant color to otherwise dull outdoor walls while preserving valuable floor space.
3. Succulent Showcase
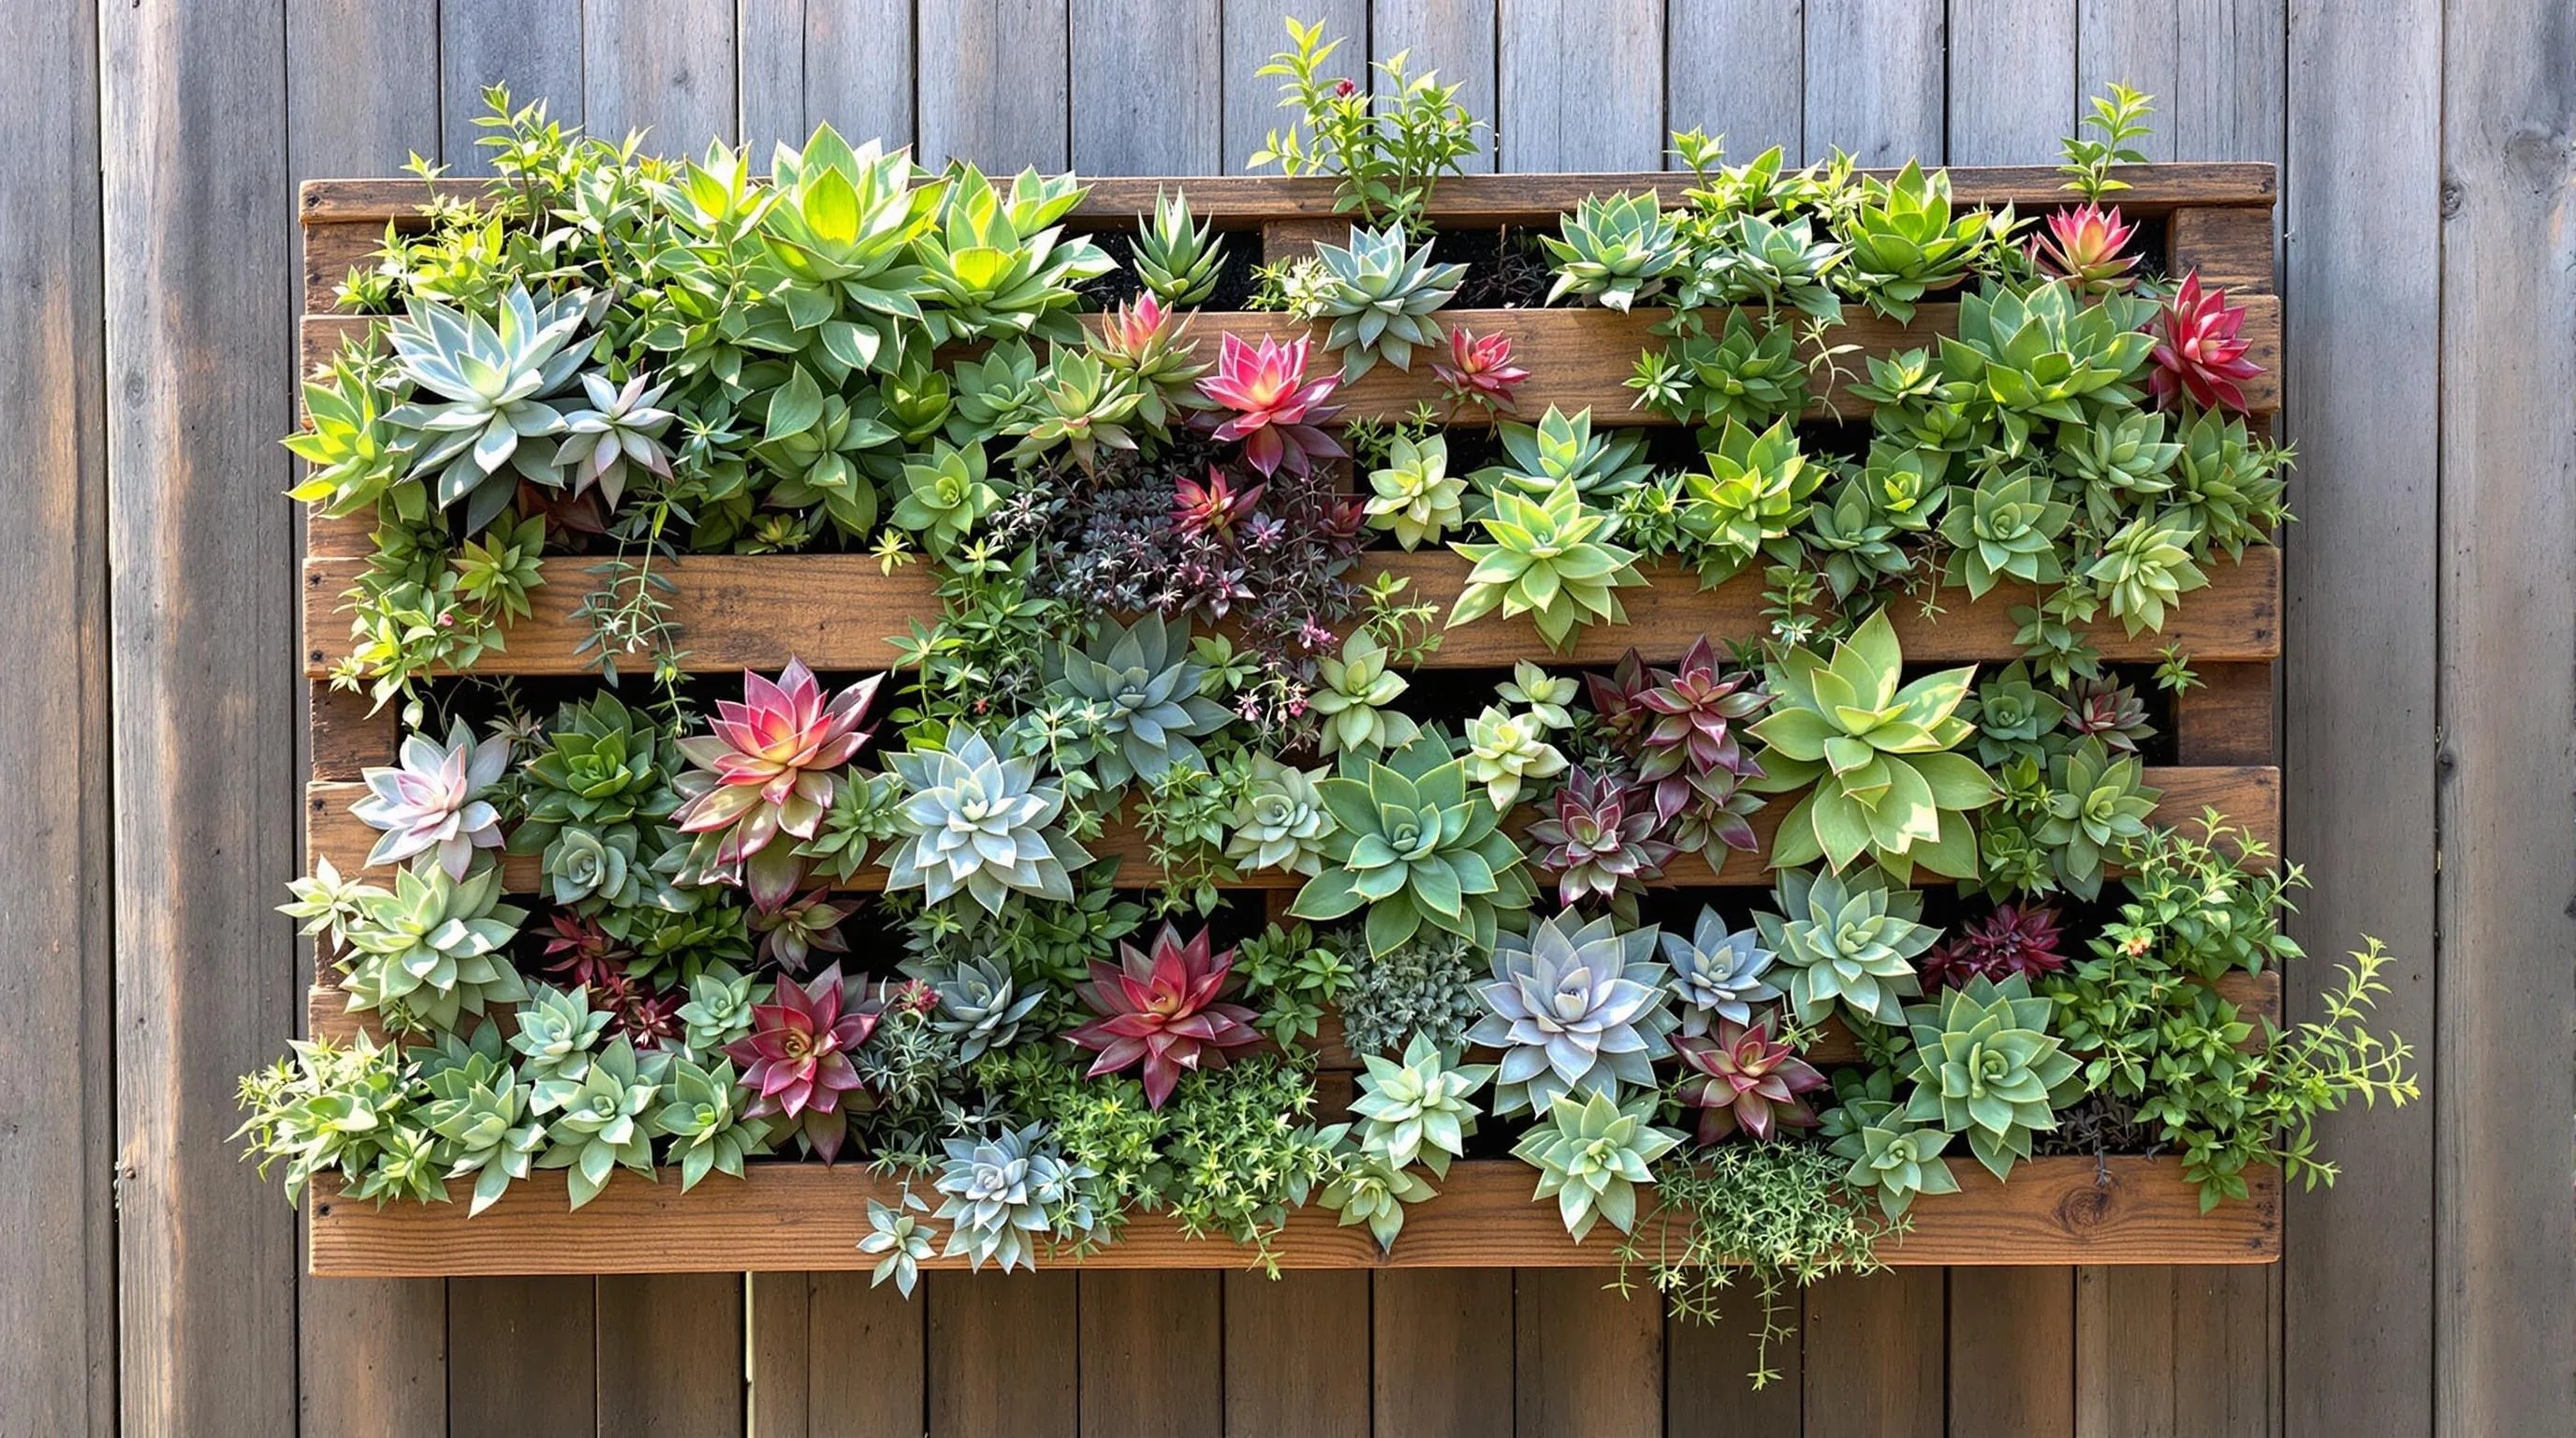
Succulents need little water and care, making them perfect candidates for vertical gardens. Their varied shapes and colors create eye-catching patterns when planted between slats or in small pockets of soil. I’ve discovered they thrive in sunny spots with good drainage, forming a striking pair with the natural wood texture. This design works equally well indoors or outdoors, with succulents slowly filling in over time to create a living piece of art.
4. Tiered Vegetable Garden
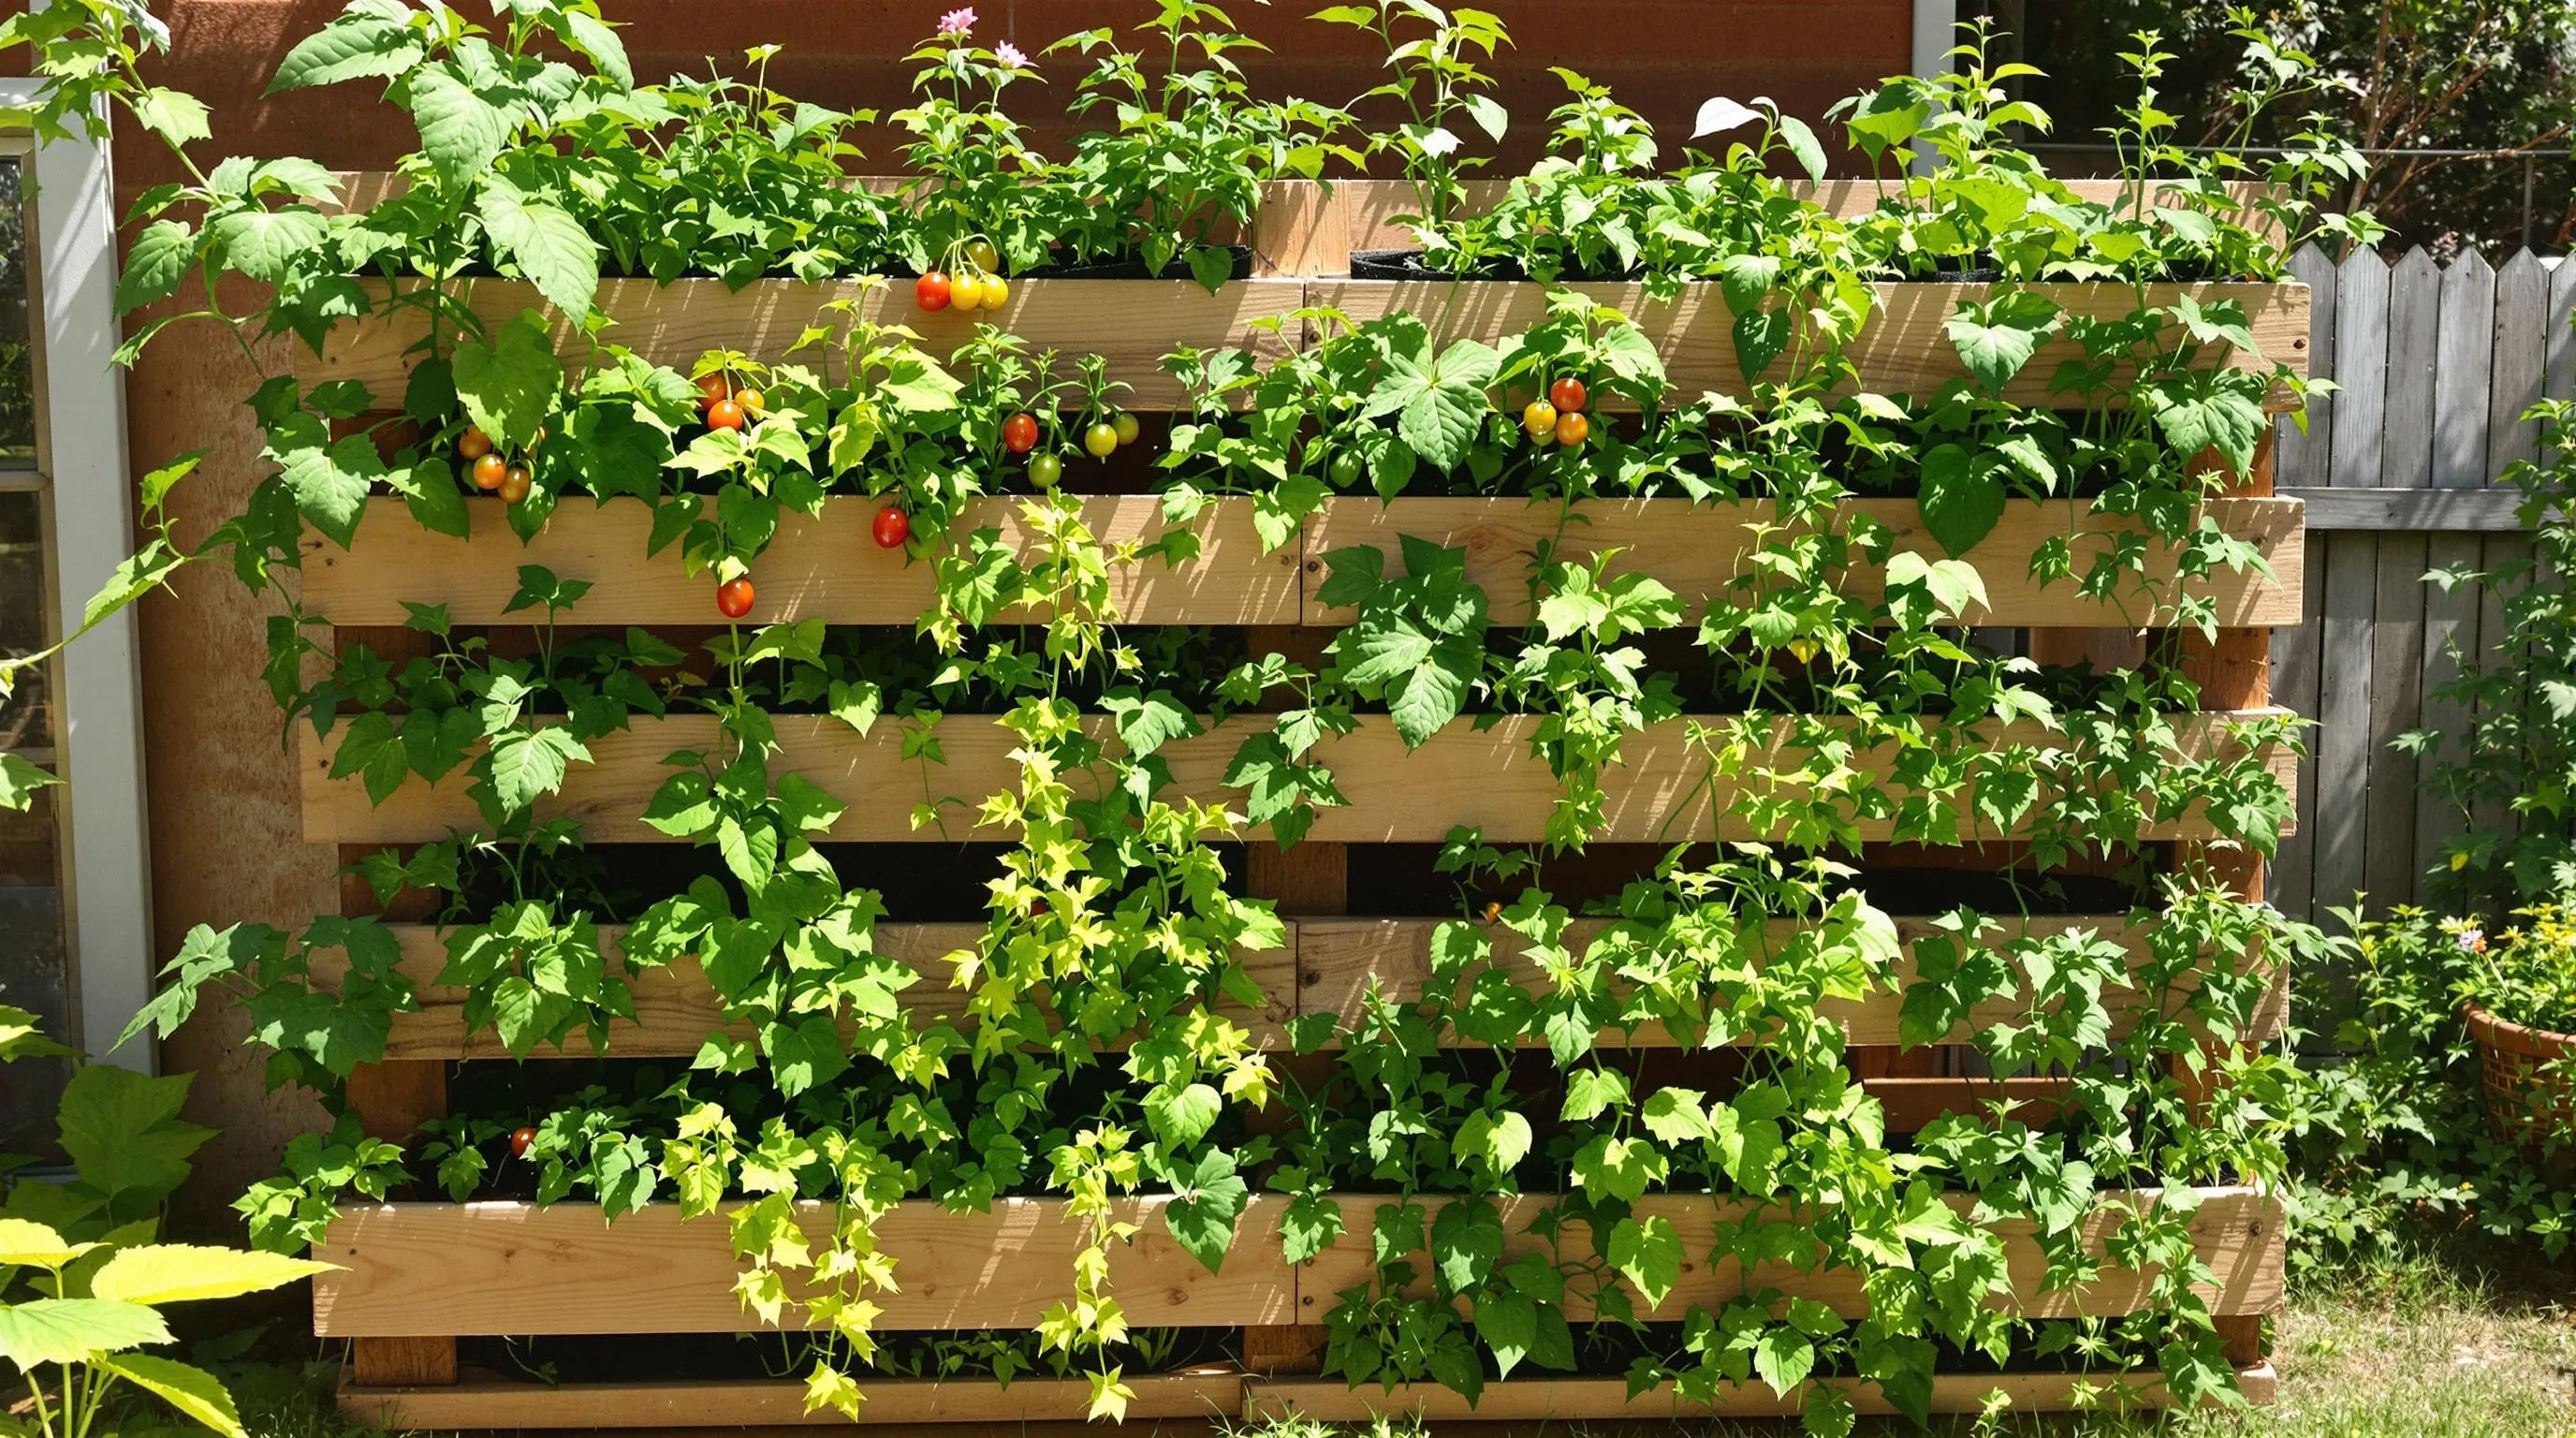
Grow your own food in a small space with a tiered vegetable pallet garden. Plant compact varieties of tomatoes, lettuce, and peppers in different levels. The design allows for good air flow between plants, which significantly reduces plant diseases. I love harvesting fresh veggies steps from my kitchen door. The vertical structure makes it easy to spot pests early, and you can install simple drip irrigation to water efficiently without waste.
5. Stepped Display Garden
This design uses pallet shelves to create tiers for plants, with each level holding pots or filled directly with soil. The step-like structure makes it easy to care for plants at different heights, especially beneficial for those with limited mobility. I’ve arranged mine with cascading plants on top tiers and upright specimens on lower levels, creating a ever-changing visual effect while maximizing growing space in a small area.
6. Indoor Living Wall
Transform an interior wall into a lush garden by mounting a sealed and finished pallet indoors. I recommend selecting houseplants that thrive in similar light conditions like pothos, spider plants, and peace lilies. Line the pallet with industry fabric to contain soil and moisture, protecting your wall from damage. This living wall improves indoor air quality while adding a striking natural element to your home décor.
7. Vertical Berry Patch
Grow space-hungry berries vertically by converting a pallet into a strawberry tower. Fill horizontal slats with soil and plant strawberry starts, allowing them to cascade downward. I’ve found that this method produces a surprising amount of berries while keeping fruits elevated off the ground, reducing rot and pest issues. This works equally well with small trailing berries like alpine strawberries that don’t require extensive space.
8. Shade-Loving Fern Wall
Create a lush green display for shaded areas using ferns and other shade-tolerant plants. I’ve successfully grown maidenhair ferns, Boston ferns, and coleus in vertical pallets placed in north-facing locations. The natural wood complements the rich greens beautifully, bringing life to otherwise difficult growing spaces. This setup thrives with regular misting and creates a cooling visual effect in hot summer months.
9. Seasonal Color Rotation
Design a vertical pallet garden with interchangeable pots that allow for seasonal rotations. I use small hanging pots that hook onto the pallet slats, making it easy to swap plants as seasons change. Spring bulbs give way to summer annuals, followed by fall chrysanthemums and winter evergreens. This flexibility ensures your vertical garden remains visually interesting throughout the year while adapting to changing growing conditions.
10. Pollinator Paradise
Attract beneficial insects with a pollinator-focused vertical garden. Plant native flowering species that provide nectar for bees, butterflies, and hummingbirds. I’ve had great success with lavender, echinacea, and salvia in my vertical pollinator garden. Position your pallet in a sunny location and arrange plants to provide continuous blooming throughout growing seasons. This eco-friendly option supports local biodiversity while adding movement and life to your small space.
Essential Materials and Tools for Your Pallet Garden Project
Basic Materials
Gathering the right materials is crucial for creating a successful vertical pallet garden. I’ve found these items essential for any pallet garden project:
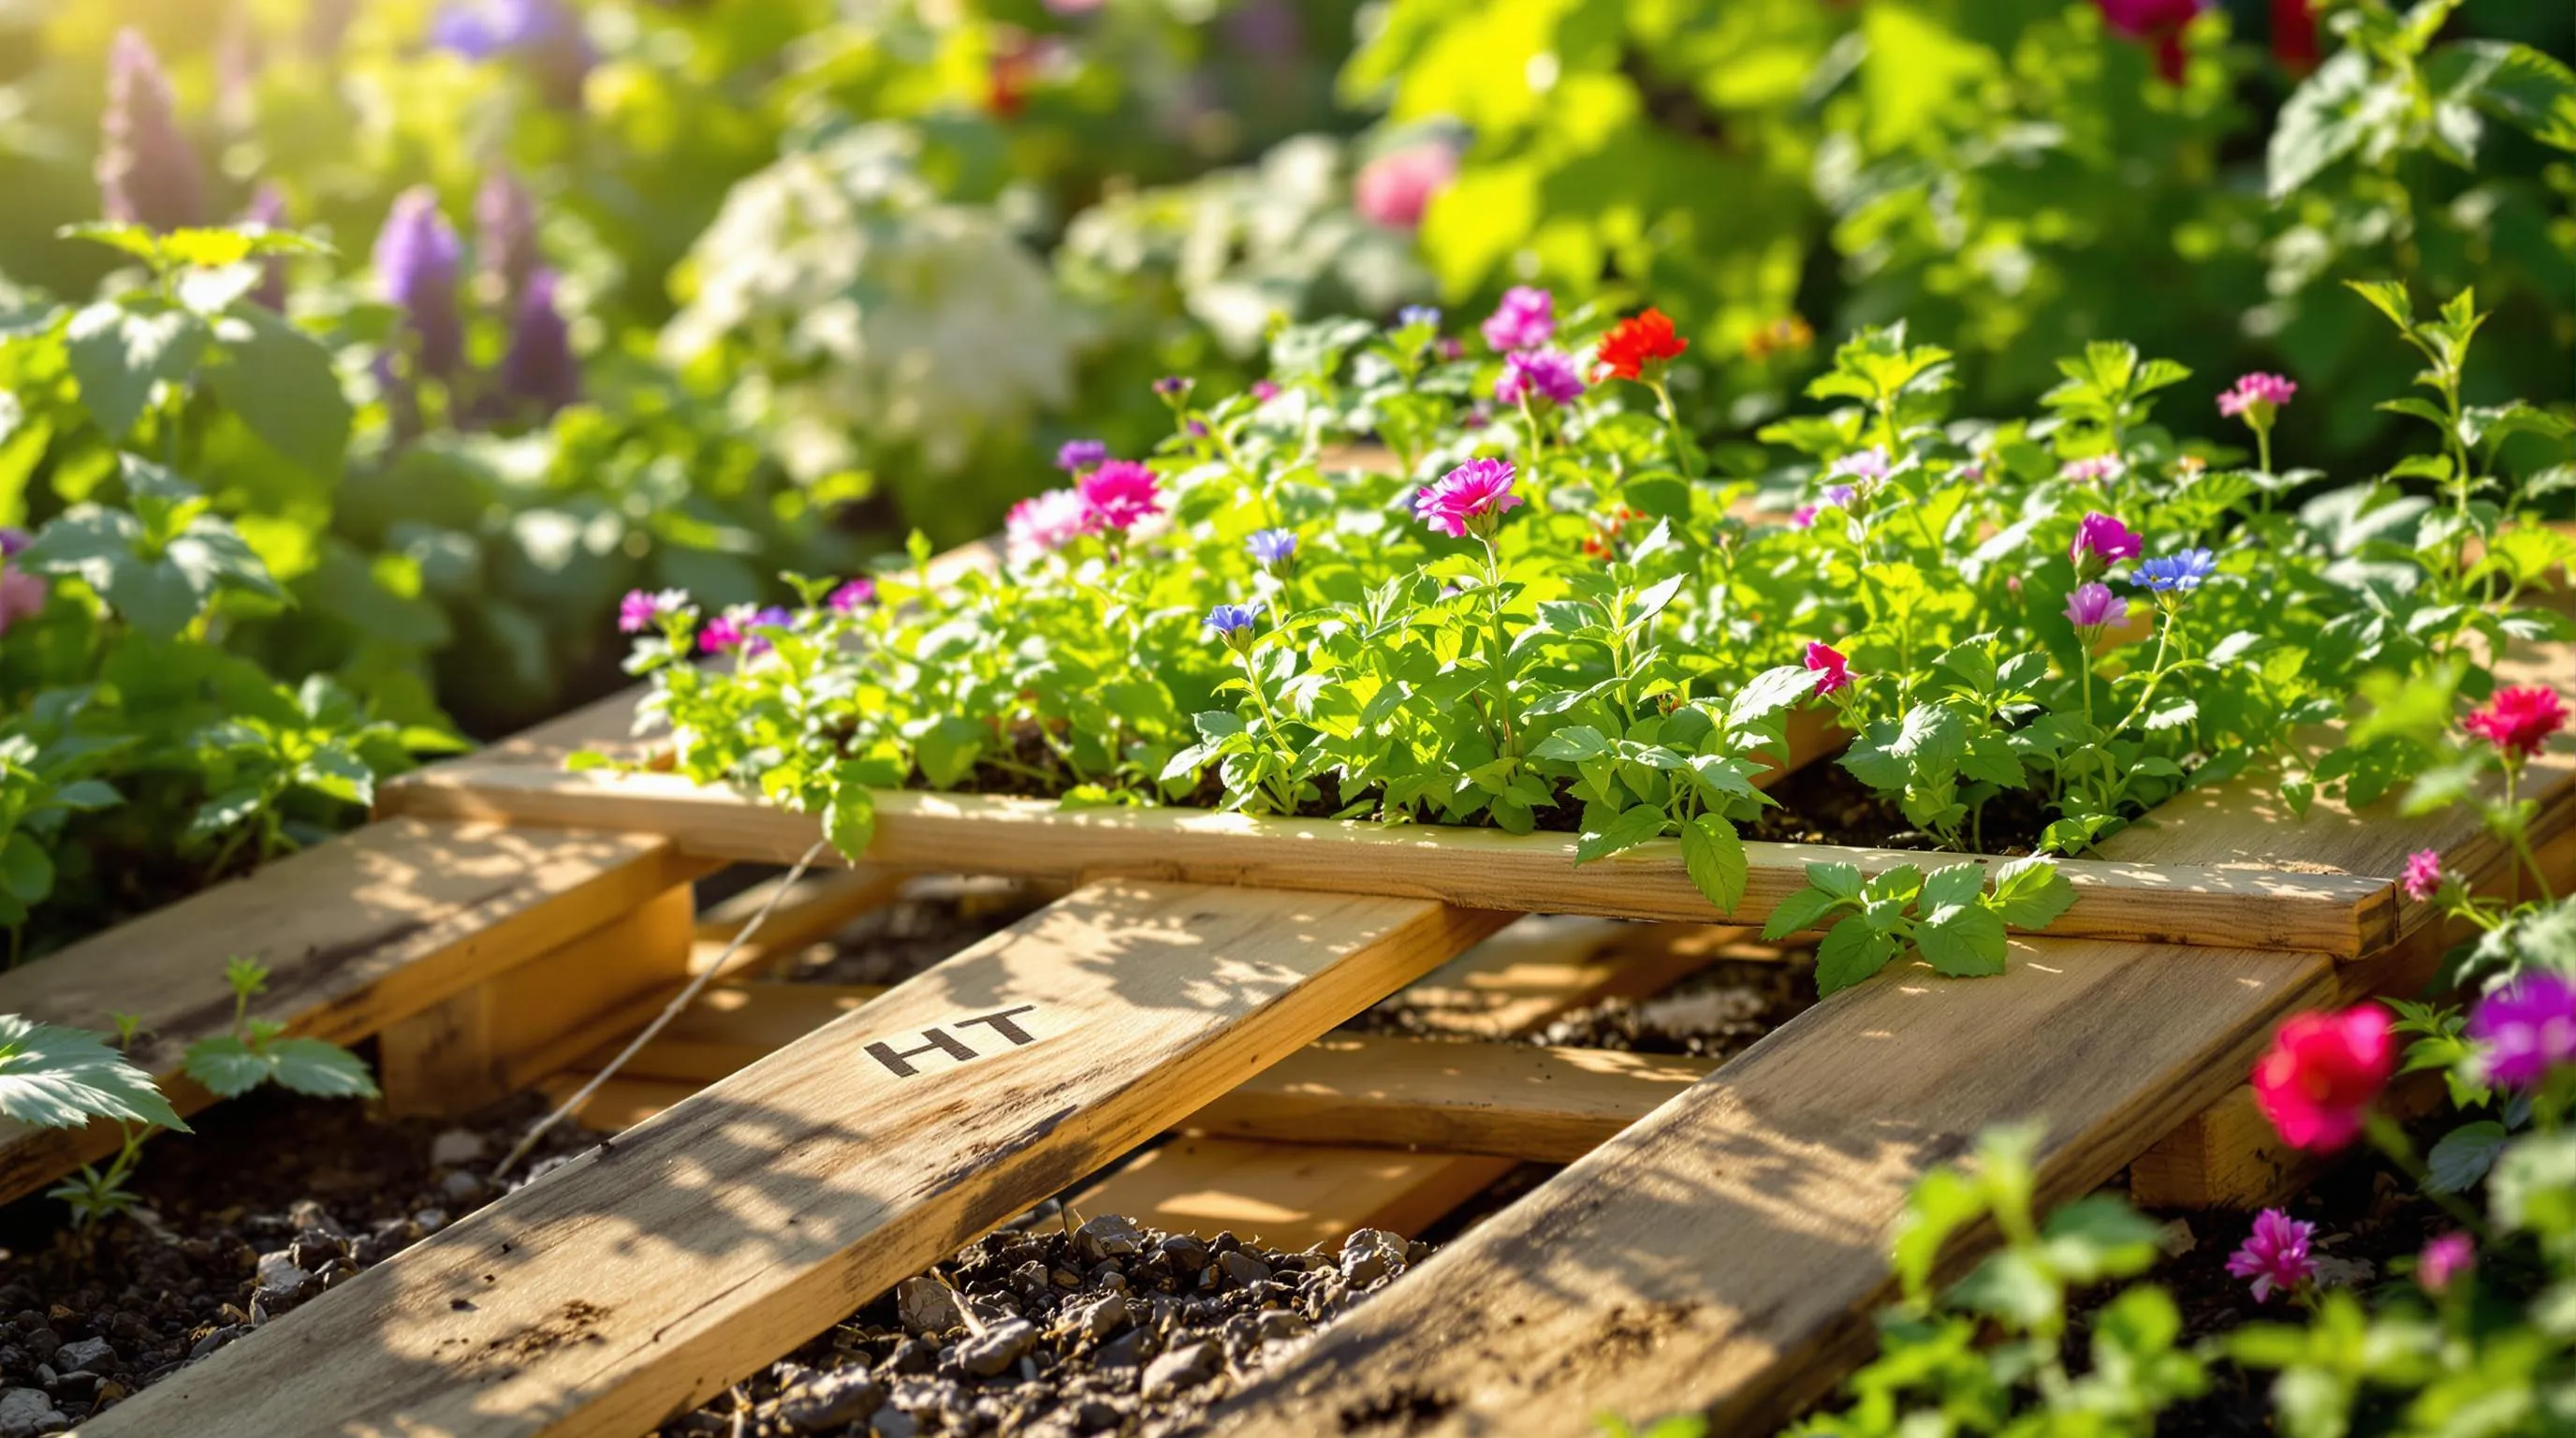
- Wooden Pallet: Choose a heat-treated pallet (marked with “HT”) rather than chemically treated ones. Look for pallets in good condition without important damage or splintering.
- Industry Fabric: Get high-quality, durable fabric to line your pallet and contain the soil.
- Potting Soil: Use lightweight, well-draining soil mix specifically formulated for containers.
- Plants: Select appropriate plants based on your light conditions and available space. Herbs, small vegetables, and flowering plants work well.
- Staple Gun and Staples: Heavy-duty staples secure the industry fabric to the pallet.
- Screws: For reinforcing loose boards or adding additional support structures.
- Paint or Stain (optional): Choose exterior-grade products if your garden will be exposed to weather.
Essential Tools
Having the right tools makes assembly much easier and ensures your vertical garden is structurally sound:
- Hammer: For removing unwanted nails or reinforcing existing ones.
- Pry Bar: Helps disassemble parts of the pallet if needed.
- Drill: Essential for creating drainage holes and securing additional supports.
- Saw: Useful for trimming the pallet or creating custom pieces.
- Sander: Smooths rough edges to prevent splinters and create a finished look.
- Measuring Tape: Ensures precise dimensions for industry fabric and positioning.
- Safety Equipment: Always use gloves, eye protection, and a dust mask when working with pallets.
Optional Enhancements
- Drip Irrigation System: Ensures consistent watering with minimal effort.
- Chalkboard Paint: Creates writeable surfaces for labeling plants.
- Casters or Wheels: Makes your garden mobile if you need to move it for sunlight or protection.
- Wall Anchors: Essential for safely mounting heavier gardens to walls or fences.
- Decorative Elements: Consider adding solar lights, plant markers, or decorative hardware.
Choosing the Right Pallet for Your Vertical Garden
Last update on 2026-02-10 / Affiliate links / Images from Amazon Product Advertising API
Not all pallets are created equal, and selecting the appropriate one can make or break your vertical garden project. The right pallet forms the foundation of a successful, safe, and long-lasting garden structure.
Safety Considerations for Garden Pallets
Selecting a safe pallet is crucial for growing healthy plants, especially edibles. When I’m hunting for the perfect pallet, I always check for treatment markings first:
- Look for “HT” stamps on pallets, which indicates heat treatment—these are safe for gardening and food production
- Avoid pallets marked “MB” as these contain methyl bromide, a toxic chemical that can leach into soil and harm plants
- Skip painted pallets unless you know the paint type, as they may contain lead or other toxins
- Check origin stamps like “US” or “CA” which are typically safer than those marked “CH” (China)
- Inspect for contamination including chemical spills, mold, or persistent odors that signal previous hazardous cargo
Heat-treated pallets undergo an environmentally friendly process that kills pests and diseases without chemicals, making them ideal for garden projects. Before starting any work, I thoroughly clean my chosen pallet with mild soap and water, then let it dry completely in the sun to eliminate any lingering contaminants.
Different Pallet Sizes and Styles
Pallets come in various dimensions and configurations, each offering different possibilities for your vertical garden:
- Standard pallets (48″ × 40″) provide ample planting space and are most commonly available
- Euro pallets (47″ × 31.5″) feature a more compact design, perfect for smaller spaces
- Block pallets have solid blocks between boards rather than stringers, offering greater stability for heavier plants
- Stringer pallets use continuous boards for support, creating natural planting channels
- Four-way entry pallets allow for more creative positioning and access from all sides
I’ve found that pallets with closer slat spacing work better for smaller plants and herbs, while those with wider gaps accommodate larger plants or hanging containers. For my herb garden, I selected a four-way entry pallet with moderate slat spacing that provided perfect compartments for different herb varieties.
When sourcing pallets, check local recycling centers, garden centers, hardware stores, or online listings. Many businesses are happy to give away used pallets rather than paying for disposal. For safety and longevity, always prepare your chosen pallet by removing protruding nails, sanding rough edges, and applying a non-toxic wood sealer if you’re growing food plants.
Preparing Your Pallet for Planting
Last update on 2026-02-10 / Affiliate links / Images from Amazon Product Advertising API
Before transforming your pallet into a thriving vertical garden, proper preparation is essential. These preparation steps will ensure your garden has a strong foundation and lasts for multiple growing seasons.
Cleaning and Sanding Techniques
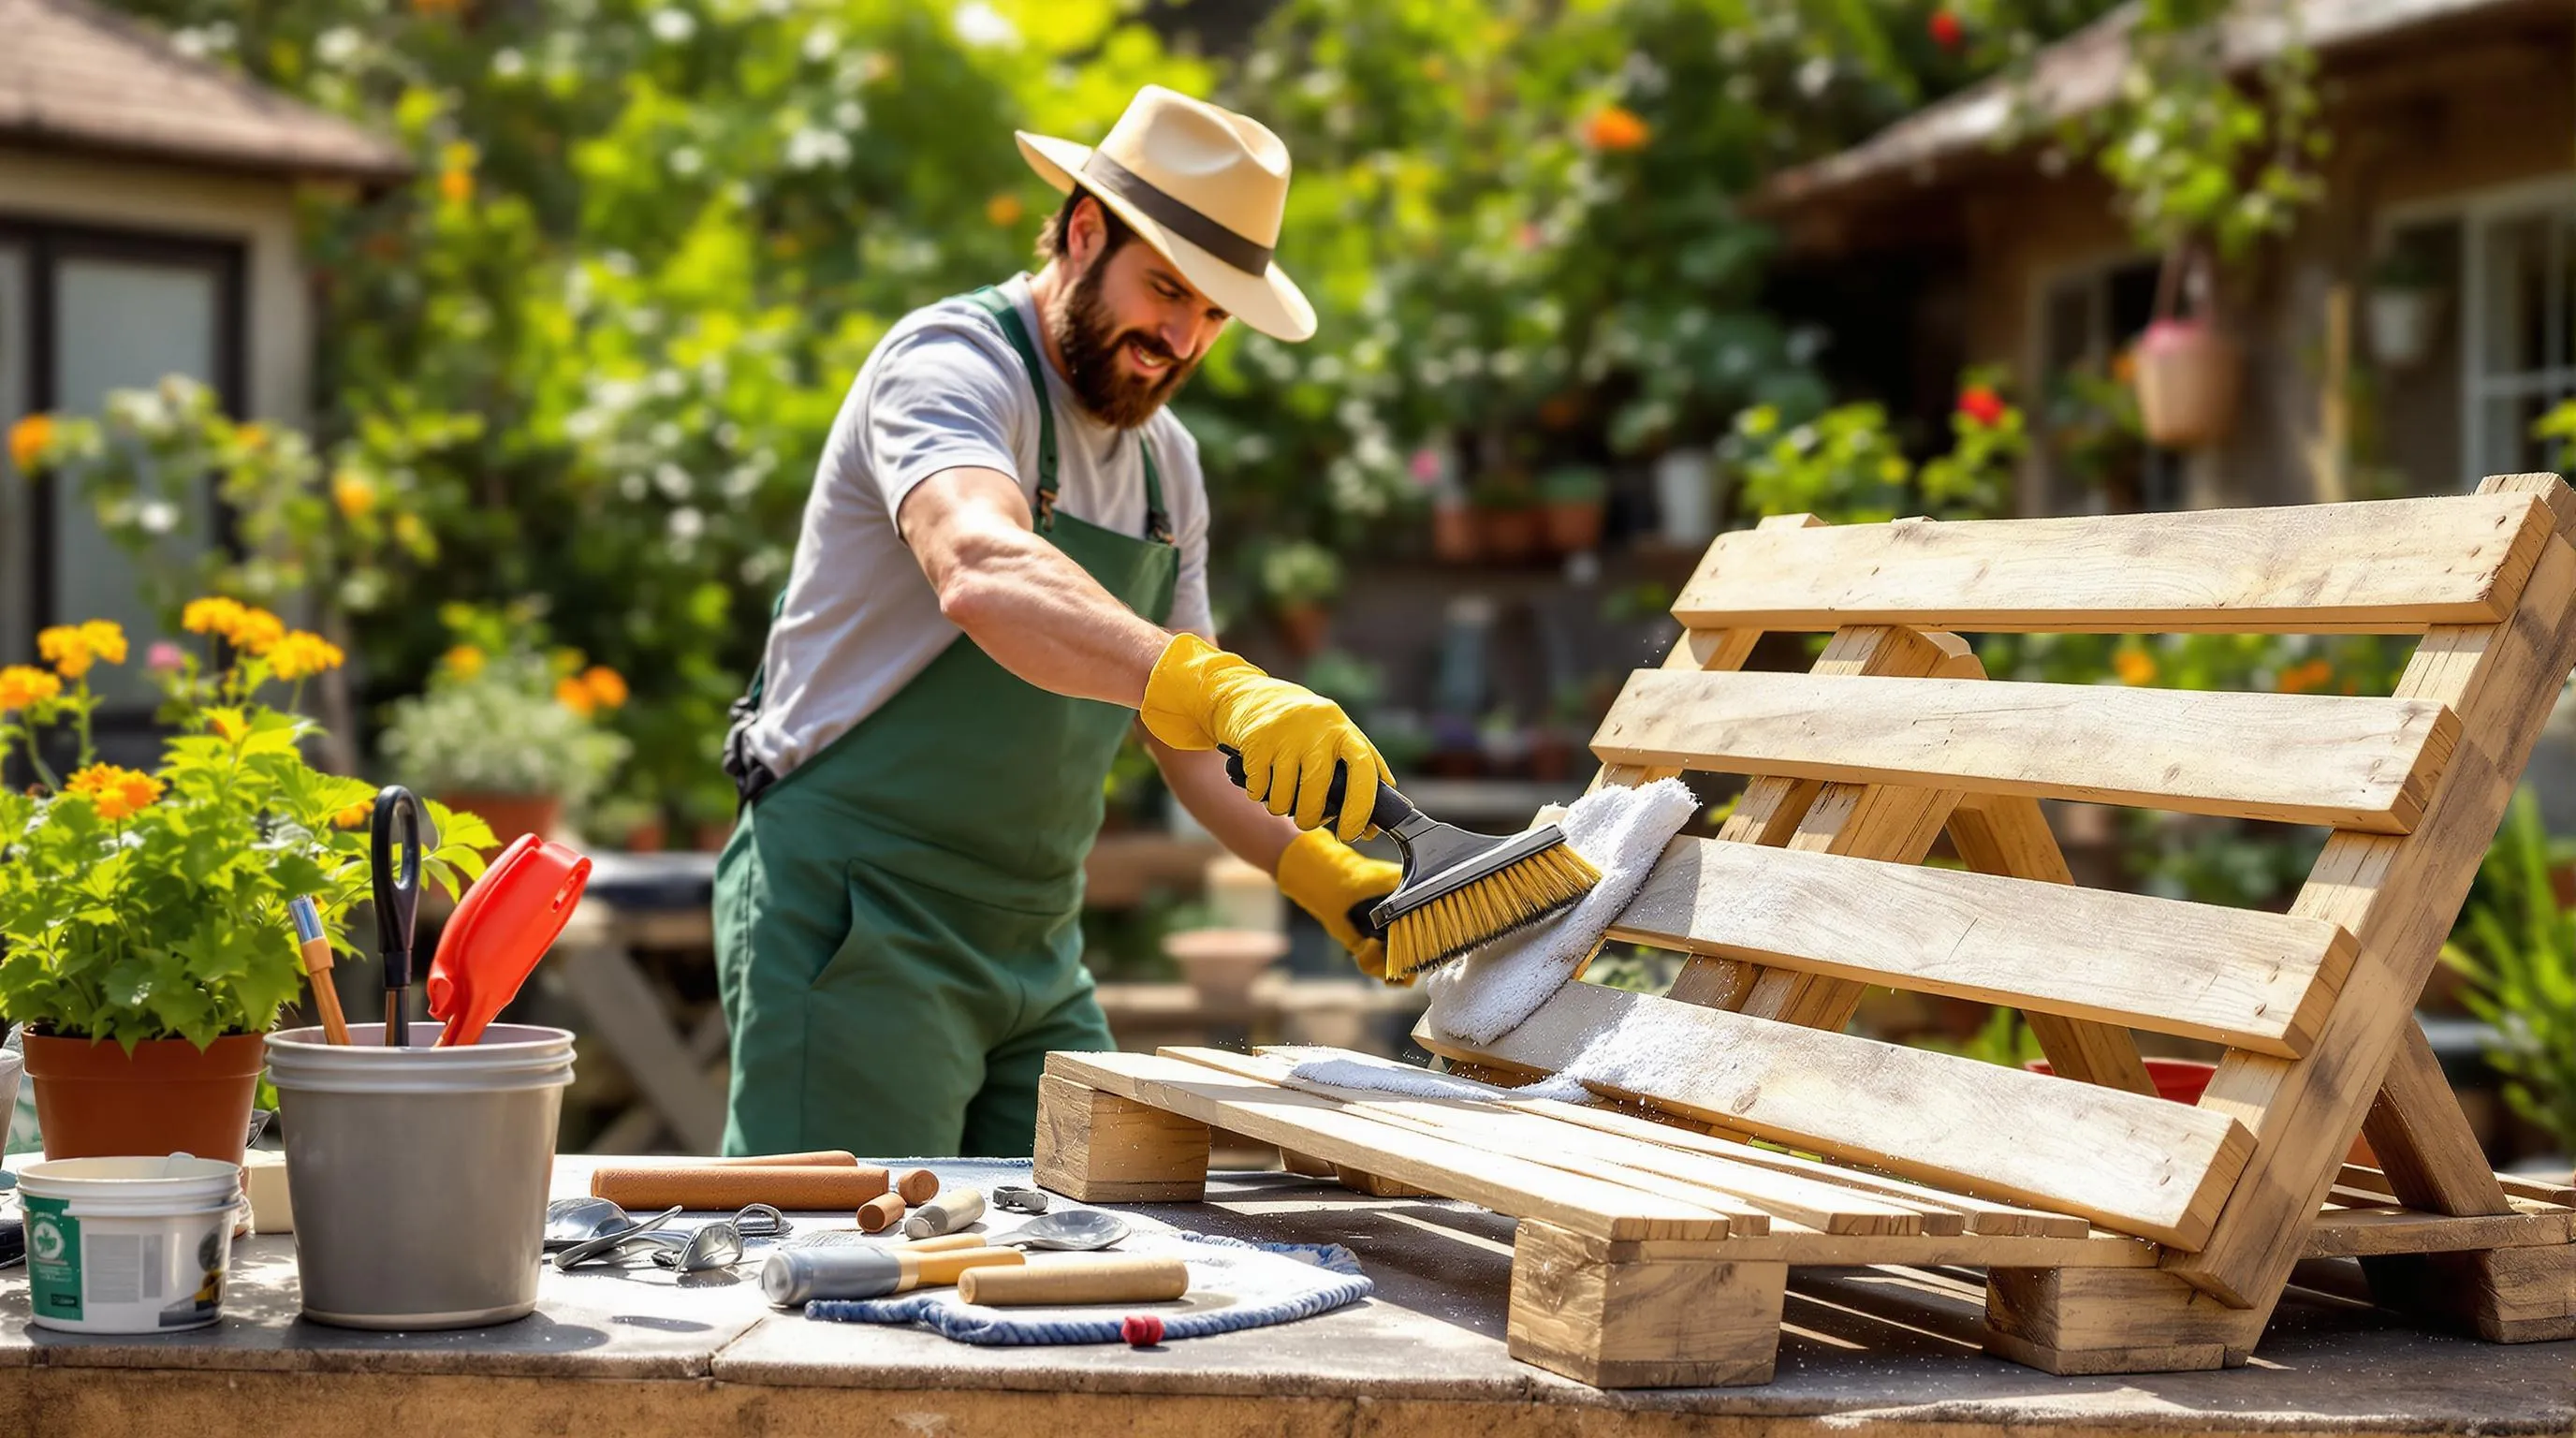
Start by giving your pallet a thorough inspection and cleaning. Remove any protruding nails or staples with a hammer or pliers to prevent injuries when handling. I’ve found that scrubbing with a stiff brush and mild soapy water effectively removes dirt, grime, and potential contaminants. Let the pallet dry completely in direct sunlight, which helps eliminate any lingering bacteria or mold.
Next, sand all surfaces of your pallet with medium-grit sandpaper to smooth out rough areas and remove splinters. Pay special attention to the edges and corners where hands will frequently touch. This step not only makes your pallet safer to handle but also provides a cleaner base if you plan to paint or stain it later. For particularly rough pallets, start with coarse-grit sandpaper before progressing to finer grits for a smoother finish.
Weatherproofing Options
Weatherproofing your pallet is crucial for extending its lifespan, especially when exposed to outdoor elements. Apply a non-toxic wood sealer or linseed oil to protect the wood while keeping your plants safe. I prefer using Ronseal Garden paint or similar outdoor-exact wood treatments that resist water damage without leaching harmful chemicals into the soil.
For vertical gardens growing edibles, choose food-safe sealants explicitly labeled as non-toxic. These products create a protective barrier against moisture without contaminating your herbs or vegetables. Apply at least two coats, allowing proper drying time between applications. For added protection in rainy climates, consider adding a plastic liner between the wood and soil, ensuring it has drainage holes to prevent waterlogging. This weatherproofing step can extend your pallet garden’s life from one season to several years, making it well worth the initial investment of time.
Creating a Vertical Herb Garden With Pallets
Last update on 2026-02-13 / Affiliate links / Images from Amazon Product Advertising API
A vertical herb garden made from pallets is a perfect solution for small spaces that delivers fresh flavors right to your fingertips. This space-saving design brings functionality and rustic charm to any outdoor area or even inside your home.
Best Herbs for Vertical Gardens
Herbs are ideal candidates for vertical pallet gardens due to their resilience and adaptability. Basil, mint, thyme, rosemary, oregano, parsley, and sage thrive particularly well in these structures. Lemongrass, dill, cilantro, and bay leaves also perform admirably in vertical settings. Most herbs are remarkably forgiving plants that withstand unpredictable weather conditions—from heavy rainfall to extended periods of heat and wind. I’ve noticed that herbs consistently prove to be the most resilient plants in my garden, making them perfect for beginners or busy gardeners.
When selecting herbs, consider their growth habits and needs. Trailing herbs like thyme work well in lower sections where they can cascade downward. Taller herbs such as rosemary and sage should be positioned in upper rows where they have room to grow upward without overshadowing smaller varieties.
Arranging Herbs for Optimal Growth
Strategic arrangement of herbs in your pallet garden maximizes both productivity and visual appeal. Group herbs with similar water and light requirements together to simplify maintenance. Place sun-loving herbs like basil and rosemary in the top rows where they’ll receive maximum sunlight, while more shade-tolerant varieties like mint and parsley can thrive in lower positions.
For easy identification, label each section with small wooden tags inserted into the soil or paint your pallet with chalkboard paint to write the names directly on the wood. This practical labeling system not only helps with identification but adds a decorative element to your garden. Mount your pallet on a kitchen wall or balcony for convenient access while cooking—nothing beats snipping fresh herbs directly into your dishes. The vertical design works exceptionally well in small kitchens where counter space is limited, transforming an ordinary wall into a functional garden that supplies fresh flavors year-round.
Designing a Vertical Flower Display Using Pallets
Last update on 2026-02-10 / Affiliate links / Images from Amazon Product Advertising API
Seasonal Flower Combinations
Transform a plain wall into a living display of color with strategic seasonal flower combinations. Choose flowers that thrive in similar light and water conditions to ensure your pallet garden flourishes throughout the year. For spring, plant pansies and violas that can handle cooler temperatures. Summer calls for heat-loving petunias, marigolds, and verbena that provide months of vibrant blooms. Fall displays benefit from chrysanthemums and ornamental kale that withstand light frosts. Mix heights and bloom times for year-round interest – place taller flowers like cosmos at the back rows and trailing varieties like sweet alyssum at the front edges to create depth. This approach ensures your vertical garden remains visually appealing through changing seasons.
Creating Visual Interest With Color
Design your pallet flower display using color theory to create maximum visual impact. Complementary color schemes (colors opposite on the color wheel) like purple and yellow flowers create striking contrast that draws attention to your vertical garden. For a more harmonious look, choose analogous colors—those that sit next to each other on the color wheel—such as blues, purples, and pinks. I’ve found that monochromatic displays using various shades of a single color create an elegant, sophisticated look that’s perfect for modern spaces. The wooden frame of the pallet provides a natural contrast to the soft blooms, improving the overall aesthetic. Add pops of white flowers to brighten dark corners or bold red blooms to serve as focal points in your living wall. This thoughtful color planning transforms your pallet garden from a simple planter into an artistic installation.
Building a Vertical Vegetable Garden With Pallets
Last update on 2026-02-13 / Affiliate links / Images from Amazon Product Advertising API
Grow your own food in a small space with a vertical vegetable pallet garden. This innovative solution lets you produce fresh vegetables even with limited outdoor area.
Space-Saving Vegetable Varieties
Vertical pallet gardens work best with compact vegetable varieties that don’t require extensive root systems. Plant cherry tomatoes instead of full-sized varieties, as they grow upward and produce abundant fruit in small spaces. Bush beans, leaf lettuce, and spinach thrive in the narrow rows between pallet slats. Pepper plants, particularly smaller varieties like Thai chili or mini bell peppers, grow excellently in vertical settings. Herbs like basil, cilantro, and parsley can be interspersed between vegetables, maximizing your growing area. The vertical orientation provides excellent air circulation between plants, significantly reducing common fungal diseases that plague traditional garden beds.
Maximizing Harvest in Limited Space
The key to abundant harvests from your vertical vegetable pallet garden is strategic planting and maintenance. Install your pallet in a location that receives at least 6-8 hours of direct sunlight daily for optimal growth. Use high-quality potting soil mixed with compost to provide essential nutrients for heavy-feeding vegetables. Carry out a drip irrigation system with a timer to ensure consistent moisture without overwatering. Harvest vegetables frequently to encourage continued production – this is especially important for lettuce, herbs, and indeterminate tomatoes. Plant fast-growing crops like radishes or green onions between slower-growing vegetables to use every inch of space. The vertical structure makes pest management easier as you can quickly spot and address issues before they spread throughout your garden.
Incorporating Succulents in Your Pallet Garden
Last update on 2026-02-16 / Affiliate links / Images from Amazon Product Advertising API
Drought-Resistant Arrangements
Succulents are ideal candidates for vertical pallet gardens due to their minimal water requirements and striking visual appeal. Their varied shapes and colors create eye-catching patterns that evolve over time as they slowly fill in spaces. Plant them between pallet slats or in small pockets of soil for a dramatic display that works equally well indoors or out. These drought-resistant plants thrive in sunny spots with good drainage, making the wooden structure of pallets a perfect companion.
For maximum visual impact, I recommend grouping succulents with complementary forms – pair rosette-shaped echeverias with trailing string of pearls or upright haworthias. Consider creating mini-zones within your pallet, organizing plants by color to create ombré effects or geometric patterns. The natural wood backdrop enhances the plants’ colors, creating a striking pair that draws attention to any wall space.
Low-Maintenance Design Ideas
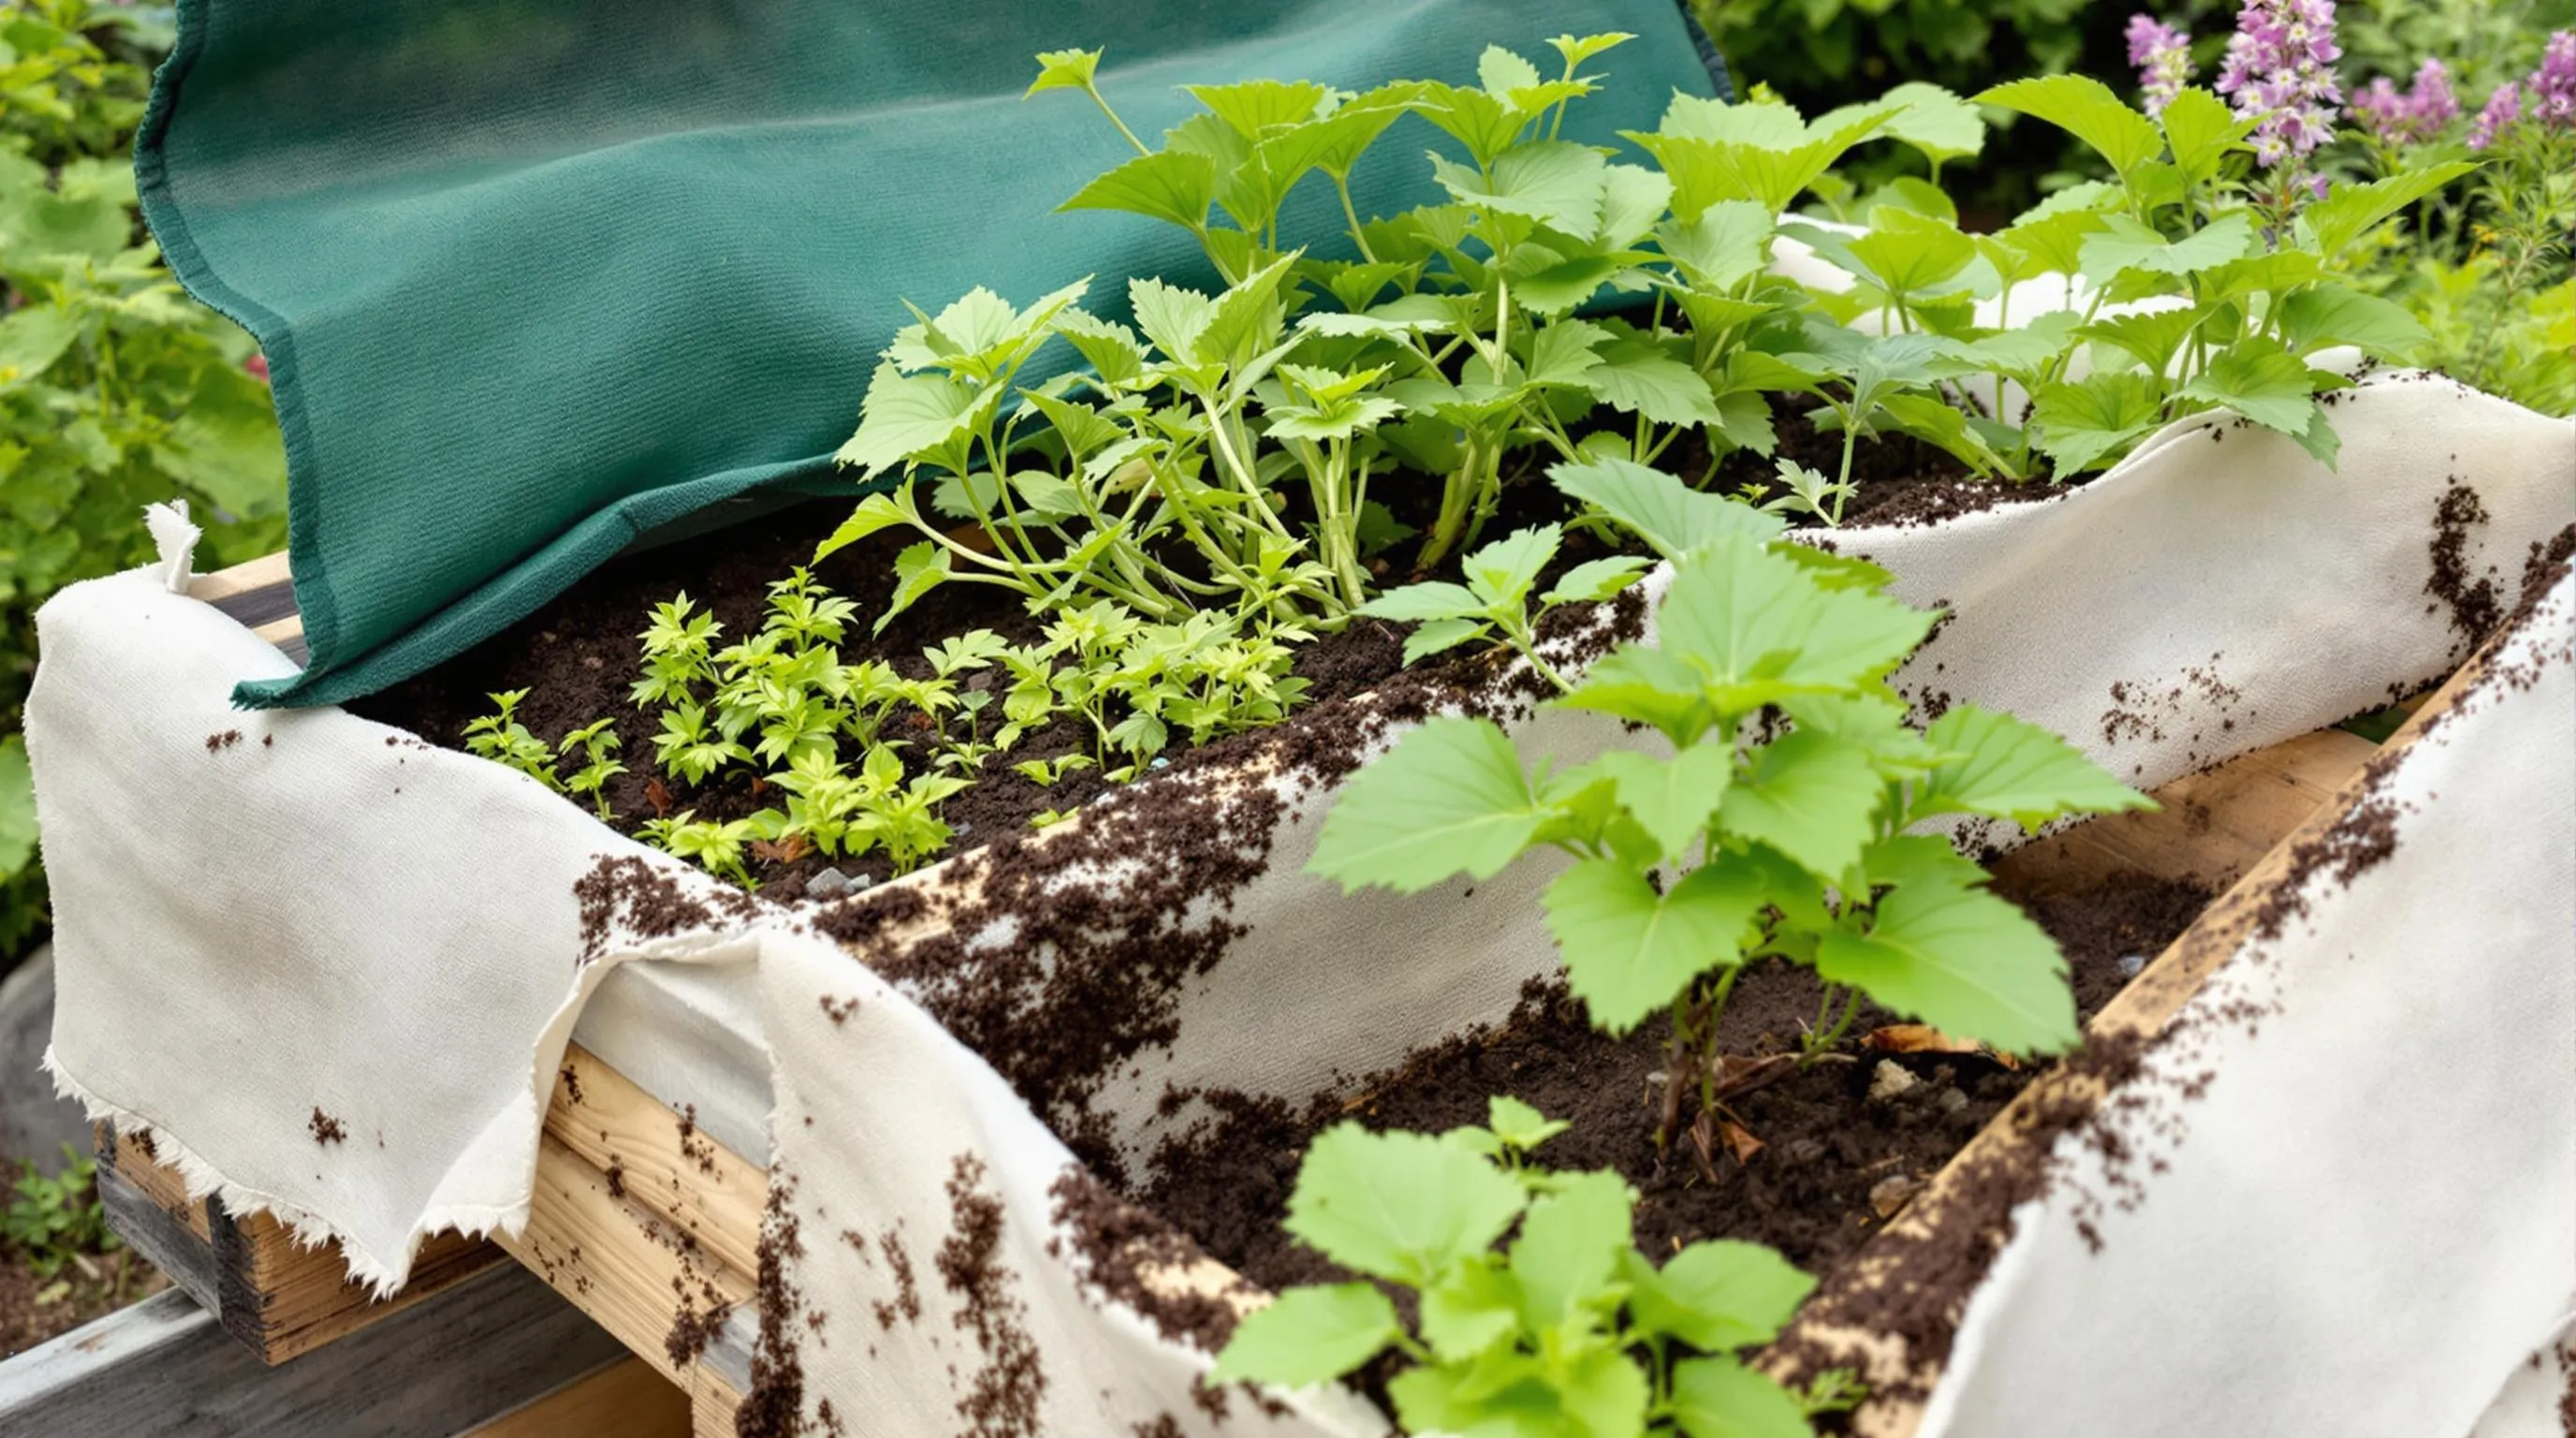
Creating a low-maintenance succulent pallet garden starts with proper setup and smart plant selection. Line your pallet with industry fabric to retain soil while allowing excess water to drain, preventing root rot. I’ve found that pre-planting succulents in small containers before inserting them into the pallet makes maintenance even easier, allowing you to replace individual plants without disturbing the entire arrangement.
Mix different succulent varieties for year-round interest – combine sempervivums (hens and chicks) that change color with seasons, kalanchoes for periodic blooms, and blue-tinted senecio serpens for consistent color. The vertical design makes it easy to spot any issues early, though succulents rarely face pest problems. For the simplest care routine, mount your succulent pallet in a location that receives morning sun but afternoon shade, and water only when the soil feels completely dry – typically every 2-3 weeks depending on your climate.
Step-by-Step Vertical Pallet Garden Construction Guide
Building your own vertical pallet garden is easier than you might think. With some basic tools and materials, you’ll have a thriving garden in no time.
Attaching Industry Fabric
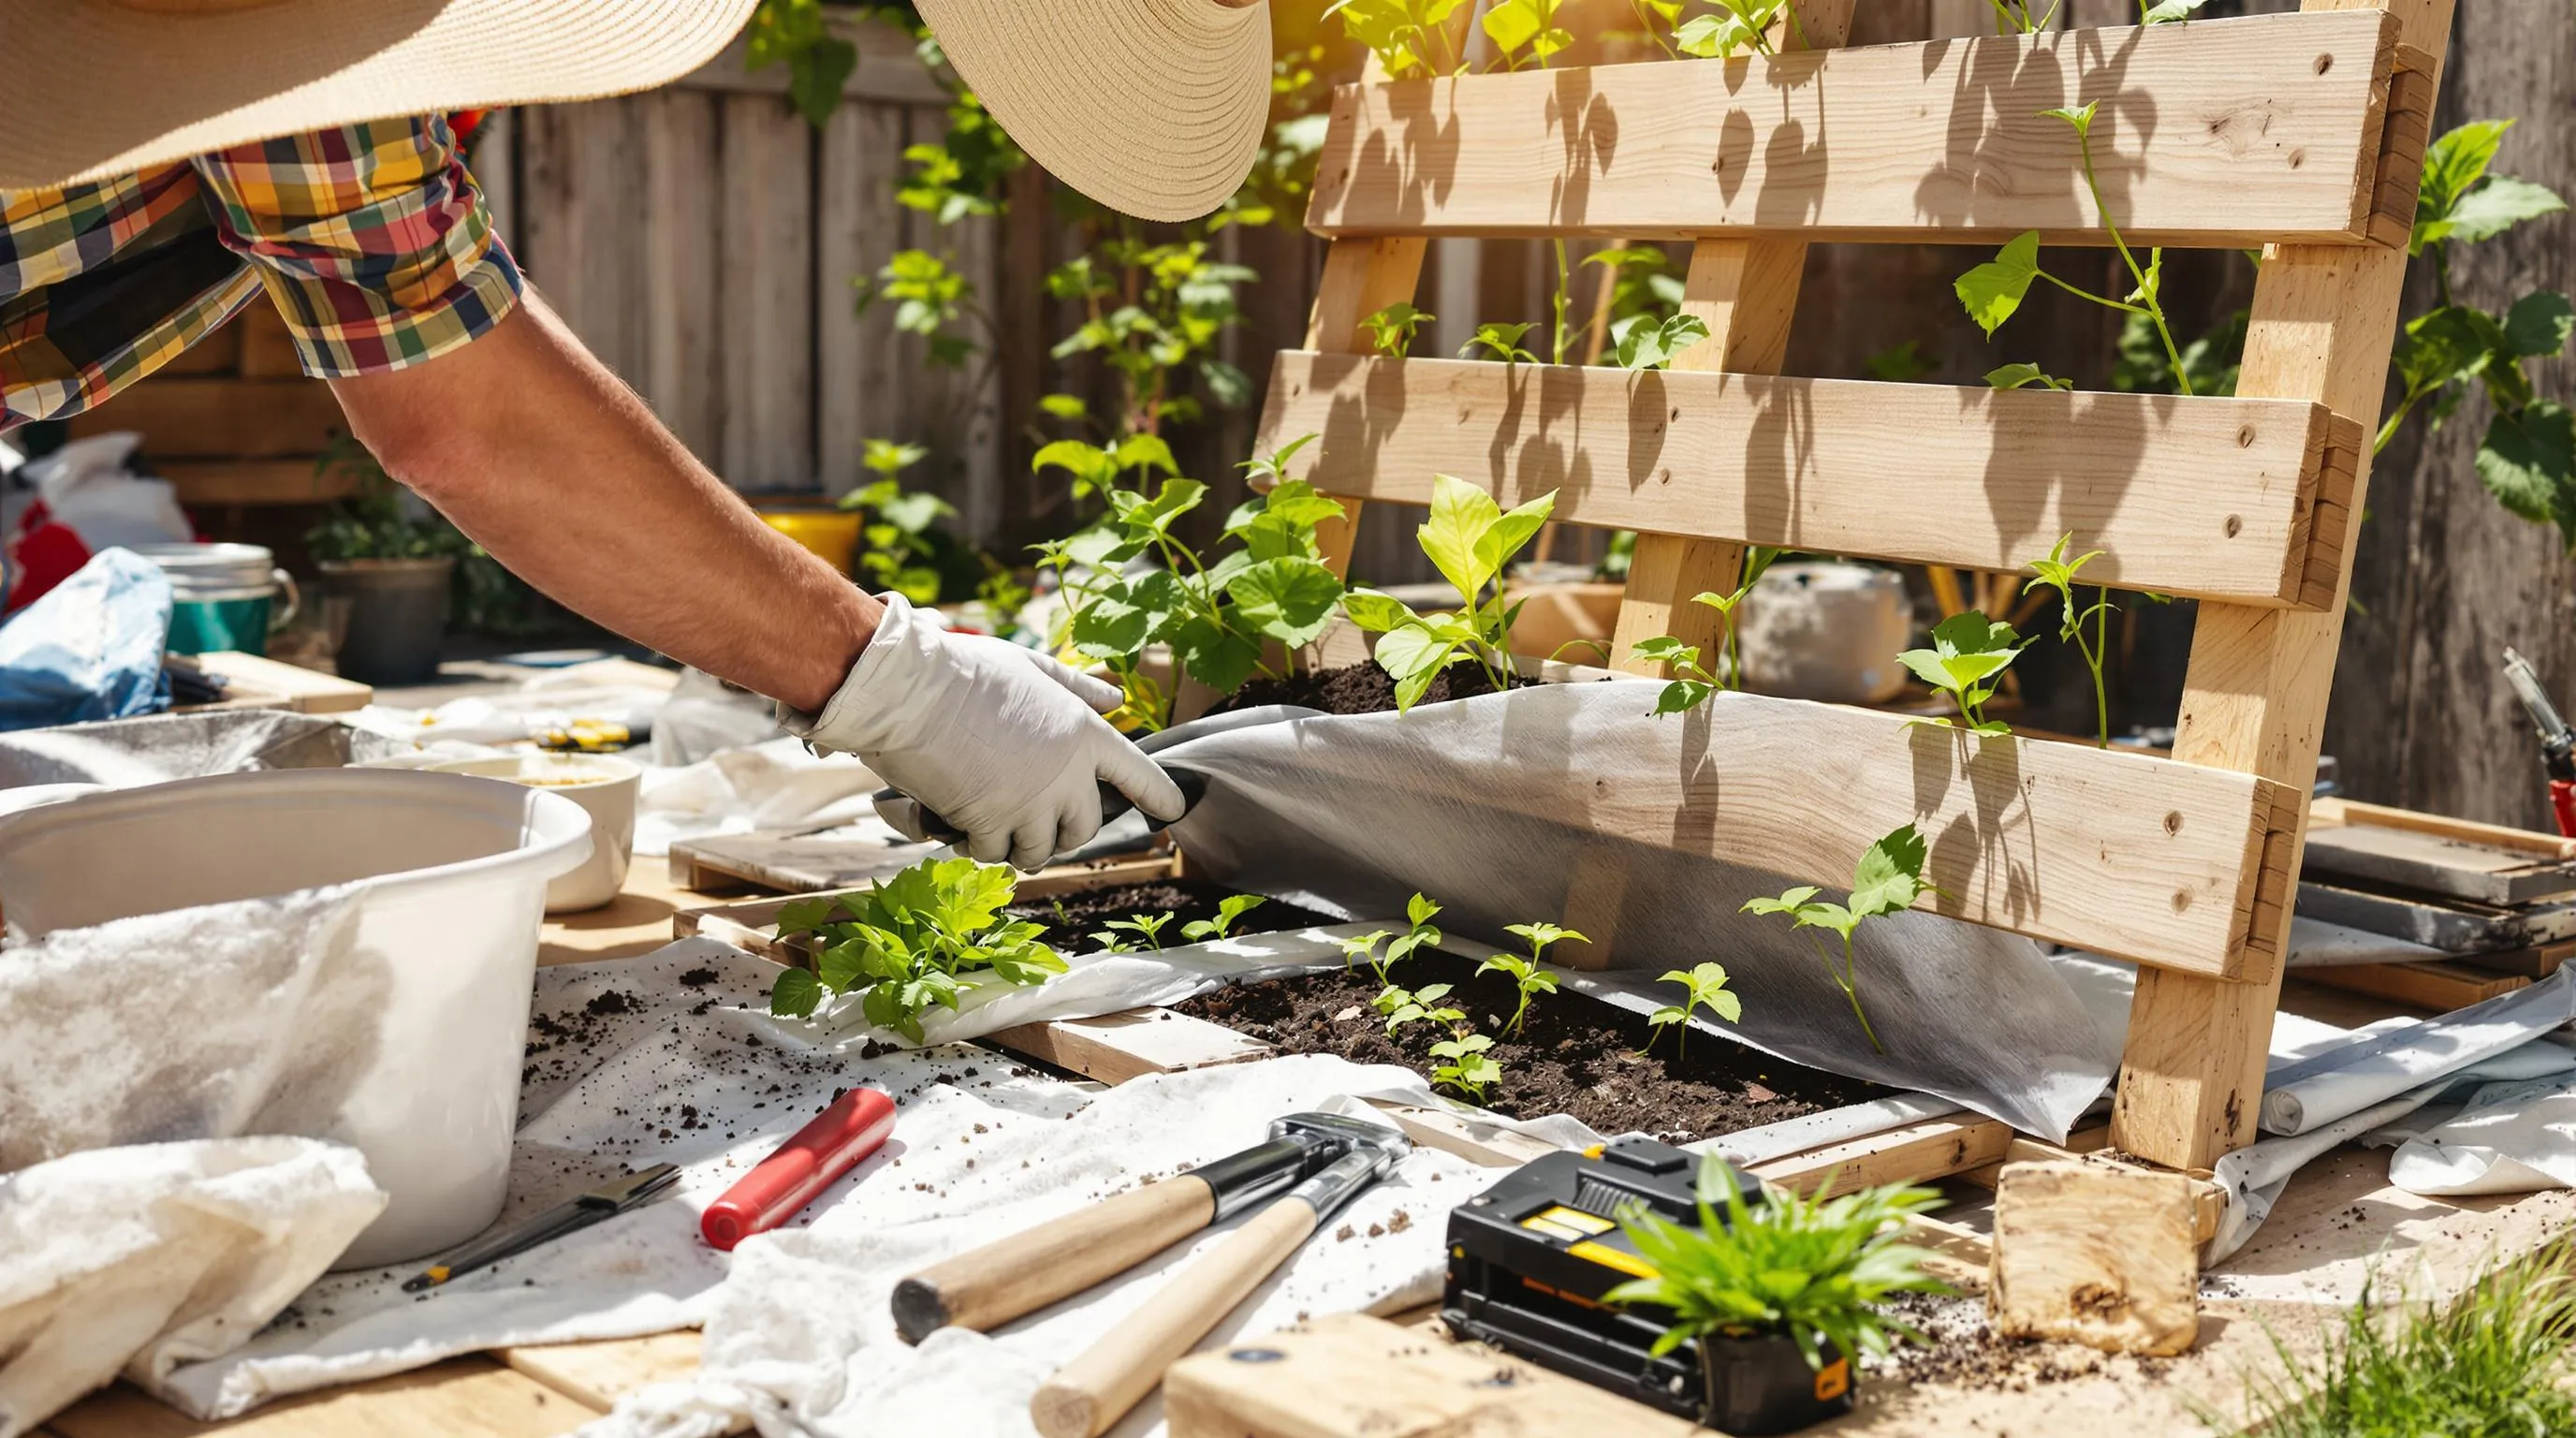
Start by rolling out industry fabric approximately twice the length of your pallet, then cut it down the middle with scissors or a razor blade. Position your pallet flat on the ground with the side you want as the back facing up. Secure the fabric to the backside using a staple gun, creating pockets deep enough to hold soil. Pull some fabric to create slack before stapling it in place, ensuring your pockets won’t lose soil when stood upright. Make sure to cover the entire back and bottom of each planting section, stapling along all edges for a secure hold. For extra durability, double up the fabric in areas that will bear the most weight when filled with soil.
Soil Selection and Filling Methods
Choose a high-quality potting mix with good drainage properties for your vertical garden. Mix it with compost at a 70:30 ratio to provide essential nutrients for your plants. With your pallet still lying flat, begin filling the spaces between the slats with your soil-compost mixture. Press down gently to ensure the soil is compact but not overly dense. Fill each pocket to about an inch from the top to leave room for watering without overflow. For edible plants, consider adding slow-release organic fertilizers during this stage. Allow the soil to settle for a day before planting, and water thoroughly but gently to help compact the soil naturally. Remember that wet soil adds important weight, so ensure your mounting location can support at least 100 pounds.
Maintenance Tips for Long-Lasting Pallet Gardens
Watering Answers for Vertical Gardens
Keeping your vertical pallet garden properly hydrated is essential for plant health and longevity. I’ve found that installing a drip irrigation system along the top of your pallet is the most efficient watering method. This system delivers water directly to plant roots, reducing waste and ensuring even distribution throughout all levels. You can connect the drip hose to a timer for consistent watering on busy days—a lifesaver during summer months!
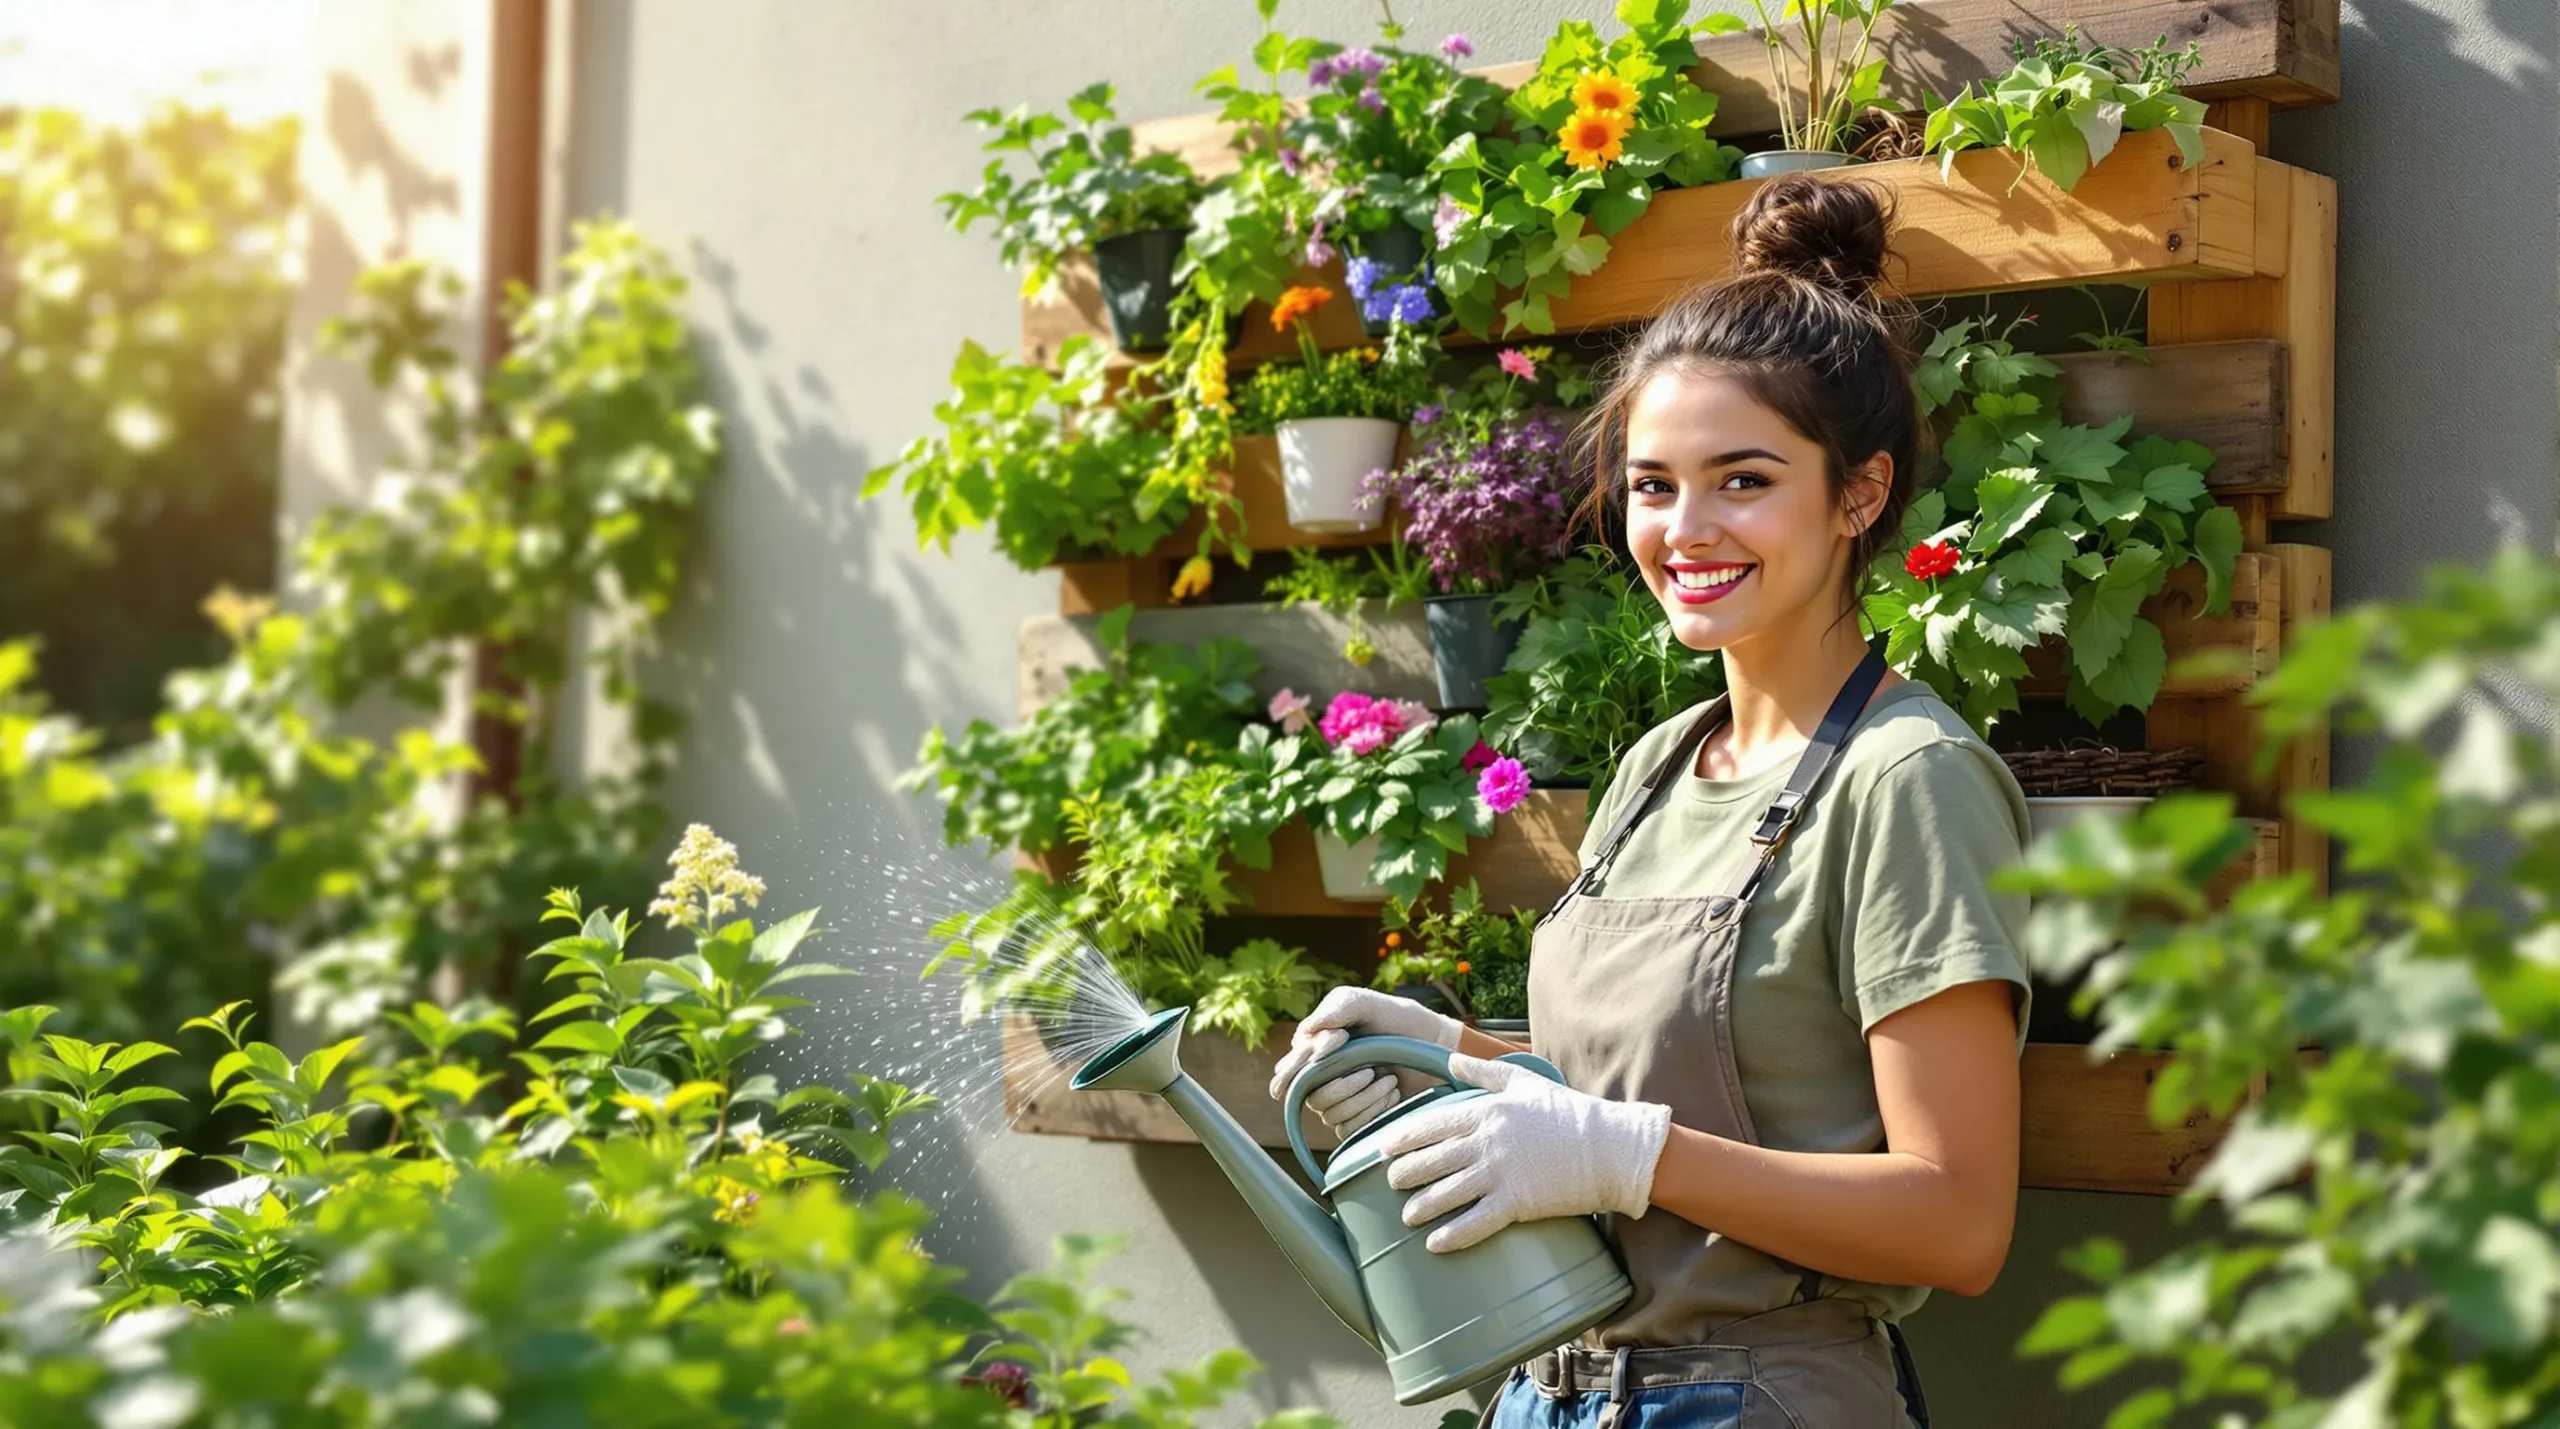
For those seeking simpler answers, consider using a watering can with a narrow spout that reaches between slats. When I first started with pallet gardens, I dragged my garden hose to water from all sides, which works but requires more time. Remember that plants in the upper sections typically dry out faster than those at the bottom, so pay special attention to top rows during hot weather.
Seasonal Care Requirements
Your vertical pallet garden needs different attention as seasons change. In spring, I replace any winter-damaged plants and add slow-release fertilizer to jumpstart growth. Summer maintenance focuses on more frequent watering—vertical gardens dry out faster than ground beds due to increased air flow.
During fall, trim back overgrown plants and remove spent annuals. For winter protection in colder climates, move portable pallet gardens to sheltered locations or install clear plastic coverings that allow light while blocking wind and frost. I’ve found that placing my pallet against a tall fence provides protection from harsh elements while still allowing adequate sun exposure.
Monitor soil moisture year-round—wet soil adds important weight to your structure. Check anchoring systems seasonally, especially after storms, to ensure your garden remains securely mounted. For food-producing pallet gardens, rotate crops between seasons to prevent soil depletion and reduce pest problems.
Creative Ways to Enhance Your Pallet Garden
Last update on 2026-02-10 / Affiliate links / Images from Amazon Product Advertising API
Vertical pallet gardens truly transform even the tiniest spaces into thriving green sanctuaries. As you embark on your pallet gardening journey I encourage you to experiment with different plant combinations and personalize your design to match your space and lifestyle.
The beauty of pallet gardens lies in their versatility—whether you’re growing herbs for cooking fresh meals cultivating vibrant flowers or raising compact vegetables. Remember that your vertical garden will evolve over time becoming more established and requiring less maintenance.
Start small focus on proper preparation and enjoy the process of watching your living wall flourish. With the right care your vertical pallet garden will reward you with years of beauty sustainable harvests and the satisfaction of creating something beautiful from reclaimed materials.

