10 Easy-To-Propagate Houseplants That Grow From Cuttings
Last update on 2026-02-10 / Affiliate links / Images from Amazon Product Advertising API
Looking to expand your indoor garden without spending a fortune? These 10 houseplants are propagation superstars that readily grow from simple cuttings. All you’ll need is a clean pair of scissors, a container with water or moist soil, and a little patience. Pothos tops the list with its foolproof nature—just snip a stem with 2-3 leaves and place it in water until roots develop. Spider plants produce ready-to-plant babies (plantlets) that can be snipped and rooted directly. Snake plants propagate beautifully from leaf cuttings placed in soil or water. Philodendrons, like pothos, root easily from stem cuttings with a node. Tradescantia (Wandering Jew) grows from small stem sections with just 1-2 nodes. English ivy readily roots when stem cuttings are placed in water. Coleus cuttings root so quickly you’ll have colorful new plants in just weeks. Chinese money plants (Pilea) can be propagated from offshoots that appear at the base. Begonias offer versatility—propagate from stem or even leaf cuttings. Finally, succulents like echeveria simply need a leaf placed on soil to sprout new roots and growth. With these easy-to-propagate varieties, you’ll multiply your collection while mastering a rewarding gardening skill.
Understanding Plant Propagation: The Basics of Growing New Plants From Cuttings
Last update on 2026-02-10 / Affiliate links / Images from Amazon Product Advertising API
Plant propagation is the process of creating new plants from existing ones, and it’s one of the most rewarding aspects of indoor gardening. When you propagate houseplants from cuttings, you’re essentially cloning the parent plant, ensuring the new plant will have identical characteristics.
Different Propagation Methods for Indoor Plants
There are several effective methods for propagating houseplants from cuttings. Water propagation involves placing stem cuttings in water until roots develop, which typically takes 2-6 weeks depending on the plant species. Soil propagation requires placing cuttings directly into a well-draining potting mix. Some plants respond better to leaf propagation, where a single leaf can generate an entirely new plant. Division works well for plants that naturally produce offshoots or pups, like snake plants and spider plants. Air layering is ideal for woody stemmed plants, where you encourage roots to form on the stem while it’s still attached to the parent plant. Each method has exact advantages depending on the plant type and your personal preference.
Tools and Materials You’ll Need for Successful Propagation
For successful plant propagation, you’ll need a few basic tools and materials. Start with clean, sharp scissors or pruning shears to make clean cuts that heal quickly. A small container like a glass jar or propagation station is essential for water propagation, while small pots with drainage holes work best for soil propagation. Use a well-draining potting mix specifically formulated for houseplants or make your own with perlite and peat moss. Rooting hormone, though optional, can significantly increase your success rate by stimulating root growth. Keep a spray bottle handy for misting leaf cuttings, and consider using plastic bags or propagation domes to create humidity chambers for moisture-loving plants. With these simple tools, you’ll be well-equipped to multiply your houseplant collection.
Pothos: The Perfect Starter Plant for Propagation Beginners
Last update on 2026-02-10 / Affiliate links / Images from Amazon Product Advertising API
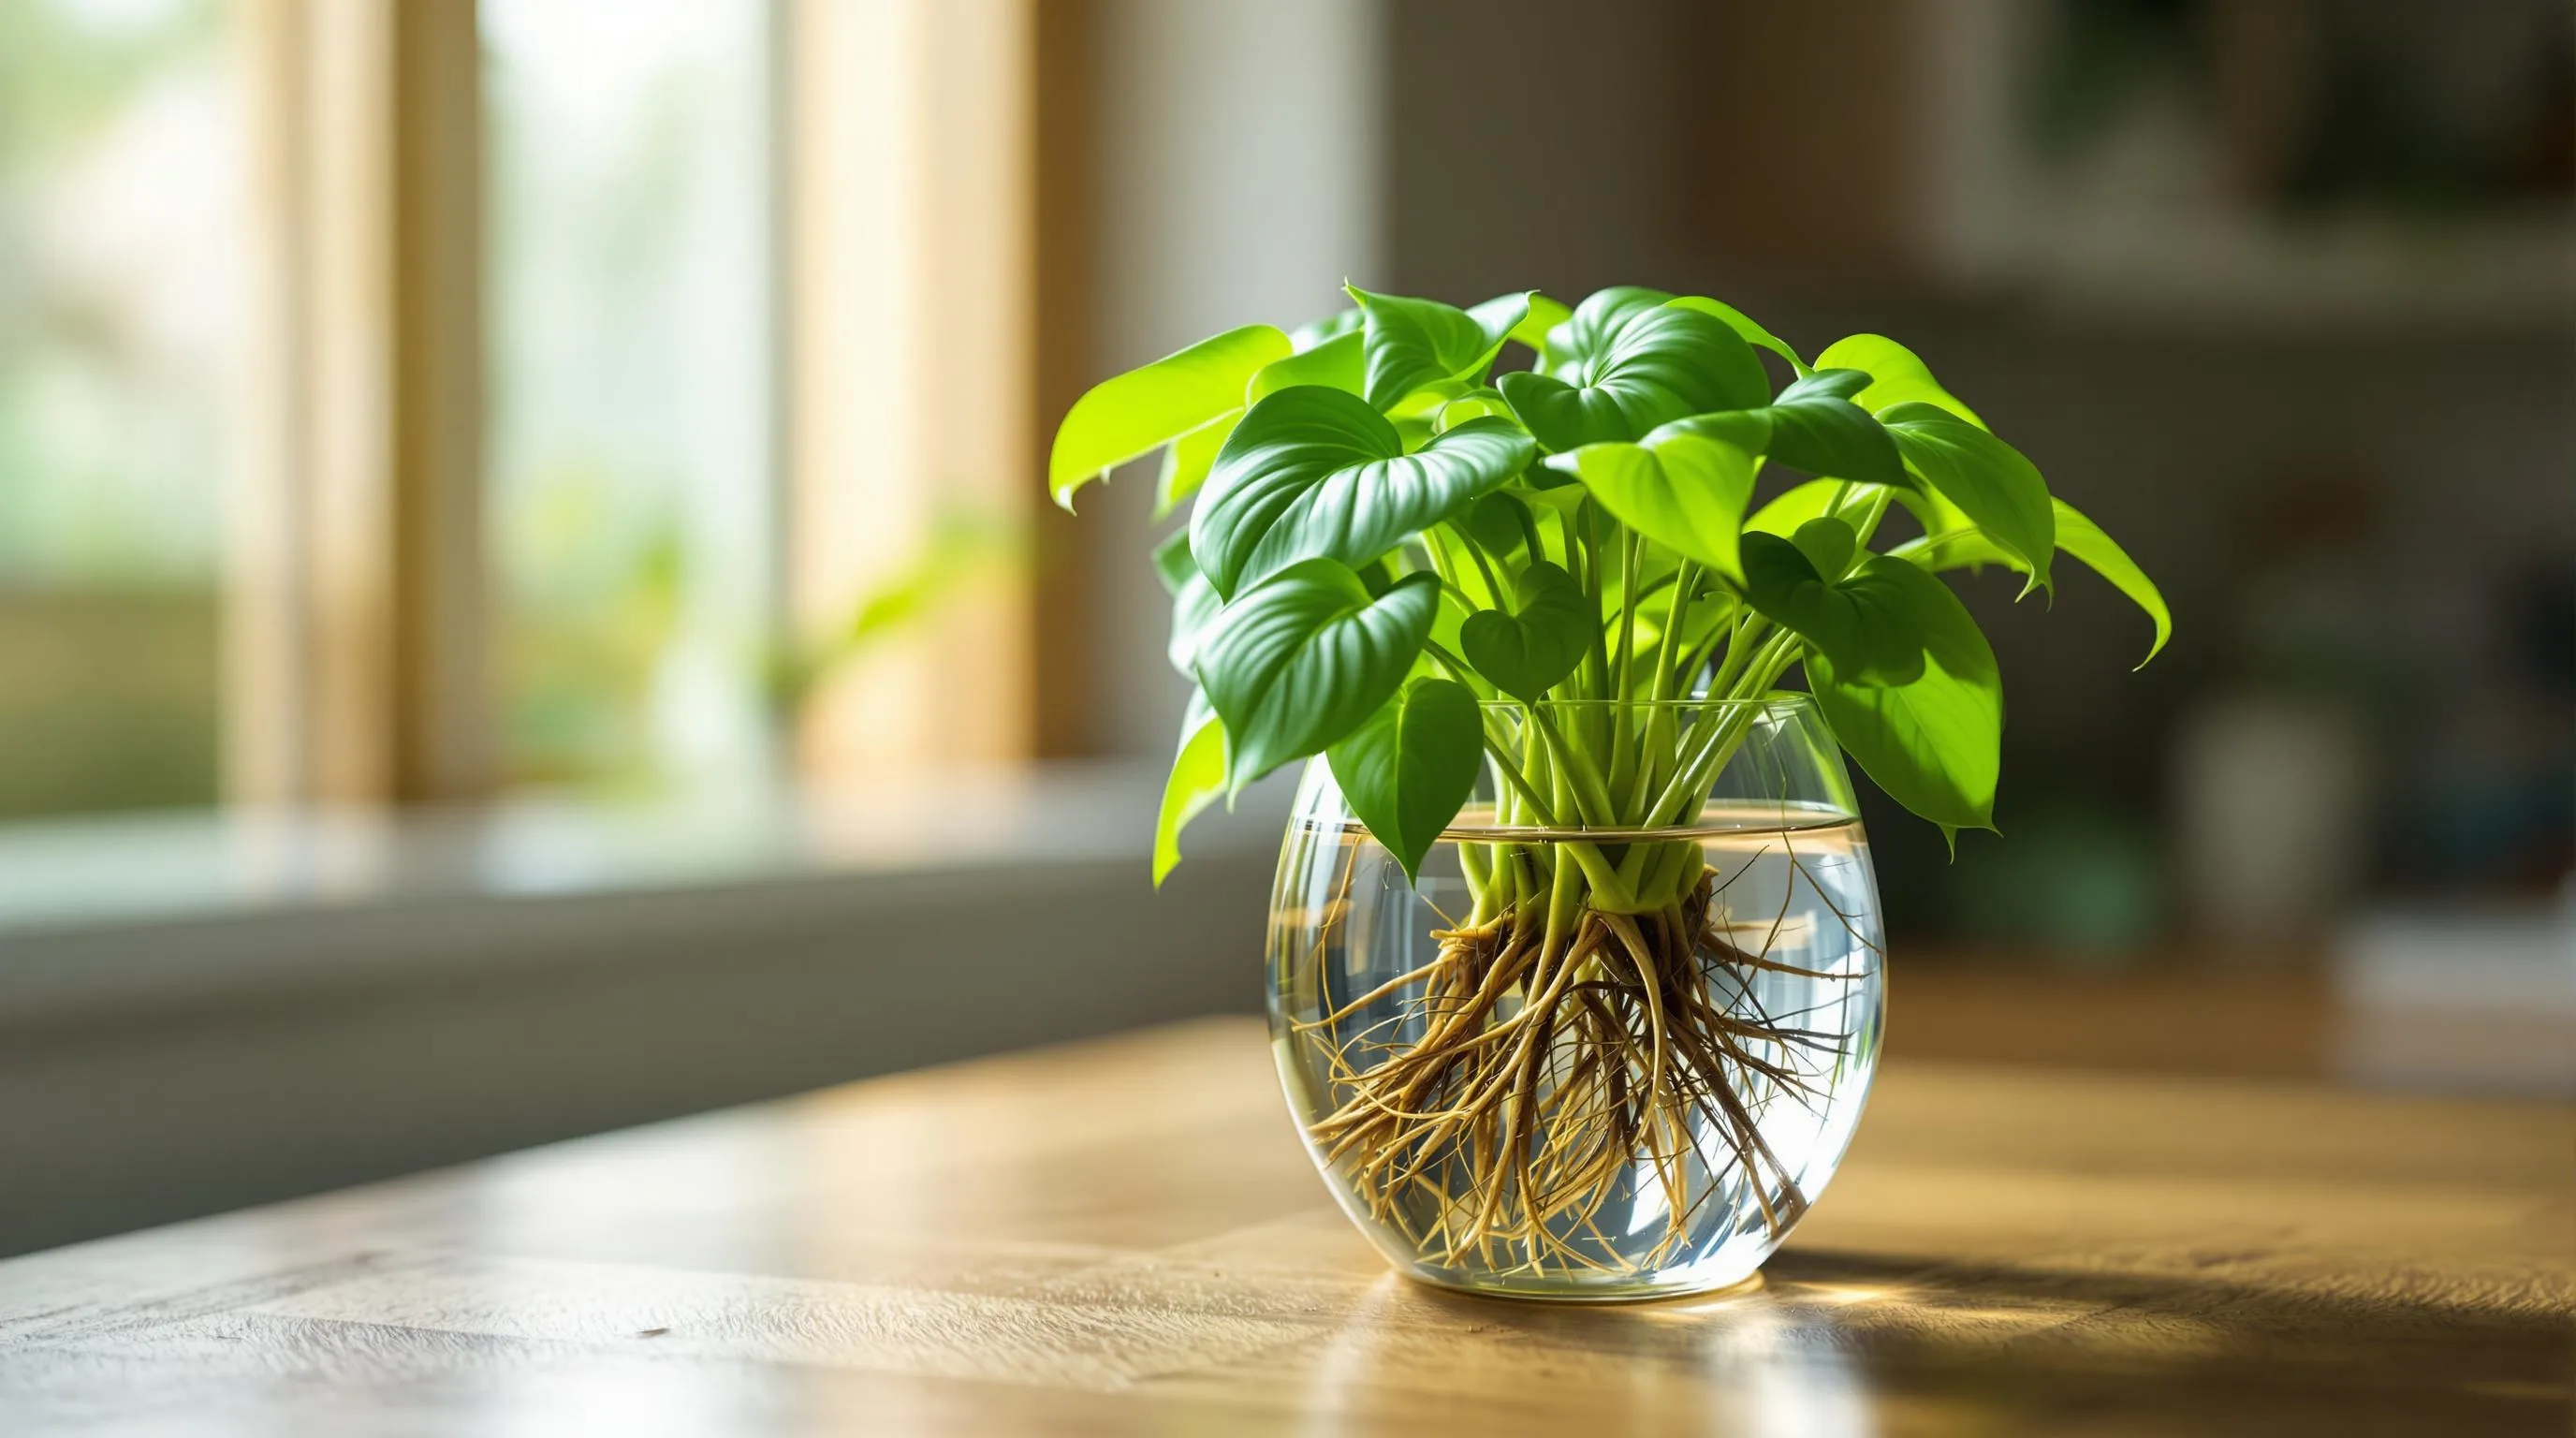
Pothos (Epipothos aureum) tops our list as the ultimate plant for propagation novices. With its trailing vines and resilient nature, pothos forgives mistakes that would kill other plants, making it ideal for your first propagation attempt.
How to Take and Root Pothos Cuttings in Water
Taking pothos cuttings is remarkably straightforward. Start by identifying a healthy vine and cut 4-6 inch sections just below a node (the small bumps where leaves emerge). Each cutting should have 3-4 leaves and at least one node, as roots will sprout from these points. Remove the lowest leaf to expose the node and place your cuttings in a clear container filled with room temperature water. Position the container in bright, indirect light and change the water every 5-7 days to prevent bacteria growth. Within 1-2 weeks, you’ll notice small white roots emerging from the nodes. Allow these roots to grow 1-2 inches long before transferring to soil, typically taking 3-4 weeks total.
Transferring Pothos Cuttings From Water to Soil
Once your pothos cuttings have developed a healthy root system in water, it’s time for the transition to soil. Prepare a pot with well-draining potting mix and make a small hole in the center. Gently remove your cutting from water, being careful not to damage the delicate roots, and place it in the prepared hole. Cover the roots completely with soil, pressing gently around the stem for stability. Water thoroughly and place in bright, indirect light. Keep the soil consistently moist (not soggy) for the first two weeks while your pothos adjusts to its new growing medium. You may notice some initial wilting, but your plant should perk up once established. After about a month, you can begin treating it like a mature pothos, allowing the top inch of soil to dry between waterings.
Spider Plants: Propagating From Spiderettes With Minimal Effort
Last update on 2026-02-10 / Affiliate links / Images from Amazon Product Advertising API
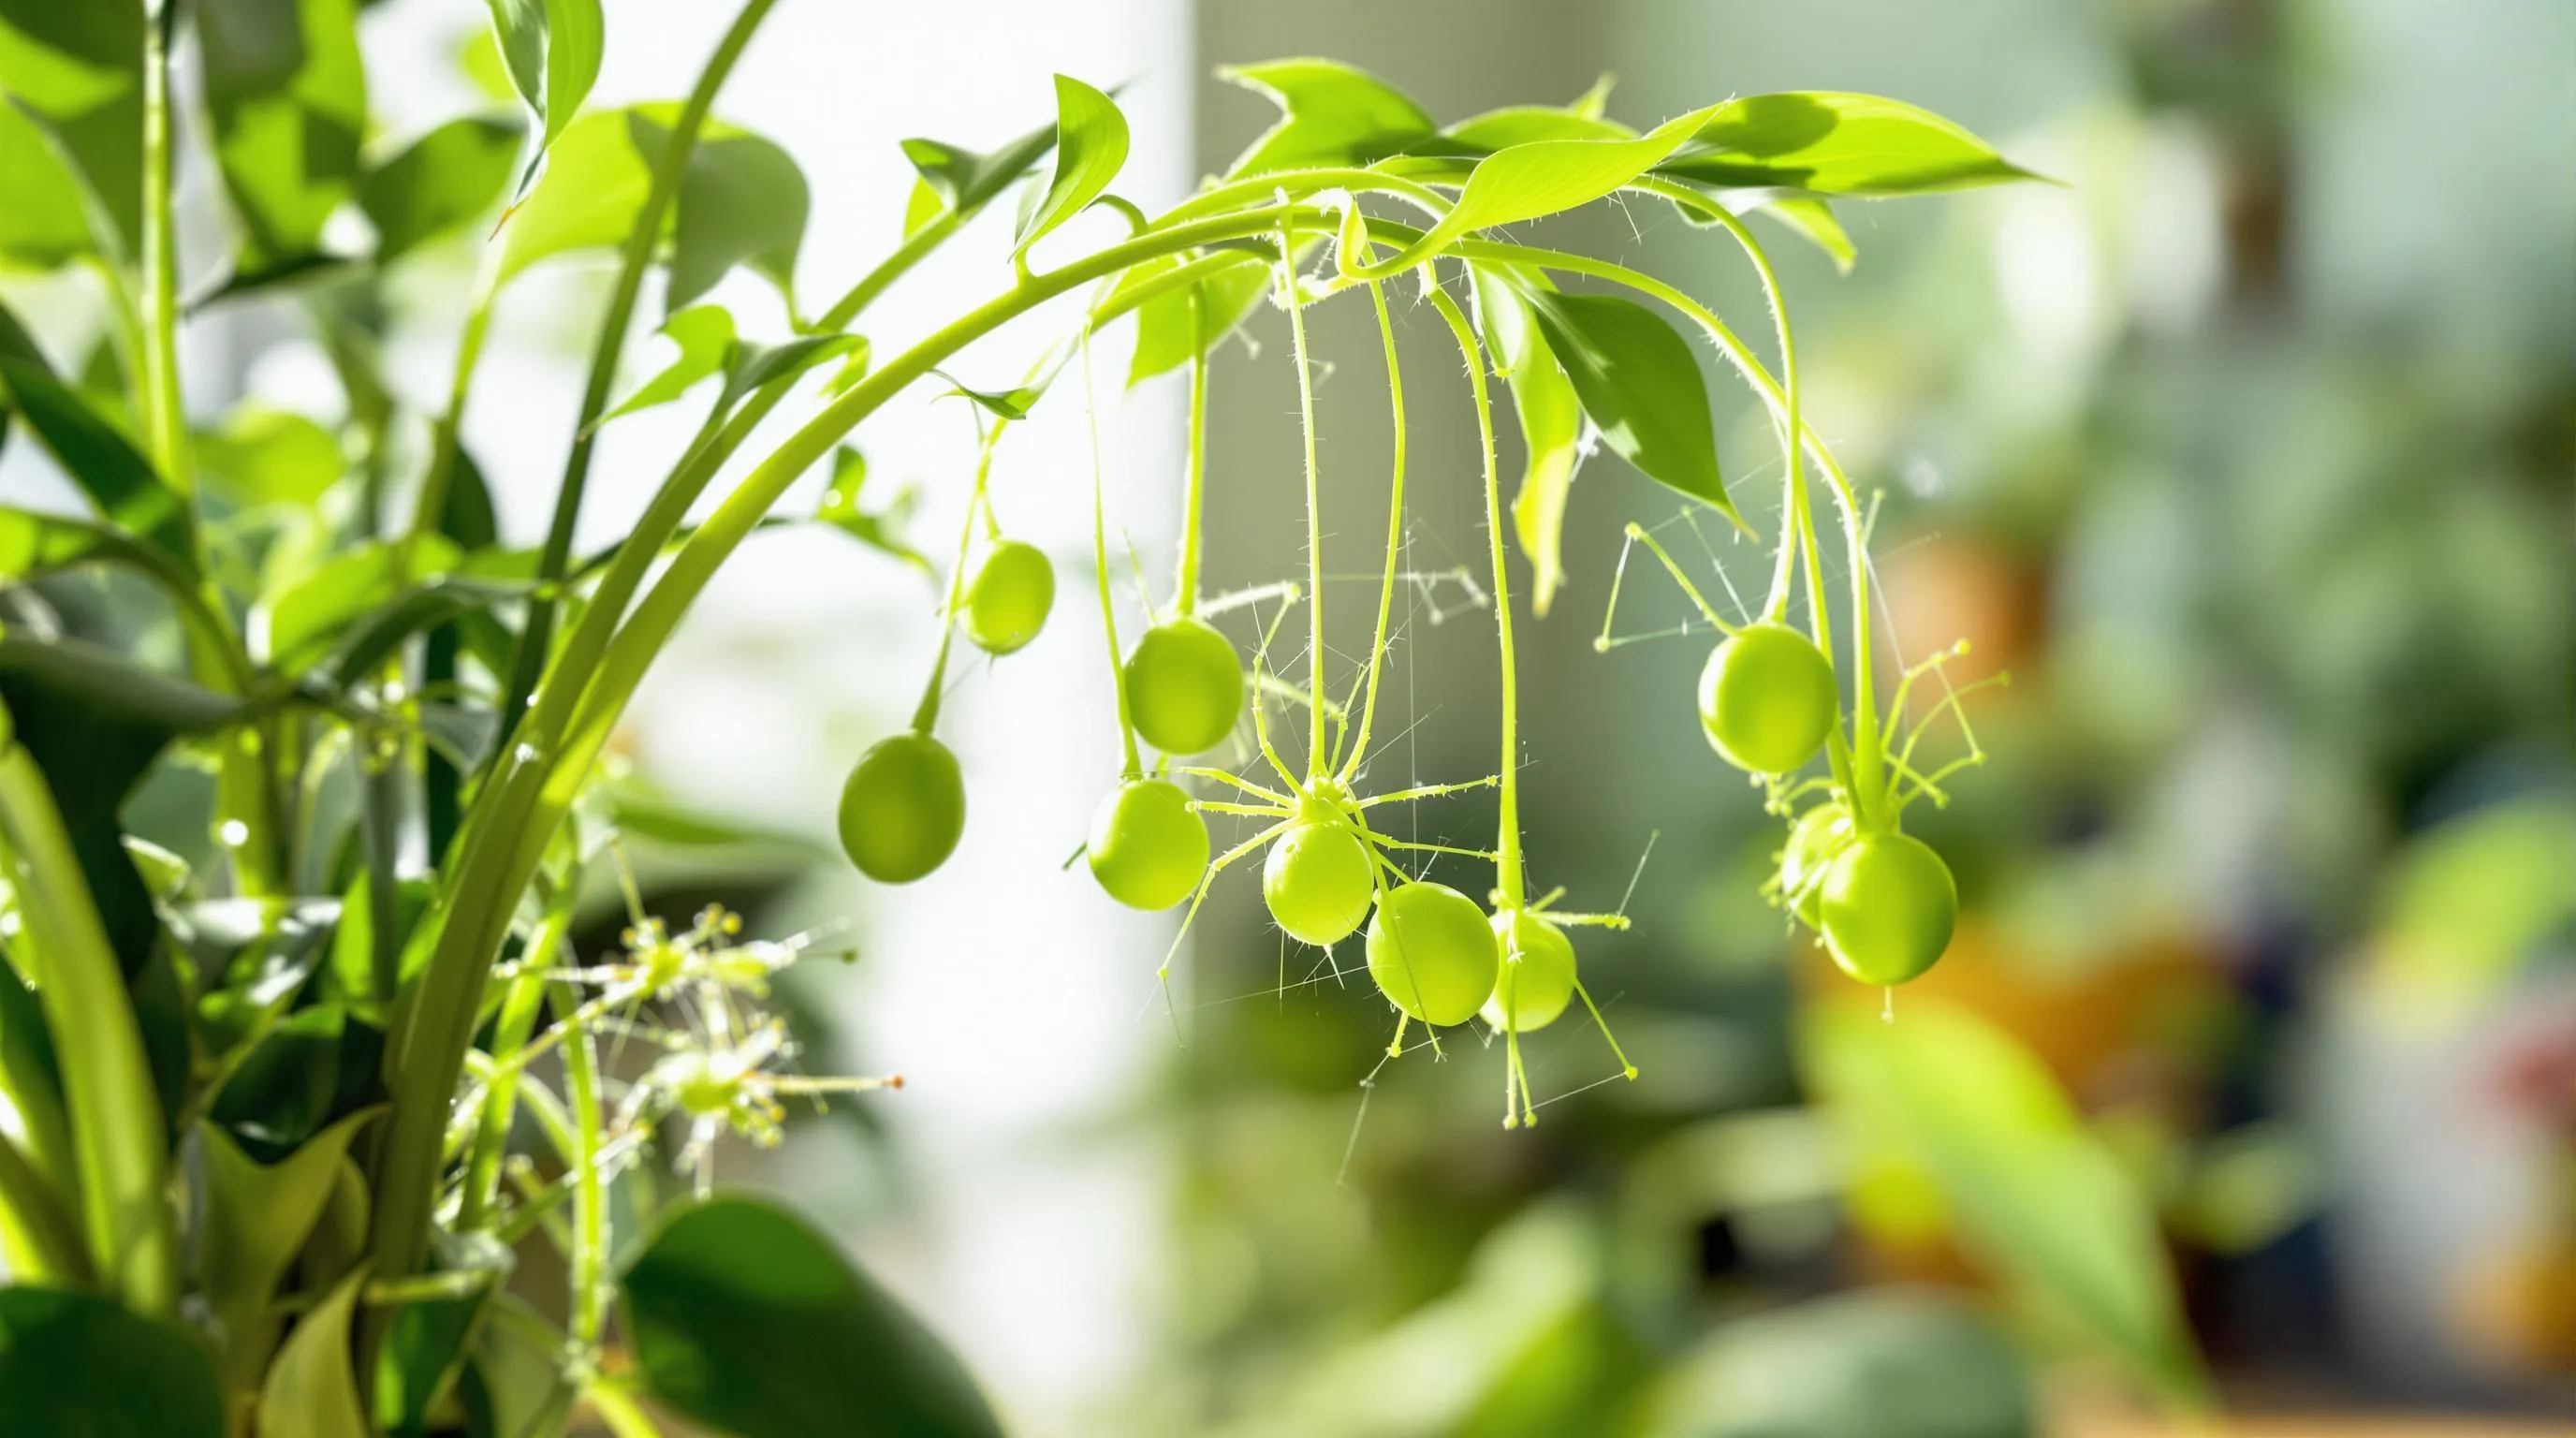
Spider plants (Chlorophytum comosum) rank among the easiest houseplants to propagate thanks to their prolific production of spiderettes—those small plantlets that dangle from long stems. These ready-made babies require minimal effort to grow into full-sized plants, making them perfect for beginners and experienced gardeners alike.
When and How to Harvest Spider Plant Babies
The best time to harvest spider plant babies is when they’ve developed small roots of their own, typically appearing as tiny nubs on the bottom of each spiderette. You’ll know they’re ready when these roots reach about 1/4 to 1/2 inch long. To harvest, simply snip the long stem connecting the baby to the mother plant using clean scissors, cutting about 1-2 inches from the spiderette. For the healthiest babies, choose spiderettes from mature, well-established mother plants that show robust growth. You can harvest year-round, but spider plants typically produce more babies during spring and summer when they’re actively growing.
Direct Soil vs. Water Propagation for Spider Plants
For spider plant propagation, you have two effective methods to choose from. Water propagation offers the satisfaction of watching roots develop in a clear container—simply place the spiderette in water with its root area submerged and change the water weekly to prevent bacteria growth. This method typically produces roots within 1-2 weeks. For direct soil propagation, plant the spiderette in moist potting mix with the root area slightly buried, then keep the soil consistently damp until new growth appears. While water propagation gives you the visual satisfaction of seeing root development, soil propagation often results in stronger root systems and eliminates the shock of transferring water-rooted plants to soil later. Both methods boast success rates above 90% with proper care, making spider plants one of the most foolproof plants to propagate.
Monstera Deliciosa: Creating New Statement Plants From Stem Cuttings
Last update on 2026-02-10 / Affiliate links / Images from Amazon Product Advertising API
The iconic Monstera deliciosa, with its dramatic fenestrated leaves, ranks among the most rewarding houseplants to propagate from cuttings. You can easily multiply your collection of these stunning statement plants with just a few strategic snips and some patience.
Identifying the Right Nodes for Monstera Propagation
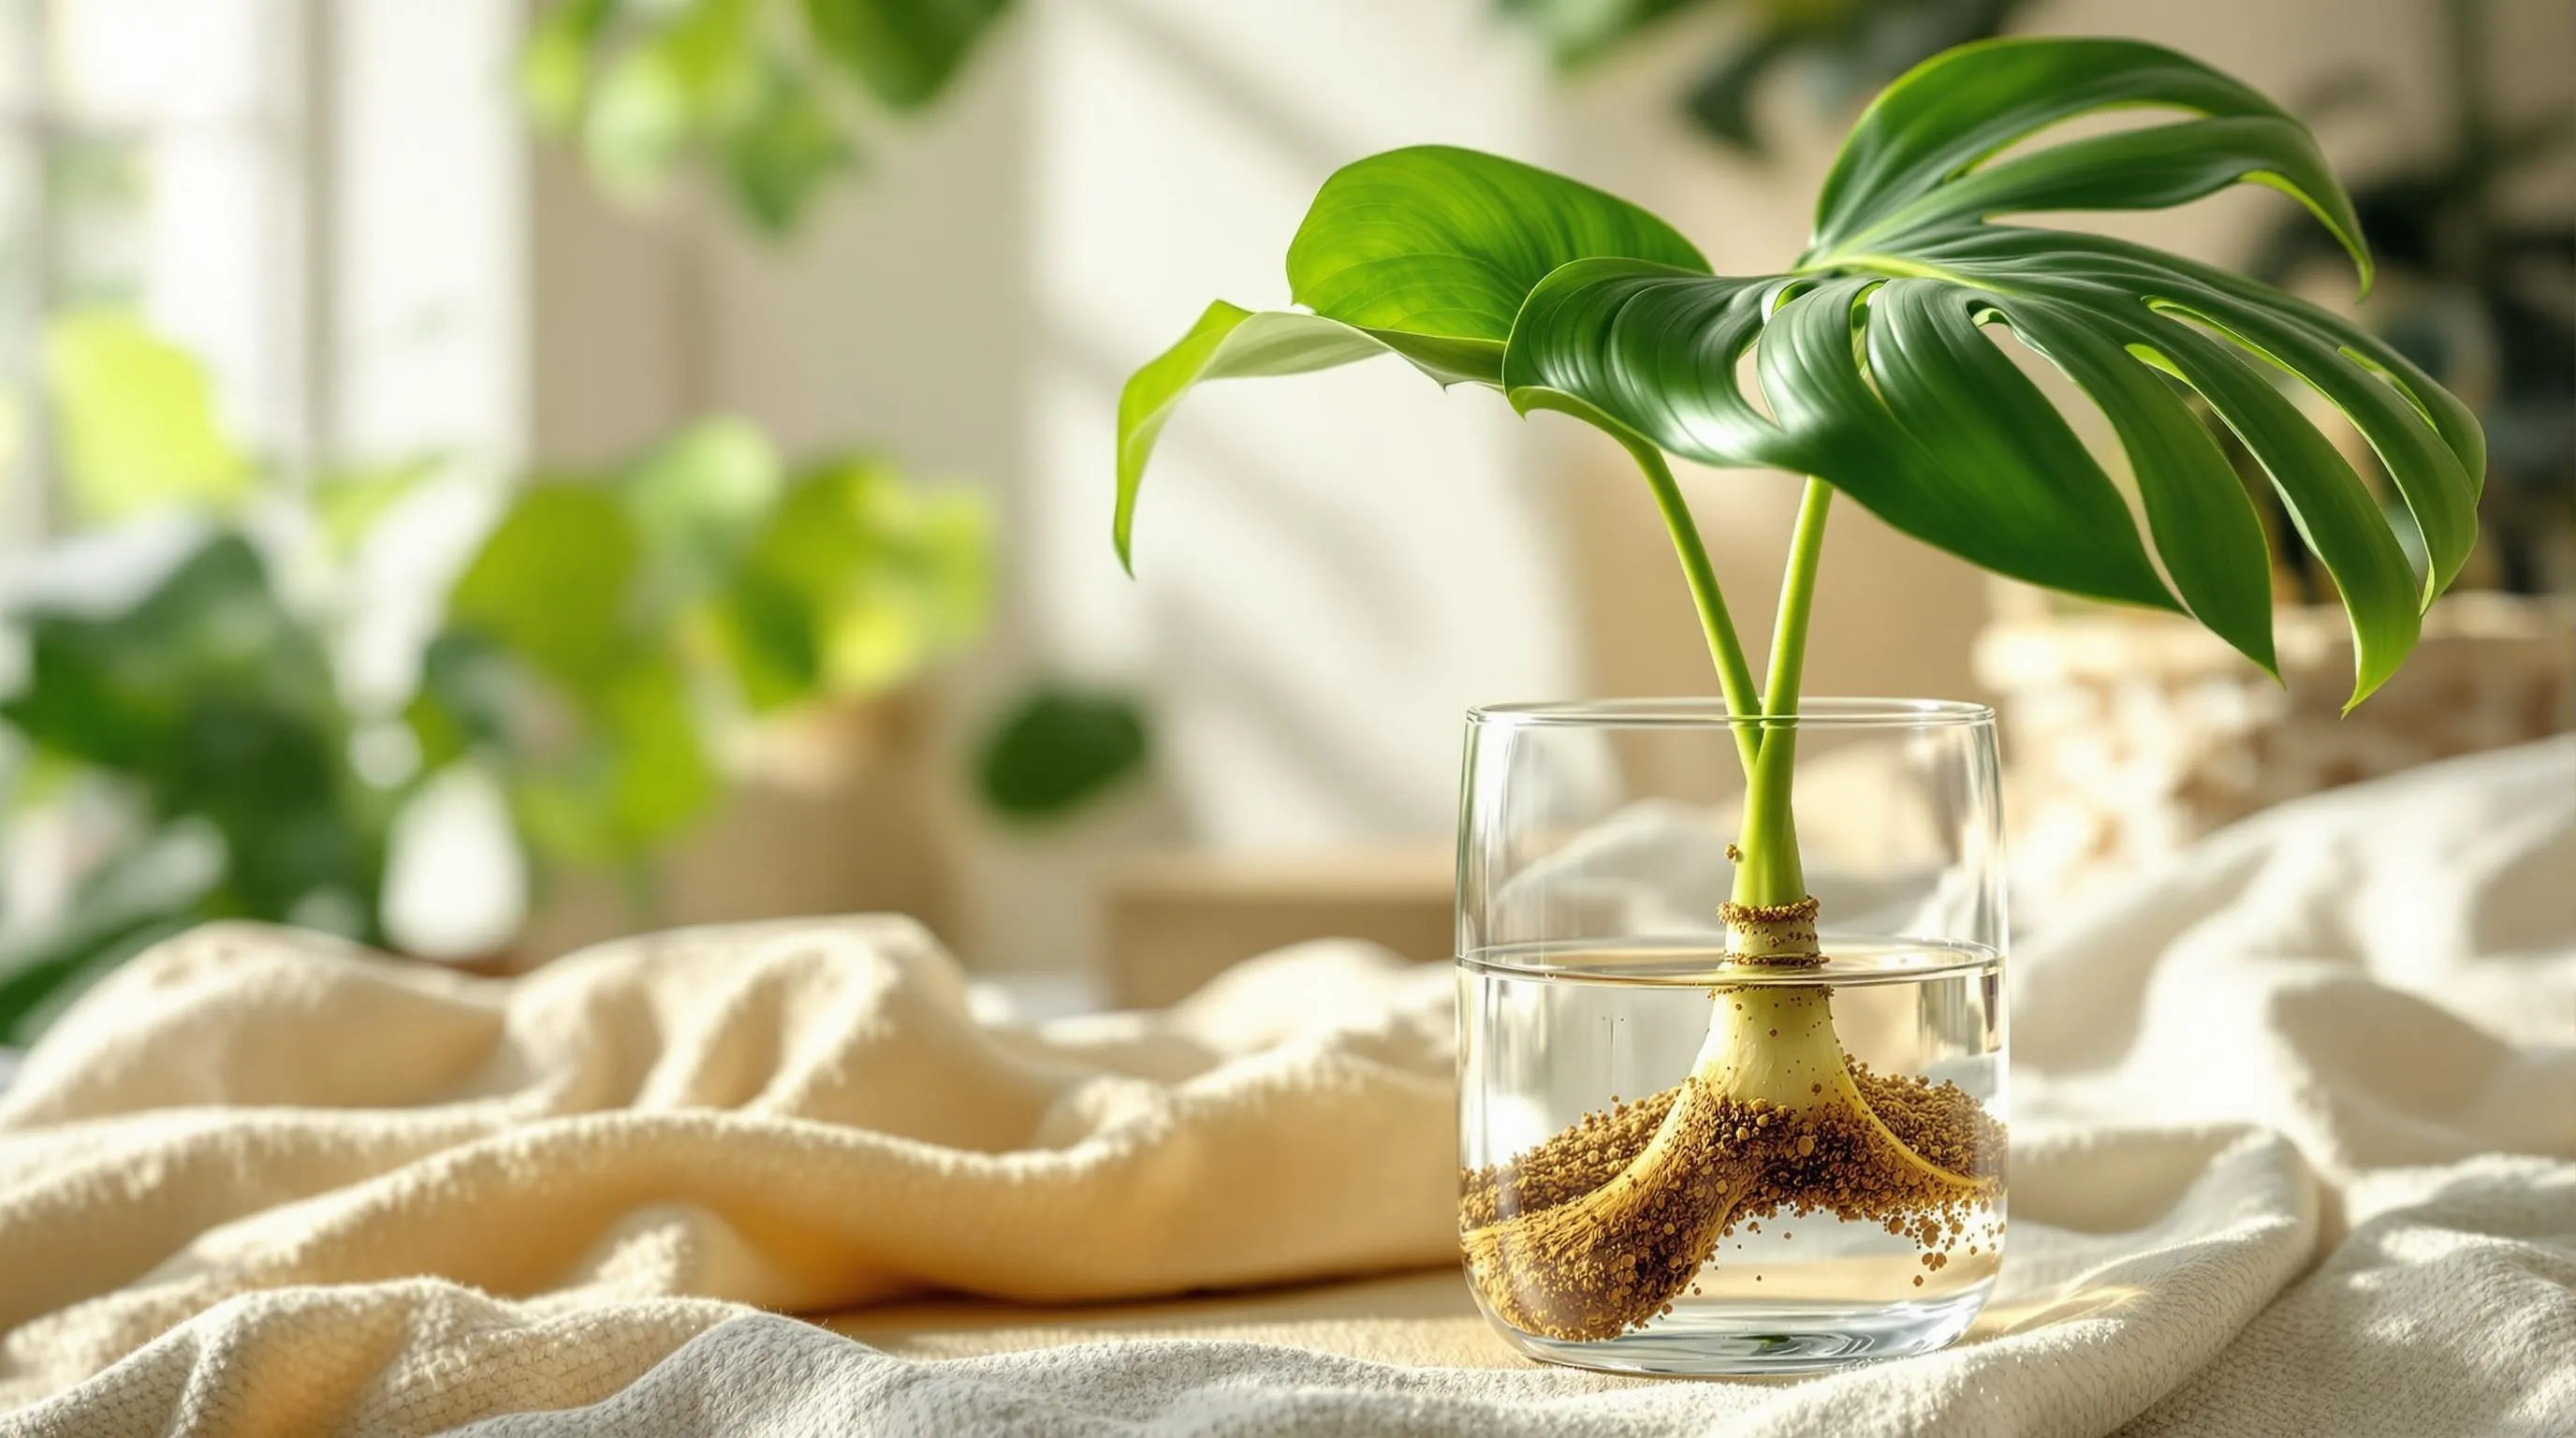
Successful Monstera propagation starts with identifying the perfect cutting location. Look for a healthy stem with at least one node (a small bump or aerial root) and one or two leaves. Nodes are essential as they contain the growth tissue needed for developing new roots. Using clean, sharp scissors or pruning shears, cut about 1/4 inch below a node, ensuring your cutting is 4-6 inches long. The ideal cutting will have 1-2 leaves and at least one aerial root or node. For best results, select stems with aerial roots already forming, as these will develop roots more quickly than nodes without them.
Caring for Your Monstera Cutting Until Roots Develop
Place your Monstera cutting in a clear container with room temperature water, ensuring the node is submerged while keeping leaves above the waterline. Position the container in bright, indirect light and change the water every 3-5 days to prevent bacterial growth. Within 2-3 weeks, you’ll notice roots beginning to develop from the node. Once these roots reach 2-3 inches long, transplant your cutting into a well-draining potting mix designed for aroids. During this transitional period, maintain consistent soil moisture and avoid direct sunlight which can stress the developing plant. Your new Monstera will establish itself over the next month, eventually growing into a magnificent statement plant that rivals its parent.
Philodendron Varieties: Multiplying Your Collection Through Simple Cuttings
Last update on 2026-02-10 / Affiliate links / Images from Amazon Product Advertising API
Philodendrons are among the most rewarding houseplants to propagate, with their striking foliage and forgiving nature making them perfect for expanding your indoor jungle. These tropical beauties can transform from a single cutting into a lush, full plant with minimal effort on your part.
Heart-Leaf Philodendron Propagation Techniques
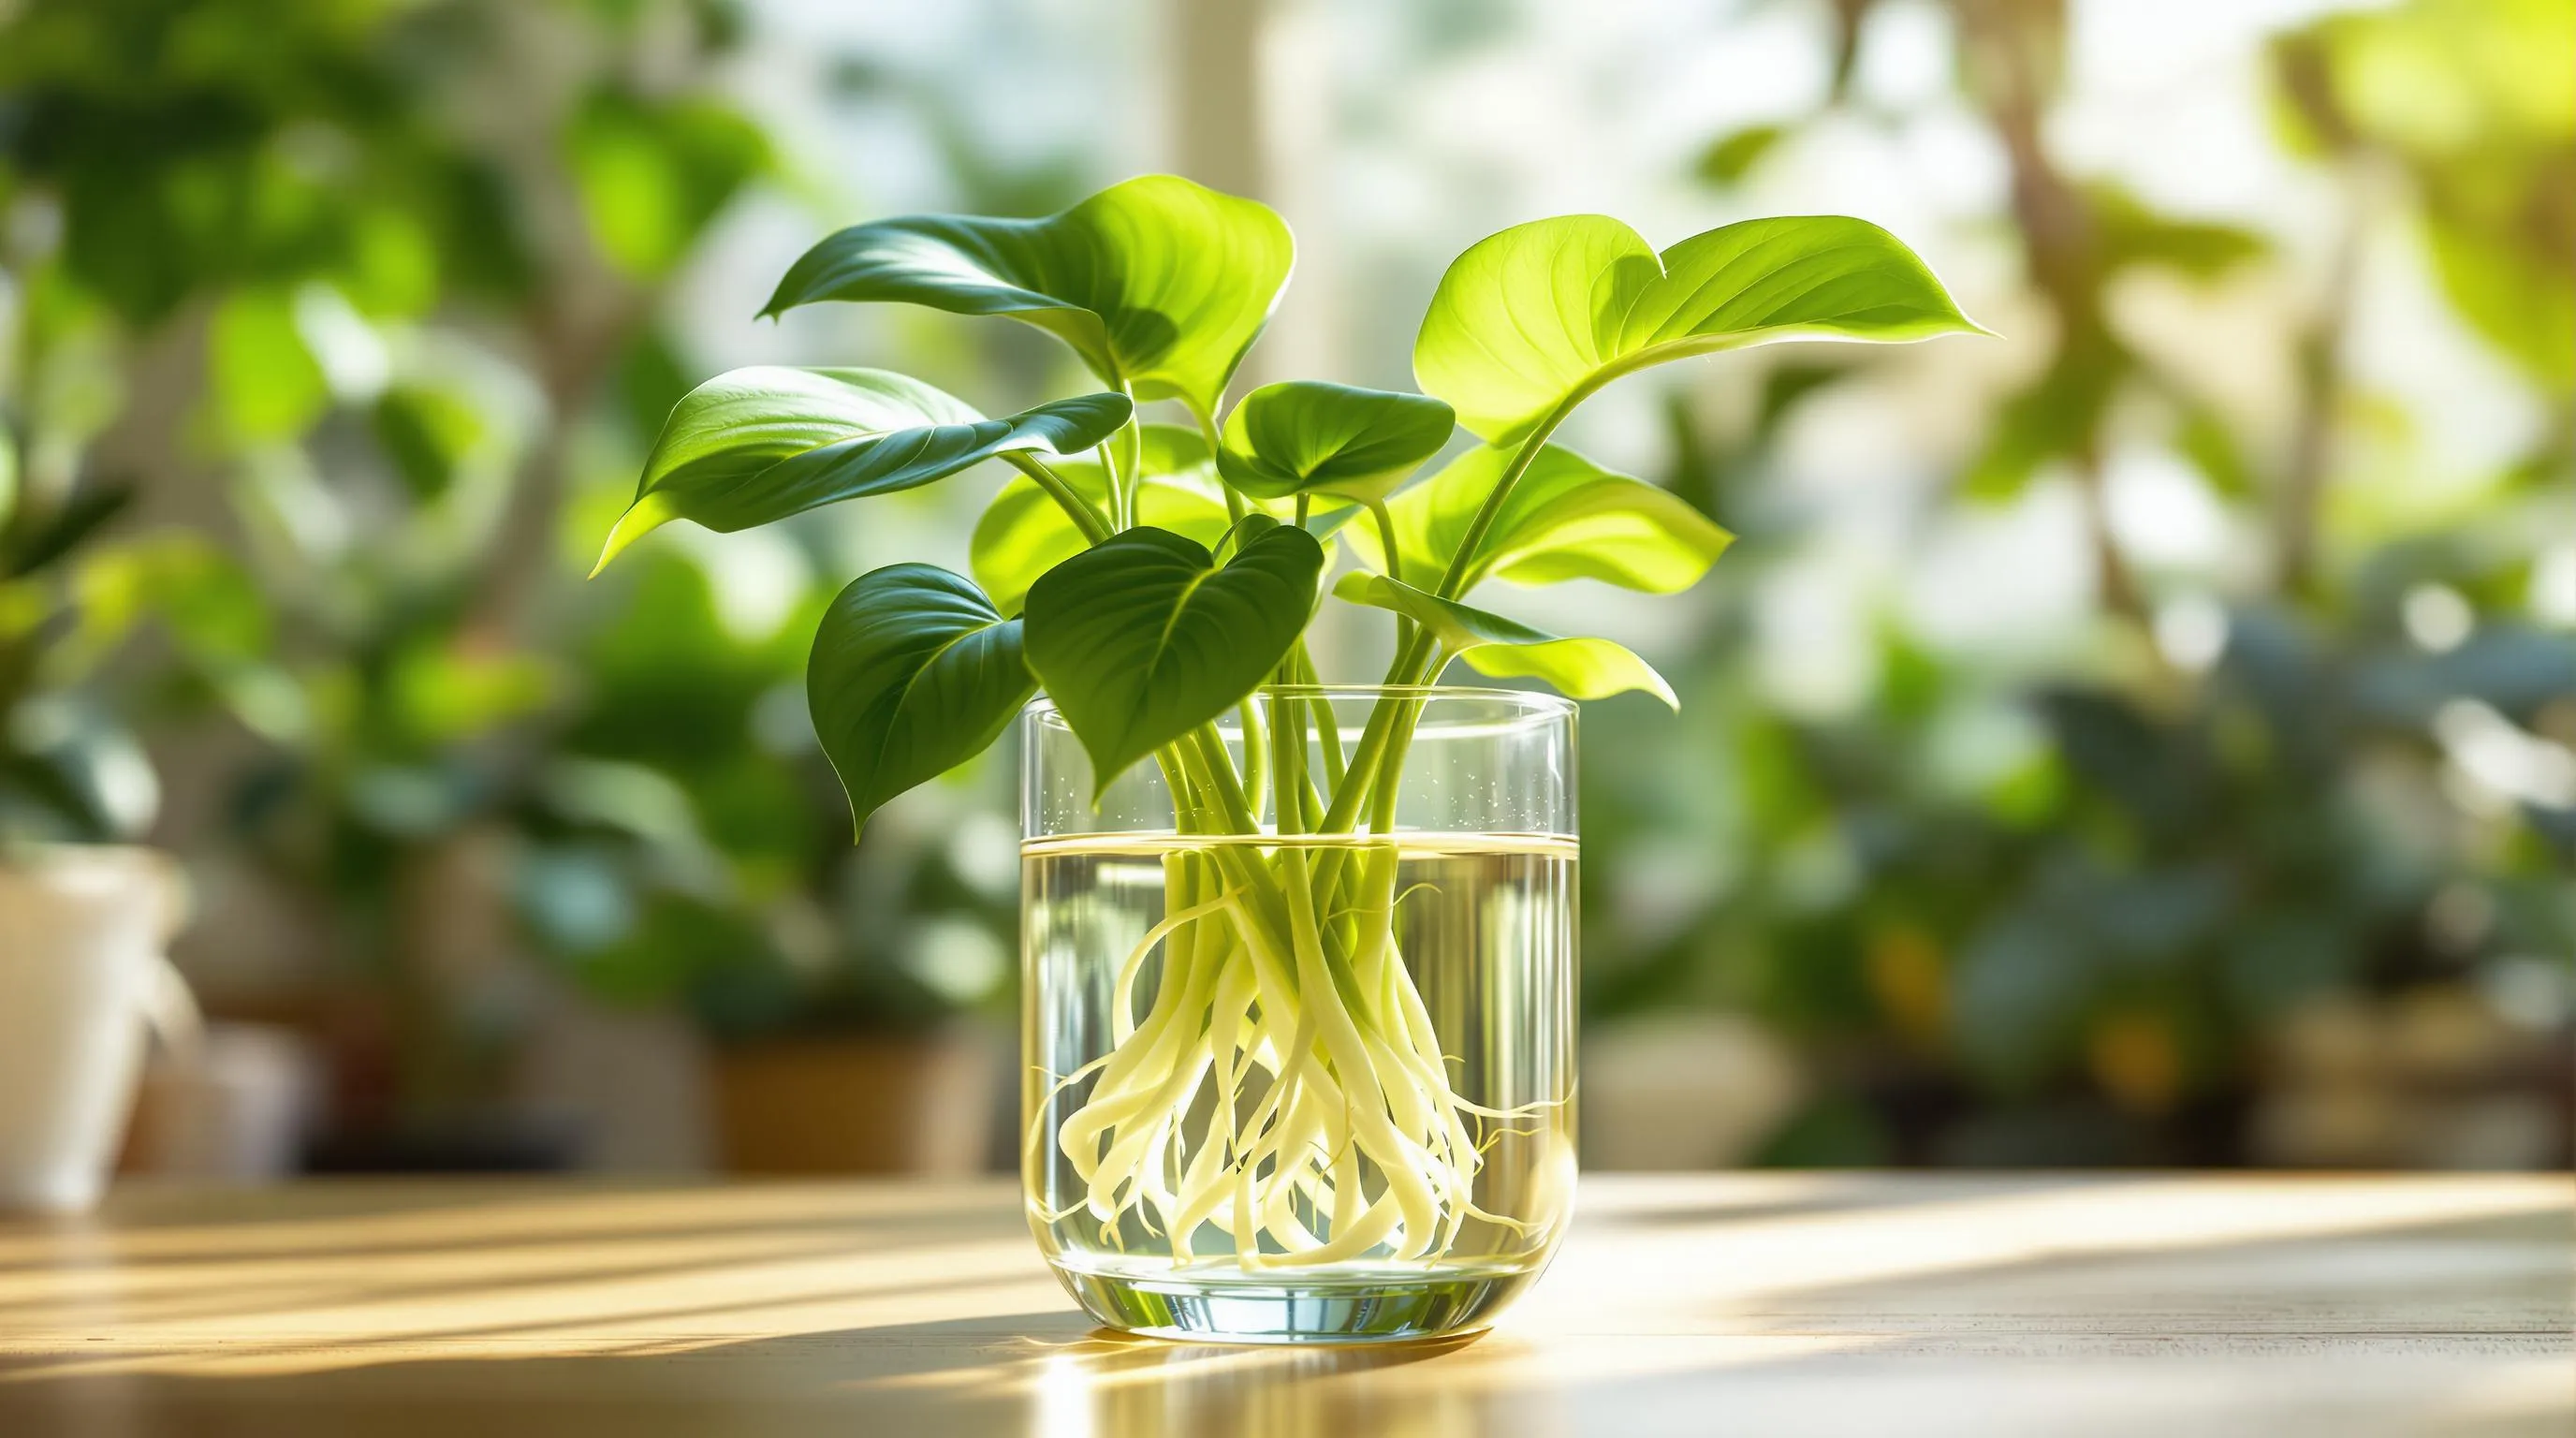
Heart-leaf philodendrons (Philodendron hederaceum) offer one of the easiest propagation experiences for beginners. To start, select a healthy vine with at least 3-4 leaves and cut just below a node—the small bumpy area where leaves emerge. Each cutting should include 1-2 nodes, as this is where new roots will develop. Place your cutting in a clear container filled with room-temperature water, ensuring at least one node is submerged while keeping leaves above water. Position your cutting in bright, indirect light and change the water weekly to prevent bacteria growth. Within 2-3 weeks, you’ll notice small white roots emerging from the nodes. Once these roots reach about 1-2 inches long, transplant your cutting into a well-draining potting mix. Water thoroughly and continue regular care as you would for a mature philodendron.
Tips for Encouraging Faster Root Development
Speed up your philodendron propagation process with these proven techniques. Maintain a warm environment between 70-80°F (21-27°C) to encourage active growth, as philodendrons are tropical plants that thrive in warmth. Add a drop of liquid houseplant fertilizer to your propagation water (at 1/4 the recommended strength) to provide nutrients that support root formation. Consider using a clean, sharp blade for taking cuttings to minimize damage to plant tissue, which helps prevent infection and promotes faster healing. For soil propagation, applying a rooting hormone to the cut end before planting can significantly accelerate root development. Create a mini greenhouse effect by covering cuttings with a clear plastic bag or container, removing it daily for fresh air exchange. This increases humidity and warmth, creating ideal conditions for root growth. Finally, be patient but observant—check for root development weekly but avoid disturbing the cutting too frequently, as constant handling can stress the developing plant.
Snake Plants: Transforming Leaf Cuttings Into New Plants
Last update on 2026-02-10 / Affiliate links / Images from Amazon Product Advertising API
Snake plants (Sansevieria) are among the most forgiving houseplants to propagate from leaf cuttings. Their thick, sturdy leaves contain all the genetic information needed to develop into entire new plants, making them perfect for expanding your collection with minimal effort.
Vertical Leaf Cutting Method for Snake Plants
The vertical cutting method is the most reliable way to propagate snake plants. Select a healthy, mature leaf and cut it into 2-3 inch sections using clean, sharp scissors. Remember to note which end was closest to the soil—this is the bottom end. Allow the cut ends to callus over for 24-48 hours to prevent rotting. Once callused, place the bottom end about 1 inch deep in well-draining cactus or succulent soil mix. Keep the soil lightly moist but never soggy, and position your cuttings in bright, indirect light. Patience is key here—new growth typically emerges from the soil line after 4-8 weeks, with roots developing beneath the surface. Maintain temperatures between 65-85°F for optimal results, and avoid fertilizing until you see new growth establishing.
Troubleshooting Common Snake Plant Propagation Issues
Even with snake plants’ resilience, you might encounter some challenges during propagation. If your cuttings develop rot, which appears as soft, discolored tissue, you’ve likely overwatered or didn’t allow proper callusing time. Remove affected sections immediately and start fresh with drier conditions. For cuttings that show no signs of growth after 2-3 months, check that you’ve maintained the correct orientation—upside-down cuttings won’t root properly. Temperature fluctuations can also stall growth, so keep your propagation setup in a stable environment. Yellowing leaves typically indicate overwatering, while shriveling suggests underwatering. Adjust your watering schedule accordingly, always letting the top inch of soil dry out between waterings. Remember that snake plant propagation is slower than many other houseplants—sometimes taking up to six months for substantial growth—so don’t give up too quickly on your cuttings.
ZZ Plants: Patience-Testing But Rewarding Propagation
ZZ plants (Zamioculcas zamiifolia) might test your patience during propagation, but the results are worth the wait. These nearly indestructible houseplants with their glossy, dark green leaves can be successfully multiplied through cuttings, giving you more of these low-maintenance beauties for your collection.
Stem Cutting vs. Leaf Cutting Methods for ZZ Plants
You can propagate ZZ plants using either stem or leaf cuttings, each with different success rates. For stem cuttings, cut a healthy stem with multiple leaves at the base where it meets the rhizome, ensuring you have at least 2-3 inches of stem. Allow the cut end to callus for 24 hours before placing it in well-draining soil or water. Leaf cuttings require less plant material but take significantly longer to develop. Simply remove a healthy leaf with its petiole (stem) intact, let the cut end dry for a day, then plant it in moist, well-draining soil. While stem cuttings typically develop new rhizomes within 4-6 months, leaf cuttings may take up to a year to produce visible growth, making them a true exercise in gardening patience.
Understanding the ZZ Plant’s Slow Propagation Timeline
ZZ plant propagation requires exceptional patience compared to other houseplants. Unlike pothos or spider plants that root within weeks, ZZ plants develop new growth at a glacial pace. When propagating in water, you might not see roots for 2-3 months, while soil propagation can take 4-8 months before new shoots emerge. This slow timeline results from the plant’s natural adaptation to drought conditions in its native East Africa, where it conserves energy rather than growing quickly. Temperature also significantly impacts propagation speed—maintain your cuttings in warm conditions (70-75°F) for faster results. Even though the wait, successfully propagating a ZZ plant offers immense satisfaction and proves your dedication to plant parenthood.
Tradescantia (Wandering Jew): Rapid Propagation for Lush Trailing Plants
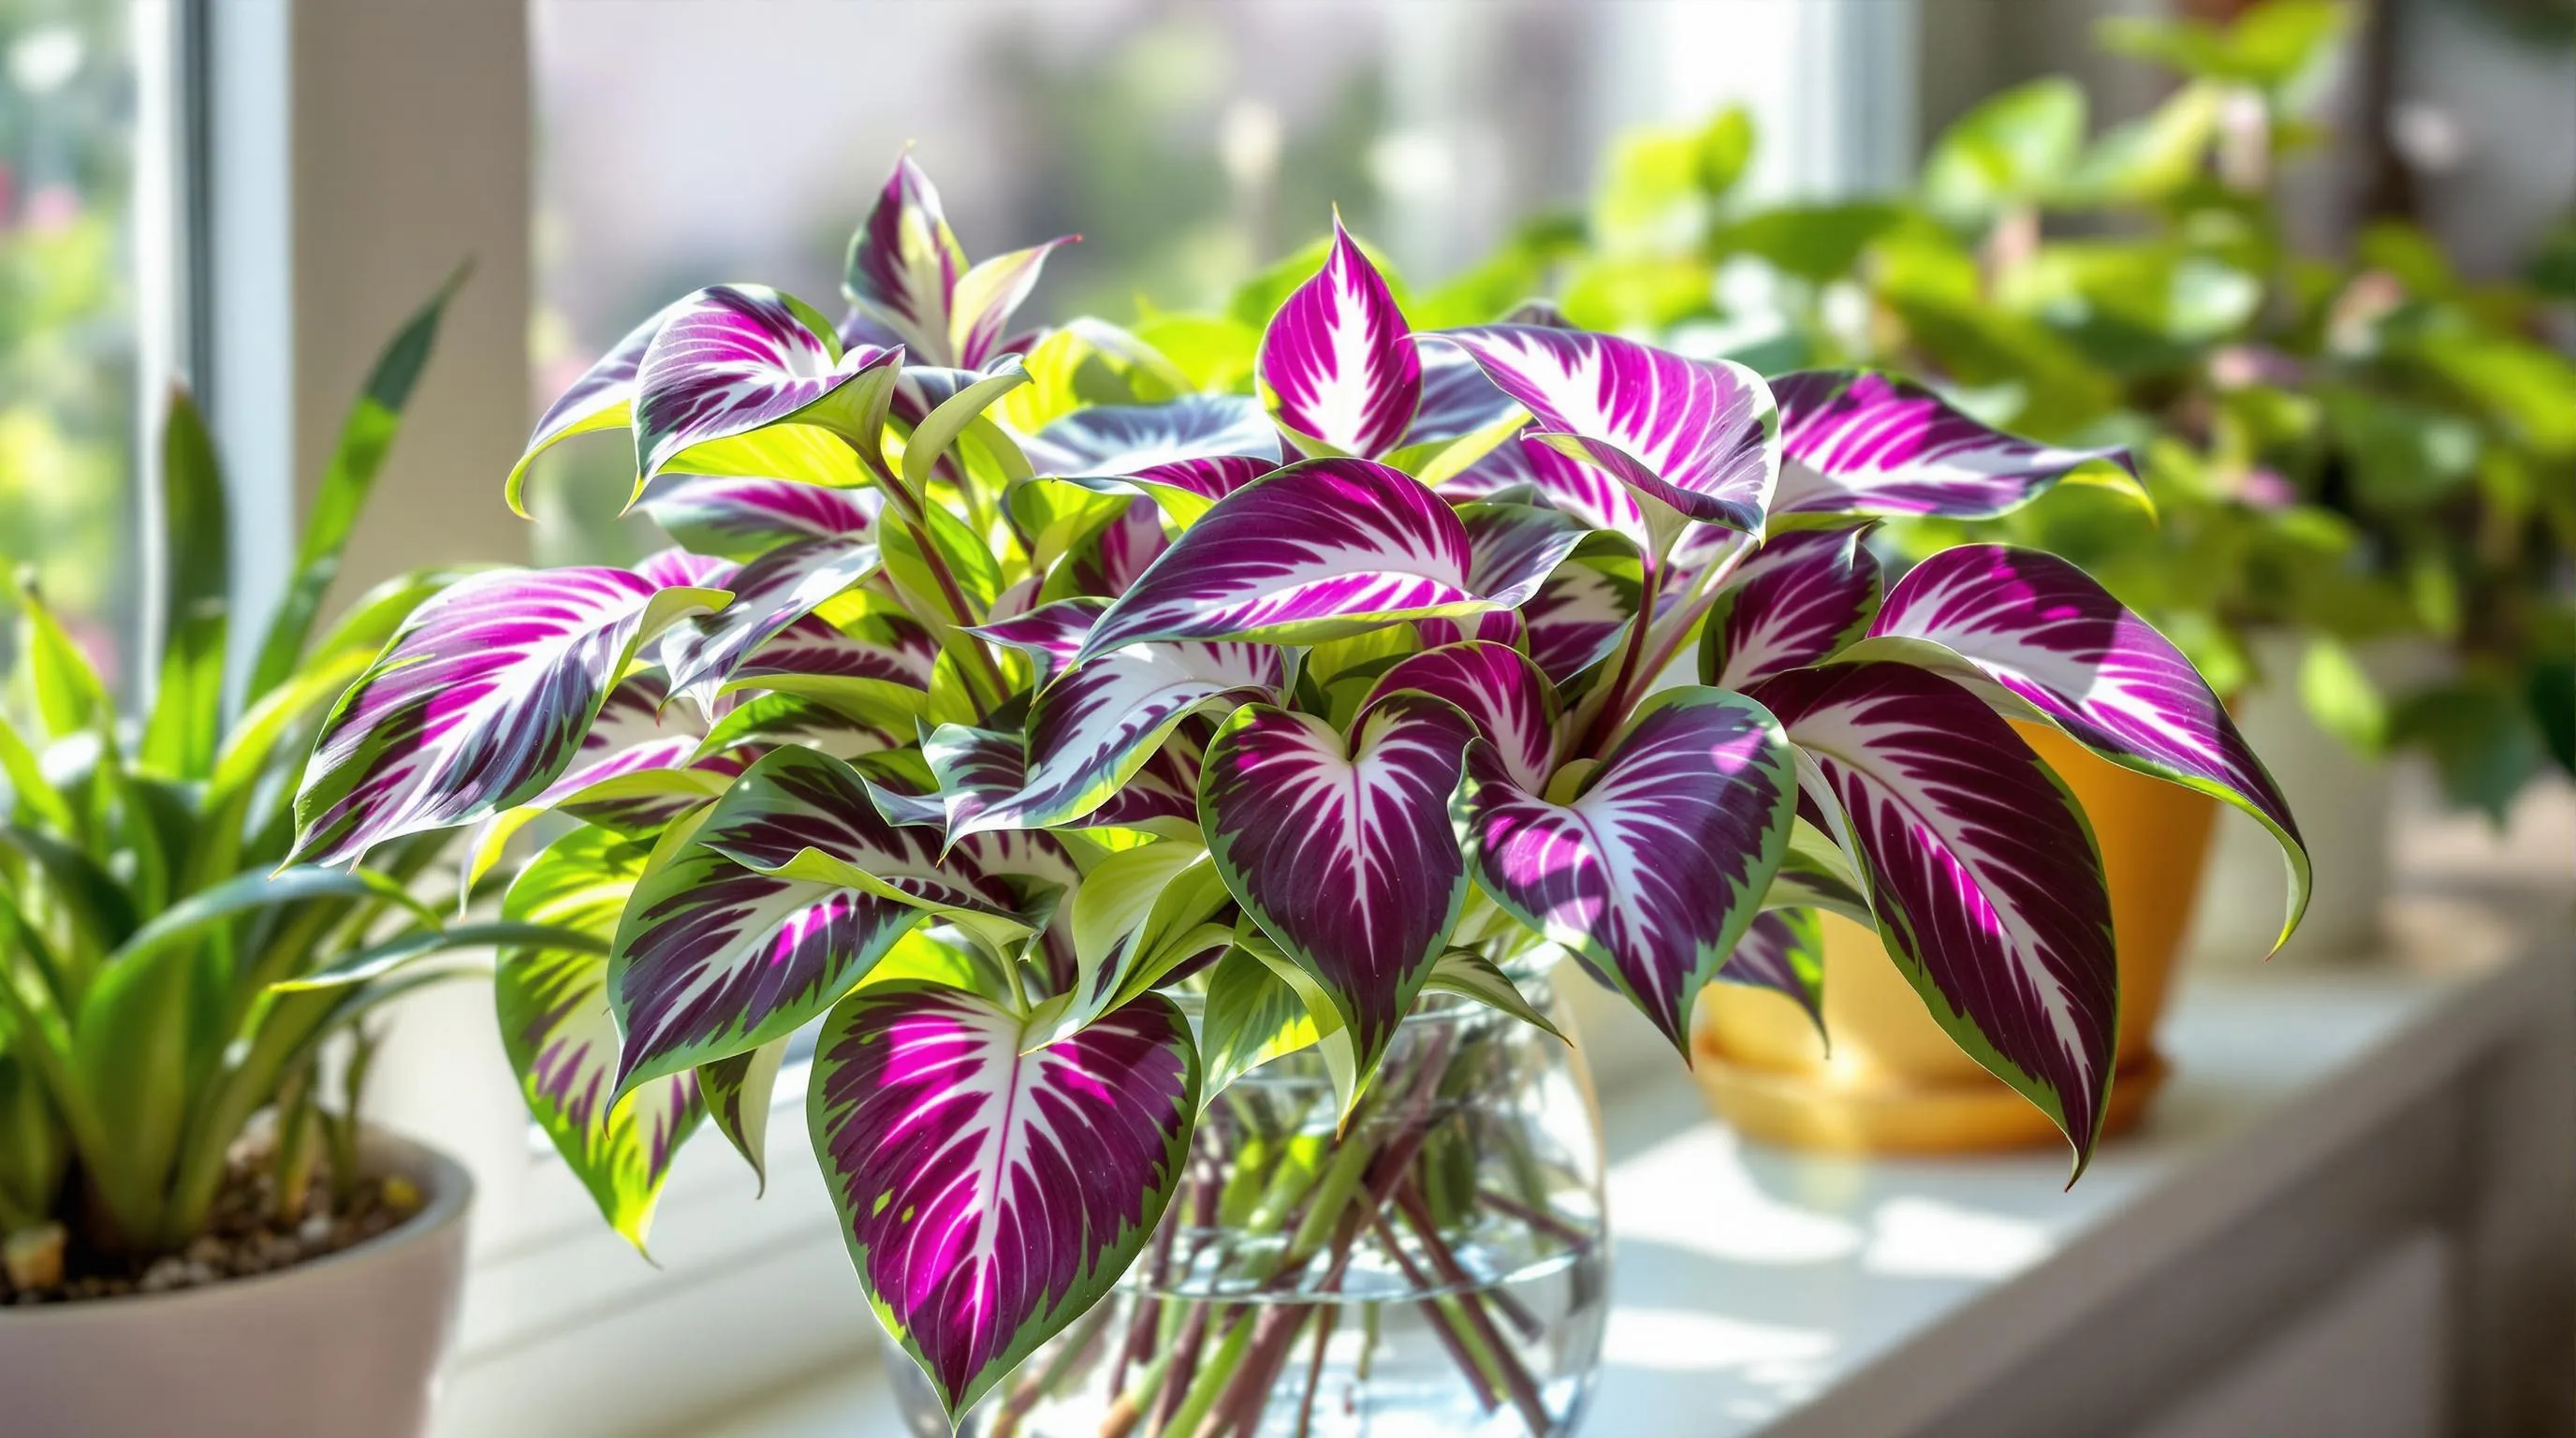
Tradescantia, commonly known as Wandering Jew, ranks among the fastest-propagating houseplants you can grow. With its striking purple, green, and silver variegated leaves and trailing growth habit, this plant rewards even novice propagators with quick results.
Creating Multiple Plants From a Single Stem
Propagating Tradescantia is remarkably straightforward and offers impressive multiplication potential. Take 4-6 inch stem cuttings just below a leaf node, ensuring each cutting has at least 2-3 nodes. Remove the bottom leaves to expose the nodes, as this is where roots will emerge. You can place cuttings directly in water or soil – both methods boast nearly 100% success rates. In water, you’ll see roots forming within 3-5 days, while soil-planted cuttings will show new growth within 2 weeks. For even faster results, place multiple cuttings in a single pot to create an instantly fuller plant. One mature Tradescantia can easily yield 15-20 cuttings, allowing you to create several new plants or share with friends.
Maintaining Vibrant Leaf Color During Propagation
The striking coloration that makes Tradescantia so desirable requires special attention during propagation. Place your cuttings in bright, indirect light to maintain vibrant purple, silver, and green variegation – too little light causes colors to fade, while direct sunlight can scorch the delicate leaves. Water propagation offers the advantage of monitoring root development while showcasing the plant’s colorful stems. Refresh water weekly to prevent bacterial growth that can affect leaf color. Once established, feed monthly with a balanced liquid fertilizer diluted to half-strength to intensify coloration. For purple varieties like T. pallida or zebrina, positioning in brighter light (still avoiding direct sun) enhances their purple pigmentation, resulting in more dramatic coloration as your propagated plants mature.
Succulents: Turning Fallen Leaves Into Thriving New Plants
Succulents are propagation champions with their remarkable ability to grow entirely new plants from a single leaf. This water-conserving adaptation makes them perfect for beginners and experienced plant parents alike who want to expand their collection with minimal effort.
Propagating Different Types of Succulents From Leaves
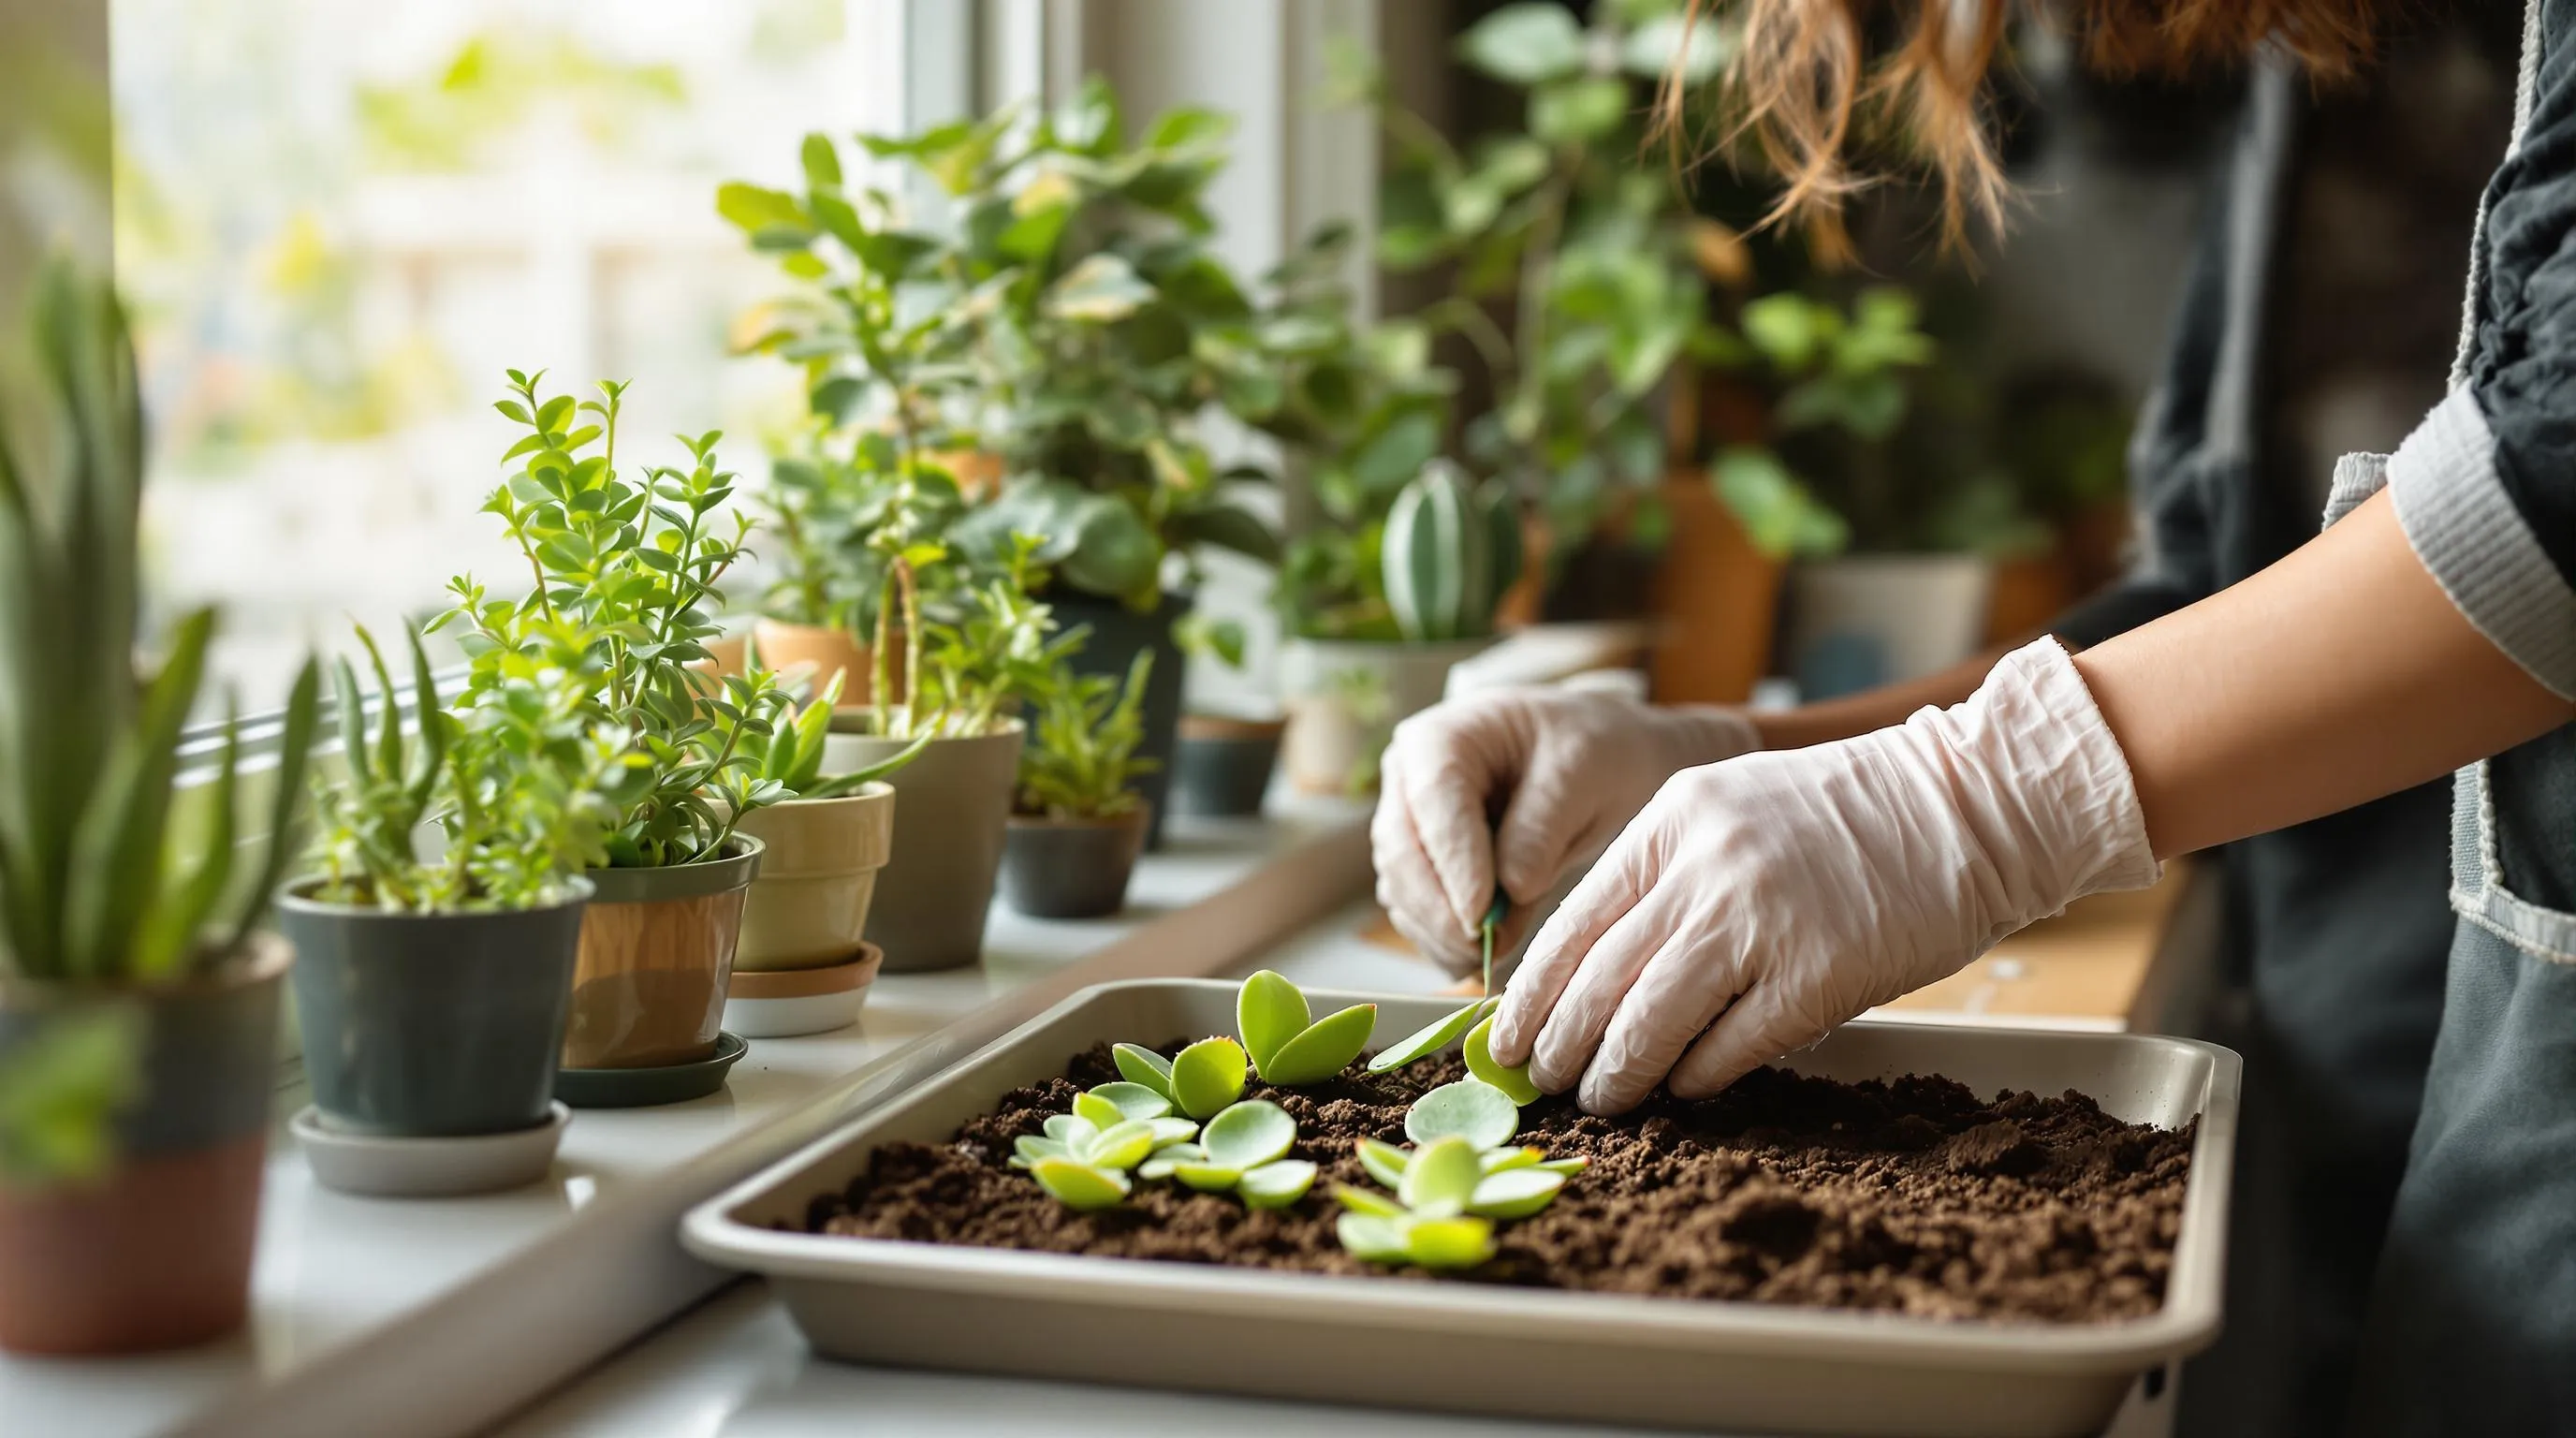
Echeveria, Sedum, and Crassula (jade plants) are among the easiest succulents to propagate from leaves. To start, gently twist a healthy leaf from the parent plant, ensuring you get a clean break that includes the base of the leaf. Allow the leaf to callus for 2-3 days by leaving it in a dry, warm place away from direct sunlight. Once callused, place the leaf on well-draining cactus soil, with the broken end barely touching or hovering just above the soil surface. Mist the soil lightly every few days rather than watering deeply. Within 2-4 weeks, you’ll notice tiny pink roots forming, followed by a miniature rosette growing at the base of the original leaf. The mother leaf will eventually shrivel as it transfers nutrients to the new plant, which you can pot up once it reaches about 1 inch in diameter.
Creating a Mini Succulent Nursery From Cuttings
Transform your propagation projects into an organized mini nursery by using shallow trays filled with cactus soil mix. Place your leaf cuttings about an inch apart to give them room to grow, and cover with a thin layer of fine gravel to hold them in place and prevent rot. Position your nursery in bright, indirect light and mist every 5-7 days. This method allows you to propagate dozens of succulents simultaneously, creating an impressive collection from just a few parent plants. For stem cuttings from varieties like String of Pearls or Burro’s Tail, cut 3-4 inch sections, remove lower leaves, let callus for a few days, then plant directly in soil. Your mini nursery will yield gift-ready plants within 2-3 months, making it both a rewarding hobby and a sustainable way to share your plant passion with others.
African Violets: Leaf Propagation for Beautiful Blooming Plants
African violets (Saintpaulia) are cherished houseplants known for their velvety leaves and delicate, colorful blooms. These compact beauties are perfect for windowsills and small spaces, and they’re surprisingly easy to propagate from a single leaf cutting.
Step-by-Step Guide to African Violet Leaf Propagation
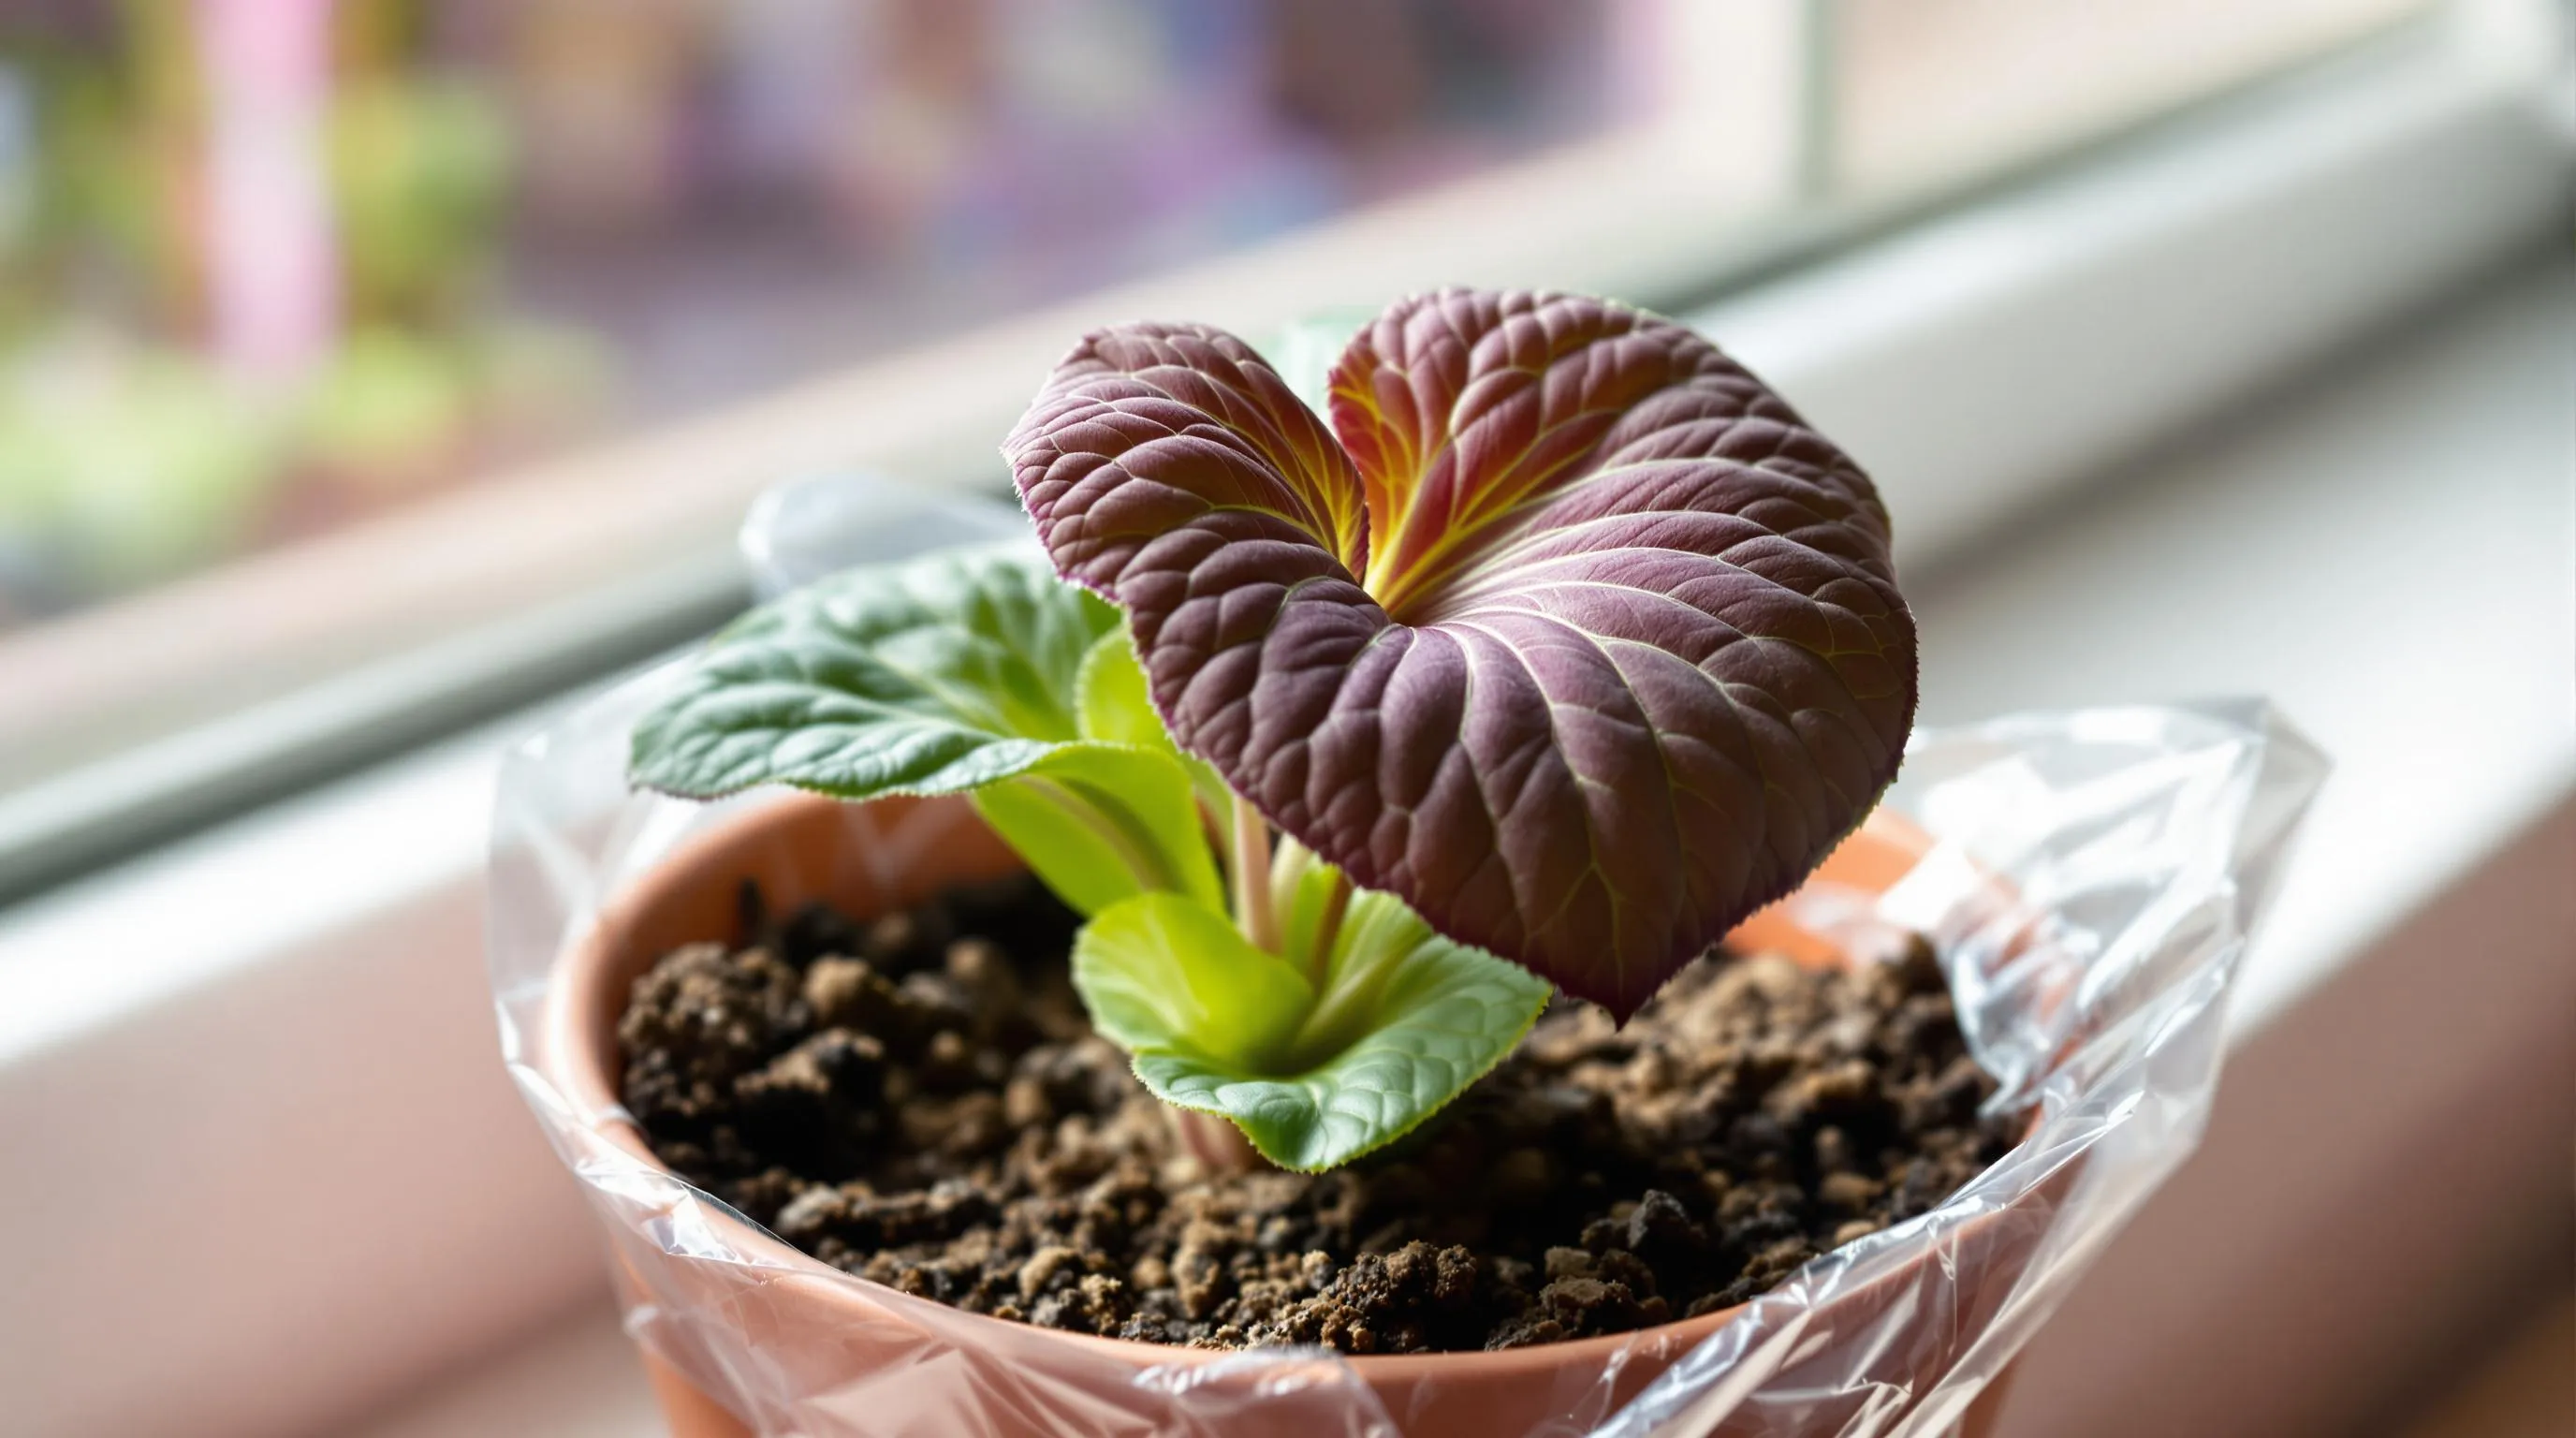
African violet propagation starts with selecting the right leaf. Choose a healthy, mature leaf from the middle row of your plant—not too old and not too young. Using sharp, clean scissors, cut the leaf with about 1-2 inches of stem attached. Allow the cut end to dry for 30 minutes to form a slight callus. Fill a small pot with a well-draining African violet potting mix or create your own by mixing equal parts peat moss, perlite, and vermiculite. Make a small hole in the soil with a pencil and insert the stem at a 45-degree angle, with the leaf above the soil surface. Water lightly, keeping the soil consistently moist but not soggy. Cover the pot with a clear plastic bag to create a humid environment, but remove it occasionally to prevent mold. Place in bright, indirect light and maintain temperatures between 65-75°F. Within 3-6 weeks, tiny plantlets will emerge from the base of the stem, each developing into a new African violet.
From Cutting to Flowering: The Complete Timeline
The journey from leaf cutting to flowering African violet follows a predictable timeline. Weeks 1-2: The cutting establishes itself and begins forming callus tissue at the base. Weeks 3-6: Tiny roots develop from the stem, followed by the first signs of small plantlets emerging from the soil. Weeks 8-12: Multiple baby plants appear, each with several tiny leaves. When these plantlets reach about 2 inches in diameter with 4-5 leaves each, they’re ready for separation from the mother leaf. Months 4-6: After transplanting into individual 2-inch pots, the young violets establish their root systems and continue vegetative growth. Months 8-10: With proper care—bright indirect light, consistent watering, and regular fertilizing with African violet-exact fertilizer—your propagated plants will produce their first blooms, rewarding your patience with a spectacular floral display. The entire process from cutting to flowering typically takes 8-10 months, though environmental conditions can influence this timeline.
Common Mistakes to Avoid When Propagating Houseplants From Cuttings
- Cutting at the wrong spot – Always make cuts just below a node (the small bump where leaves emerge from the stem). Cuttings without nodes rarely develop roots, especially in plants like pothos and philodendrons where nodes are essential for new growth.
- Using dirty tools – Dirty scissors or shears can transfer bacteria and fungi to your cuttings. Always sterilize your cutting tools with rubbing alcohol or a bleach solution before taking cuttings to prevent infection and rotting.
- Keeping too many leaves – Excess foliage on cuttings diverts energy away from root development. Remove lower leaves and keep only 2-3 leaves at the top of stem cuttings to focus the plant’s energy on producing roots rather than maintaining unnecessary foliage.
- Ignoring the callusing period – Succulents, snake plants, and ZZ plants need time (24-72 hours) to form a protective callus over cut surfaces before being placed in water or soil. Skipping this step often leads to rot and failed propagation.
- Overwatering new cuttings – Excessive moisture can cause rot before roots develop. For soil propagation, keep the medium just slightly damp, not soggy. For water propagation, change the water every 3-5 days to prevent algae growth and bacterial buildup.
- Placing cuttings in poor light conditions – Most cuttings need bright, indirect light to develop roots and grow. Too little light slows down growth, while direct sunlight can scorch delicate new cuttings. East or north-facing windows typically provide ideal lighting conditions.
- Using the wrong propagation method – Not all plants propagate successfully using the same method. Monstera and pothos thrive in water, while succulents and snake plants prefer soil propagation. Research your exact plant’s preferred propagation method for best results.
- Transferring water-propagated cuttings too late – Waiting until water roots are several inches long makes the transition to soil more difficult. Transfer cuttings to soil once roots reach about 1-2 inches, allowing for easier adaptation to soil conditions.
- Using regular potting soil for succulents – Succulent and cacti cuttings require fast-draining soil mixtures. Using standard potting soil retains too much moisture, leading to root rot. Opt for cactus mix or amend regular soil with perlite and coarse sand.
- Being impatient – Different plants root at different rates—ZZ plants may take months, while Tradescantia roots in days. Checking cuttings too frequently or giving up too soon disrupts the rooting process. Practice patience and trust the process.
Conclusion: Building Your Indoor Jungle Through the Magic of Propagation
Propagating houseplants from cuttings opens a industry of possibilities for your indoor garden. From fast-growing Tradescantia to slow-but-rewarding ZZ plants each cutting represents a new beginning.
You don’t need extensive gardening experience or expensive equipment to succeed. With clean scissors water or soil and a little patience you’ll soon witness the miracle of new roots forming.
As you grow in confidence experimenting with different plants and methods you’ll develop a deeper connection with your green companions. Your home will flourish with vibrant foliage that tells a story of growth and care.
So take that cutting place it in water and watch as your plant family multiplies before your eyes. Happy propagating!












1 thought on “10 Easy Houseplants You Can Propagate from Cuttings (Grow Your Collection Free!)”