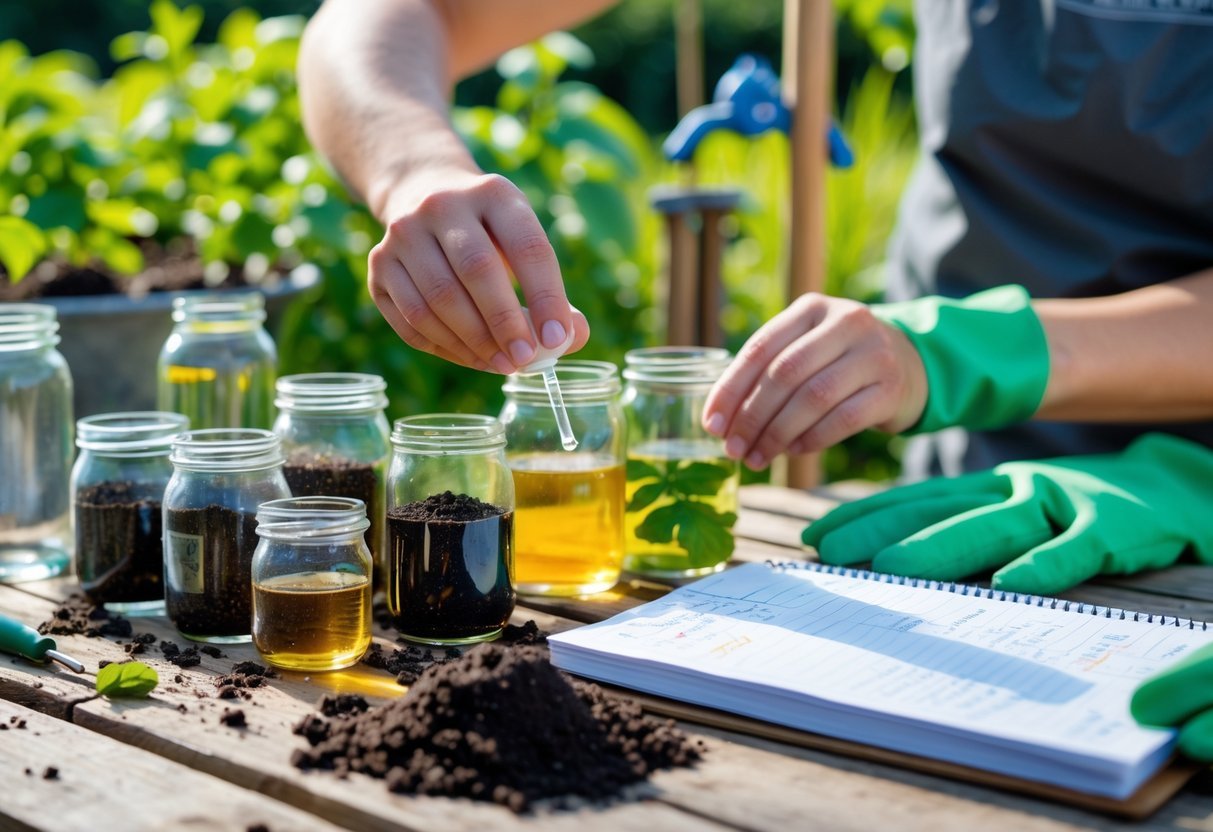
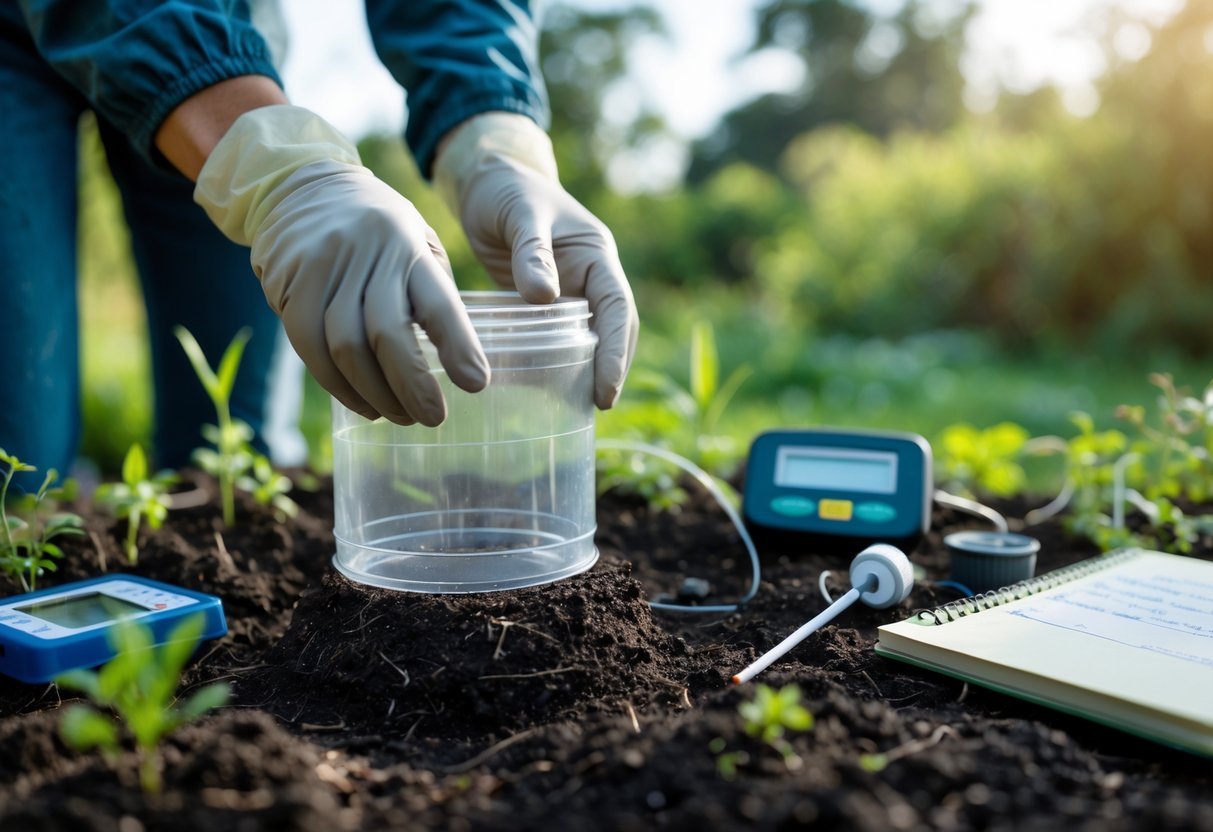
Want to know if your soil is giving your plants what they need to grow well? Testing your soil at home is easier than you might think, and you don’t need special equipment or a big budget to do it.
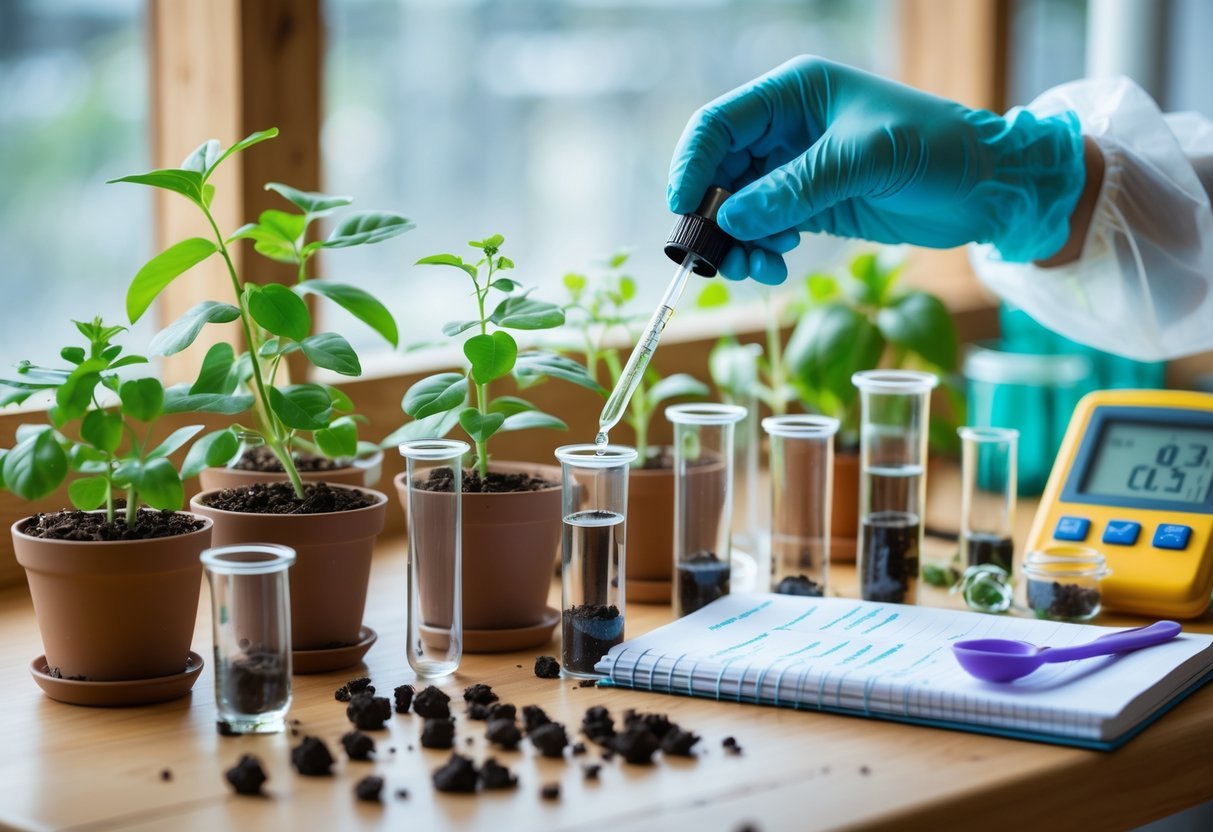
Simple DIY soil testing methods can show you important details about your garden’s soil, helping you make better choices for healthier plants. These easy tests let you understand your soil’s condition with everyday items.
1. Soil Texture Test Using a Jar
Last update on 2026-02-10 / Affiliate links / Images from Amazon Product Advertising API
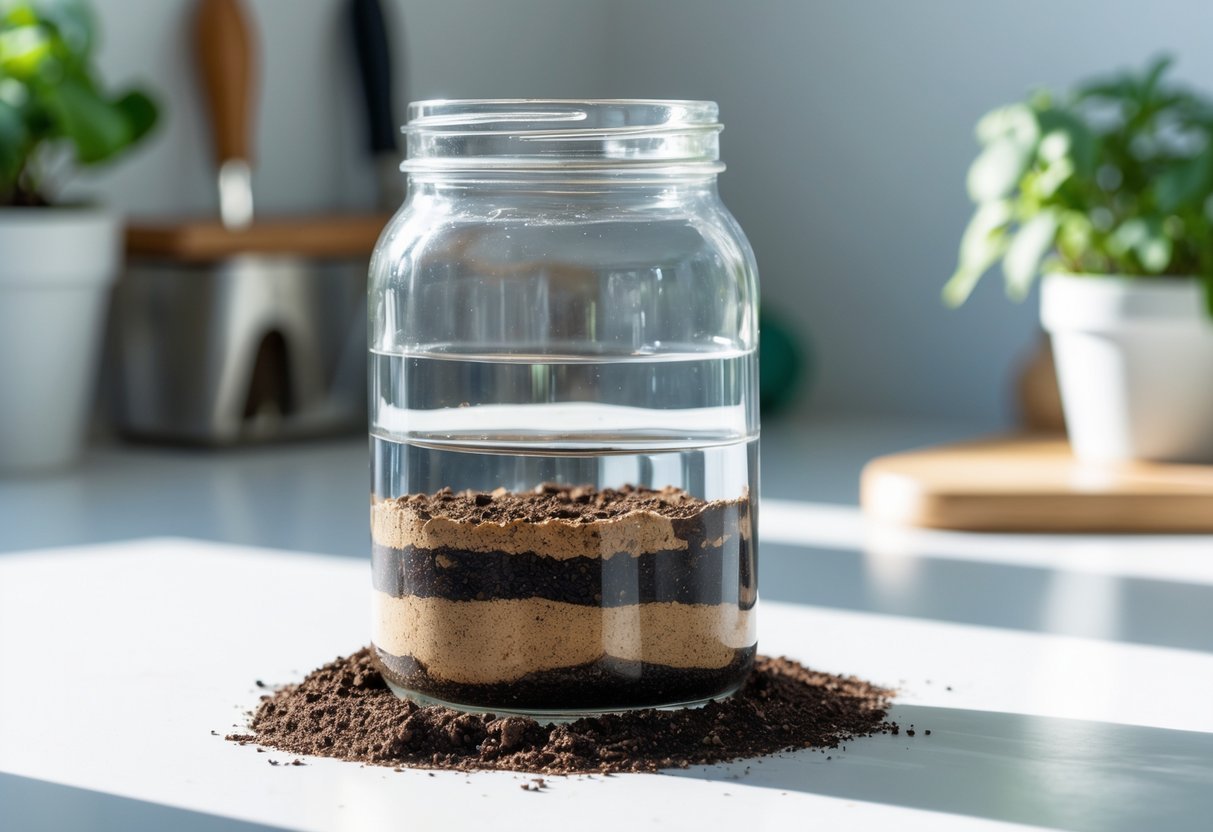
You can check your soil’s texture by mixing soil and water in a clear jar. Shake the jar well, then let it sit for a day. After 24 hours, you will see layers forming that show sand, silt, and clay. This helps you understand how well your soil holds water and nutrients for plants.
2. Checking Soil Acidity with Vinegar and Baking Soda
Last update on 2026-02-10 / Affiliate links / Images from Amazon Product Advertising API
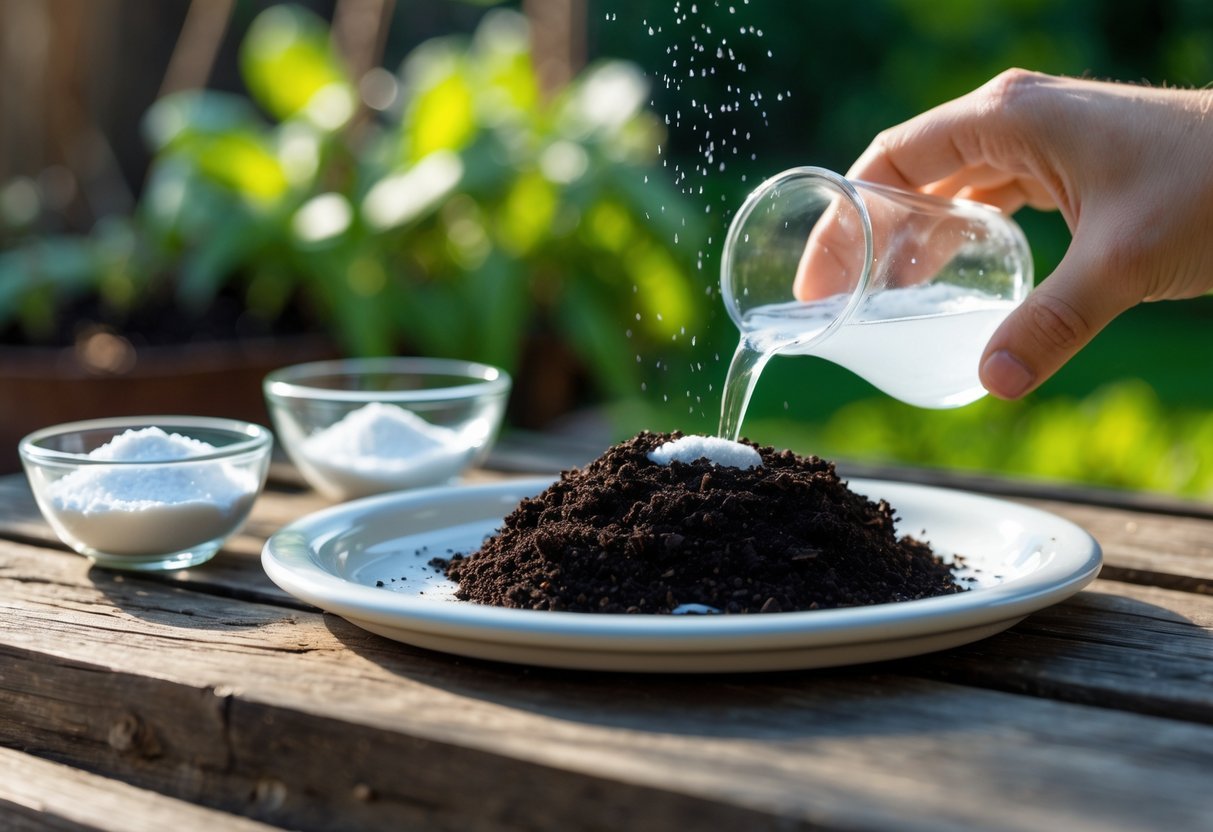
You can quickly check if your soil is acidic or alkaline using simple kitchen ingredients. Put some soil in two cups. Add vinegar to one cup—if you see bubbles, your soil leans alkaline. In the other cup, mix baking soda with the soil—fizz means the soil is acidic. This test helps you understand your soil’s pH, which affects plant nutrients.
3. Checking How Well Water Moves Through Soil
Last update on 2026-02-10 / Affiliate links / Images from Amazon Product Advertising API
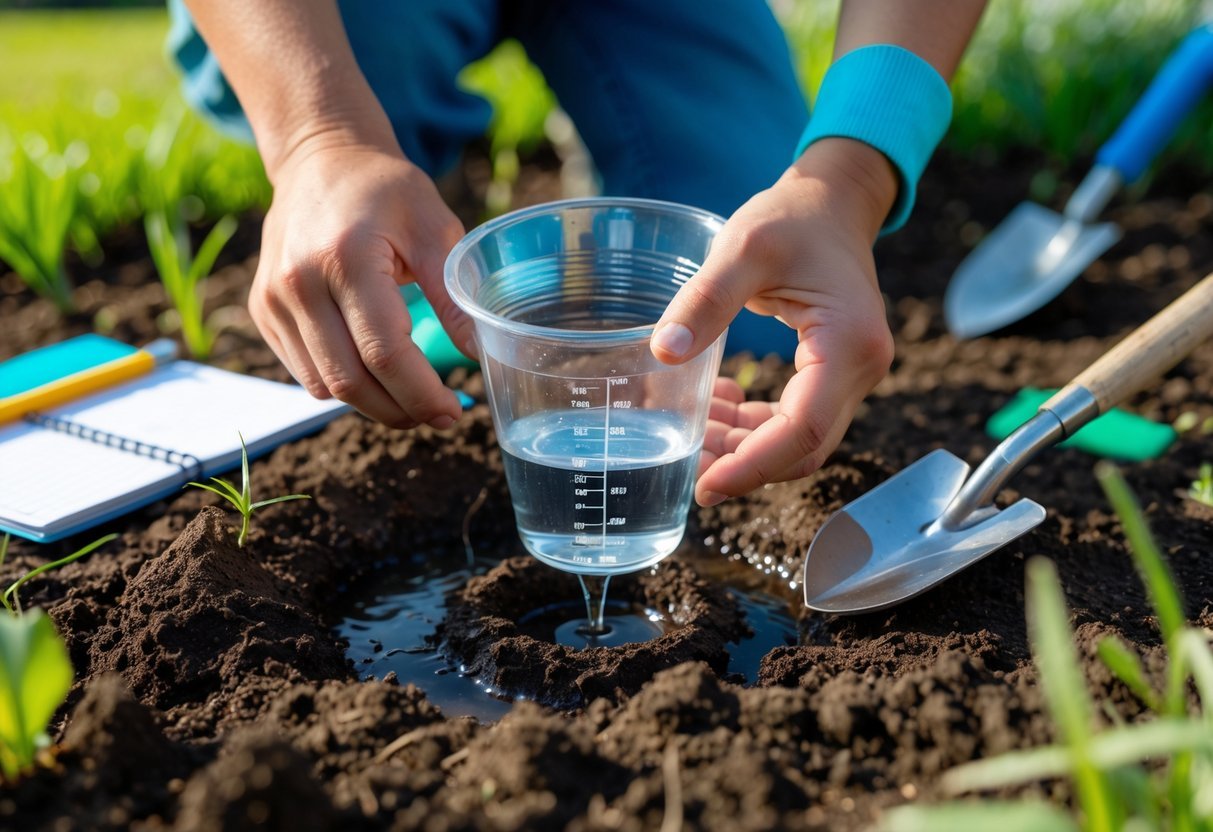
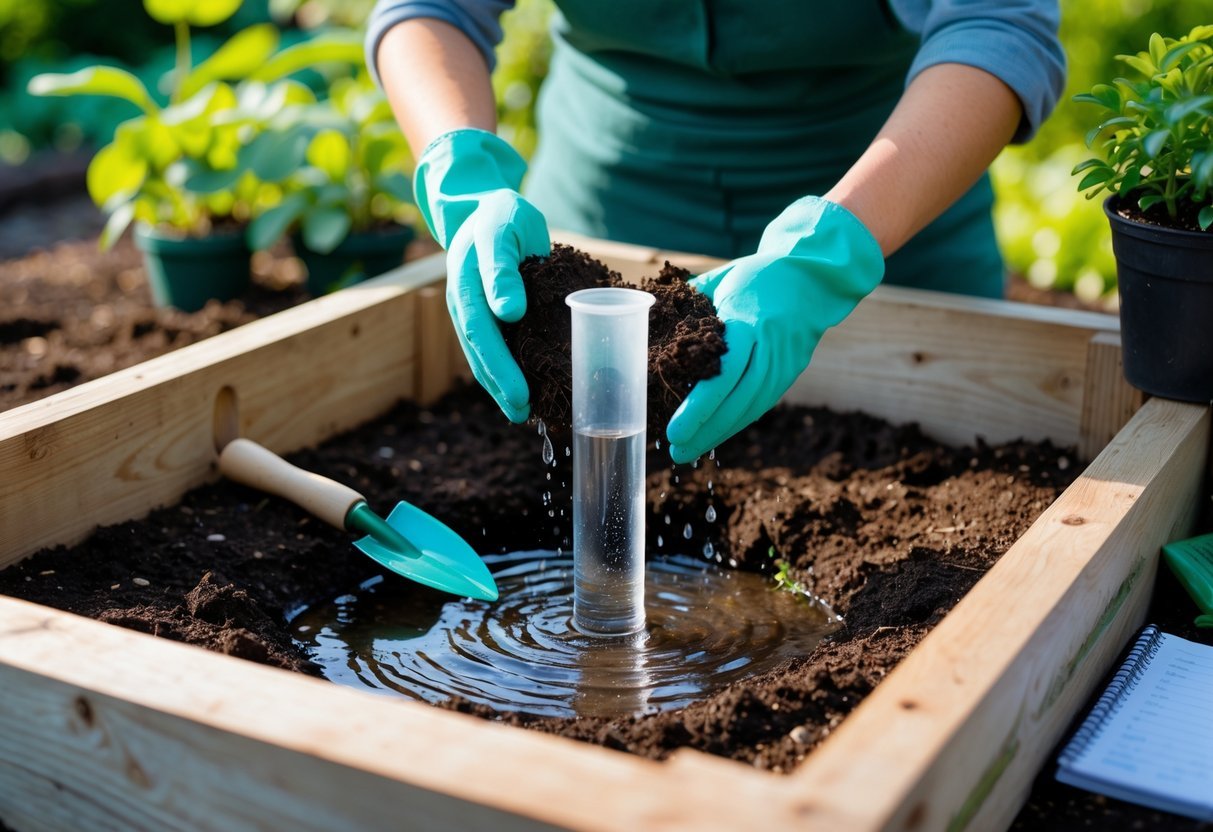
To test soil drainage, dig a hole and fill it with water. Watch how long the water takes to go away. If it drains quickly, your soil lets roots breathe and prevents rot. Slow drainage means you might need to add compost or sand. Knowing this helps you pick the right plants and improve your garden’s soil.
4. Checking Soil Health by Counting Earthworms
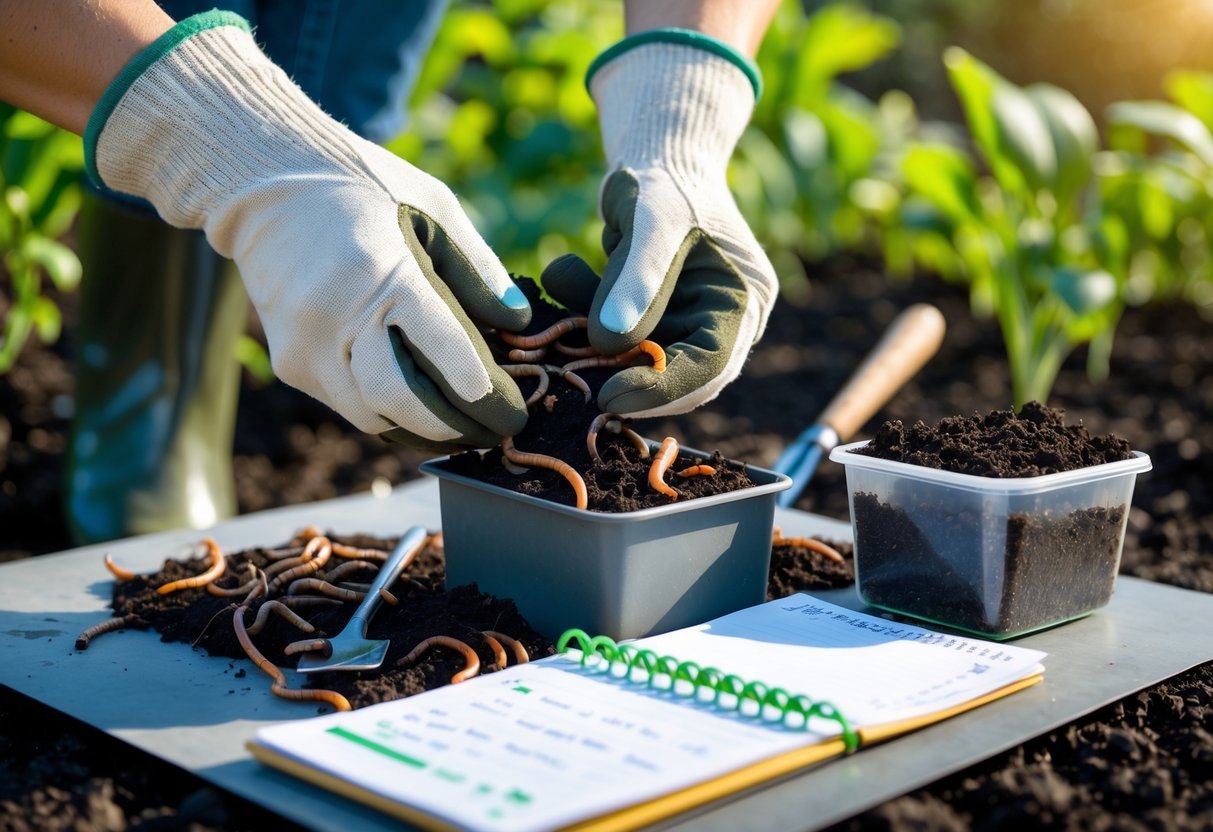
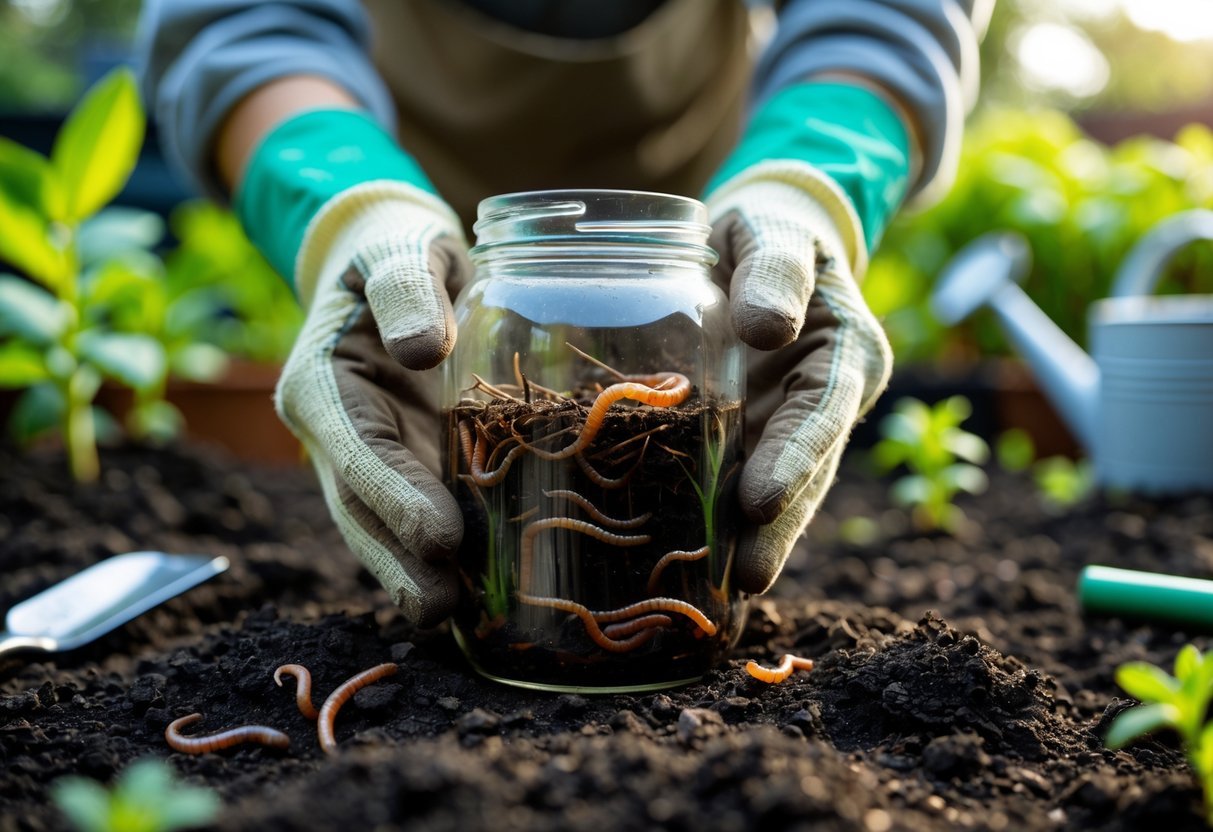
To test your soil, dig up a square foot of moist dirt and count the earthworms you find. These worms show that your soil is rich in nutrients and has good air flow. Finding many earthworms usually means your soil is healthy and supports plants well. If you see fewer worms, your soil might need more care or organic matter.
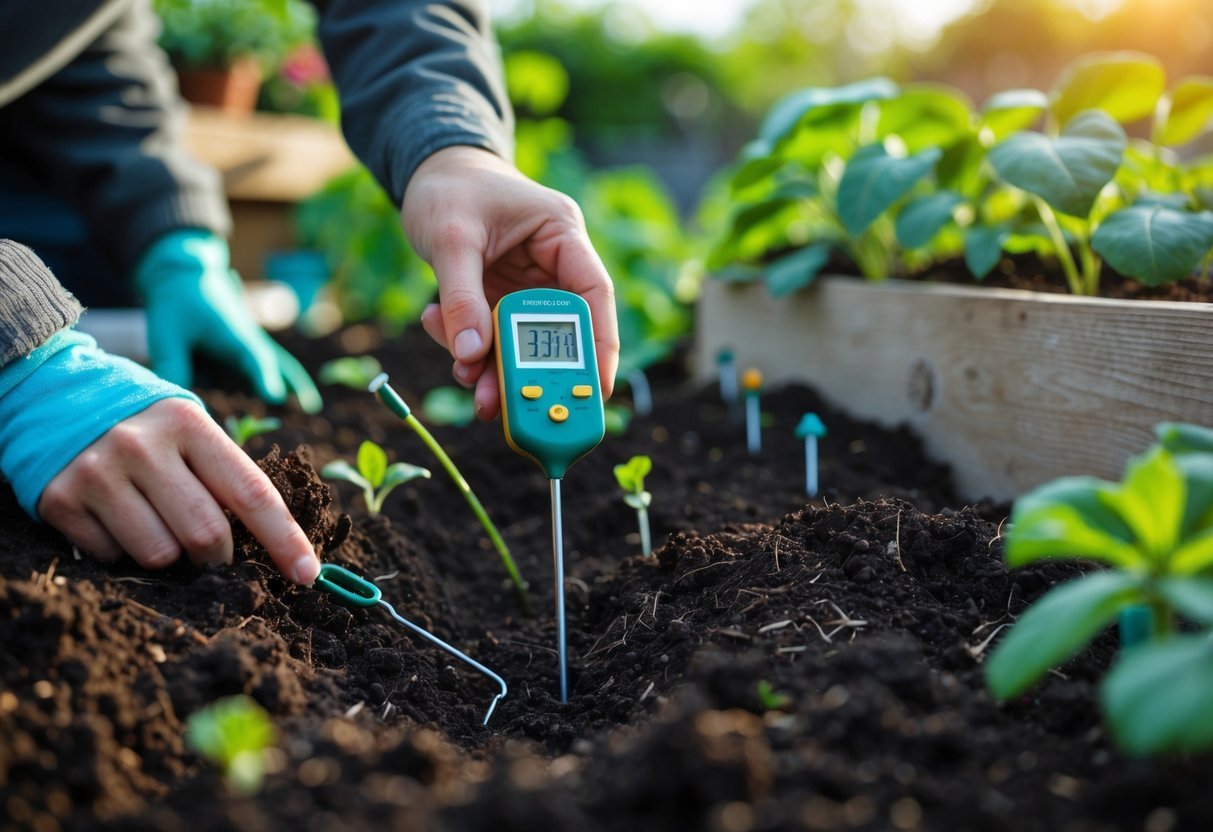
5. Check Soil Hardness Using a Wire or Rod
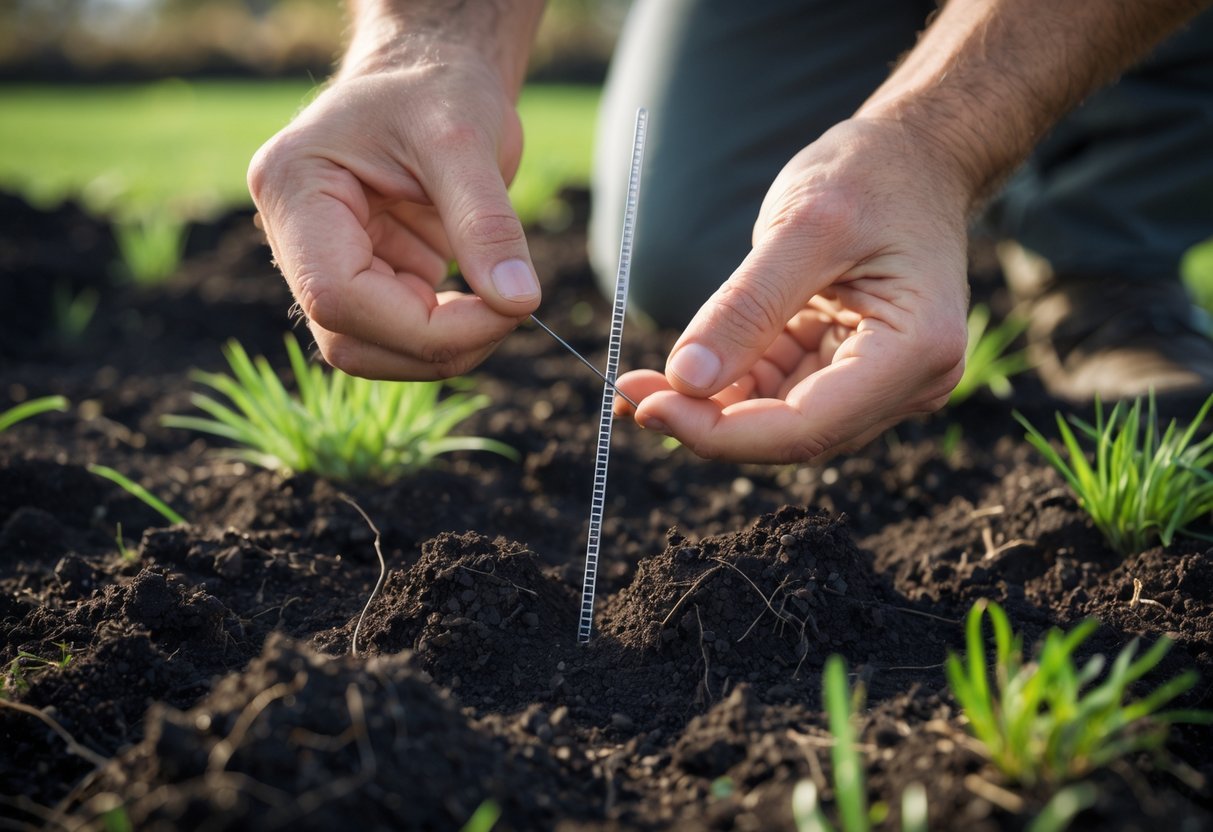
You can test soil firmness by pushing a wire or rod straight down. If you feel strong resistance, the soil is likely compacted. Compact soil stops water and roots from moving easily. Finding these spots lets you improve soil air flow and root space.
6. Ribbon Method to Identify Soil Texture
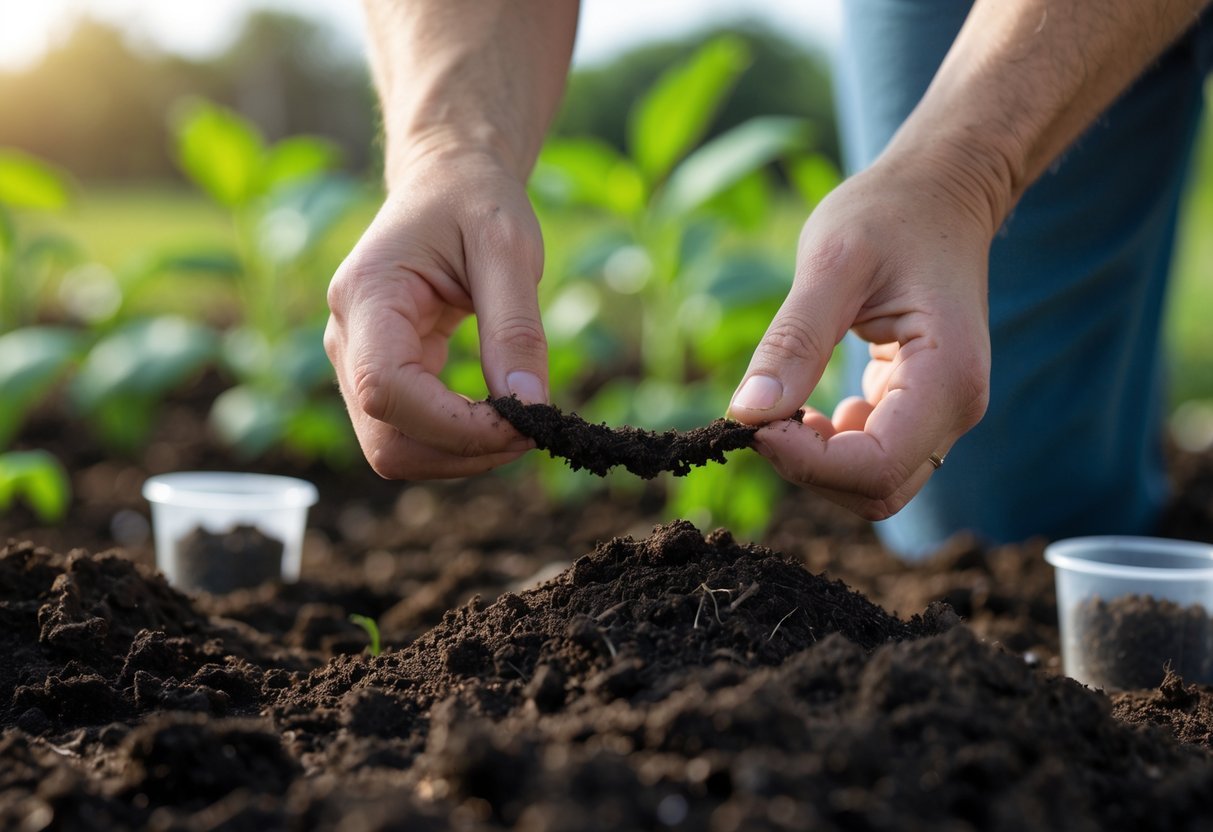
To try this test, moisten some soil and press it between your fingers. Then, roll it into a thin strip or ribbon. The longer and smoother the ribbon, the more clay your soil contains. Short or crumbly ribbons usually mean sandy soil. This helps you know how your soil holds water.
7. Checking Soil by Its Smell
You can use your nose to tell if your soil is healthy. Fresh, earthy smells usually mean good soil life. If the soil smells sour or like chemicals, it may have poor microbes or be polluted. This simple test helps you quickly understand your garden’s soil condition.
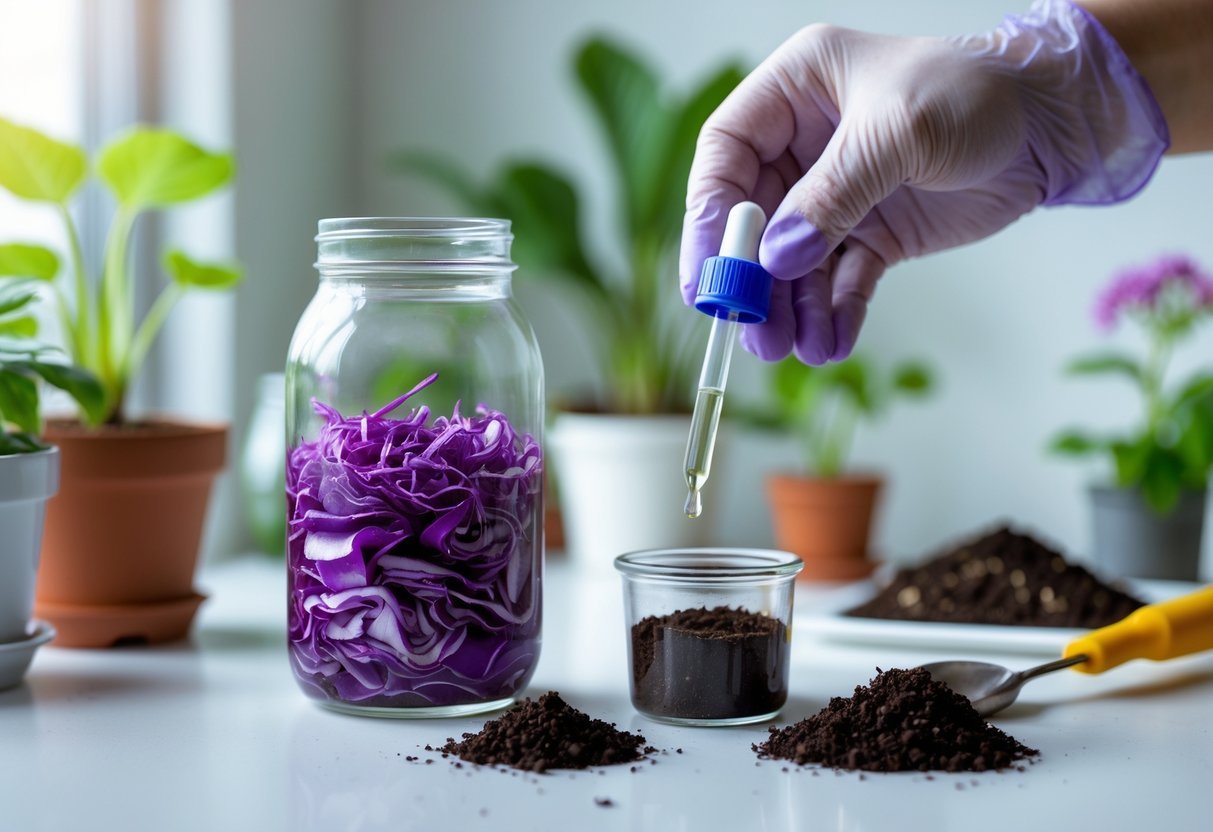
8. Homemade Nitrate Detection with Red Cabbage
You can check nitrate levels in your soil using juice from boiled red cabbage. This natural test changes color depending on nutrient content and soil acidity. Simply boil the cabbage, strain the juice, and pour it onto a soil sample. Watch for color changes to see if your soil has enough nitrogen for healthy plants.
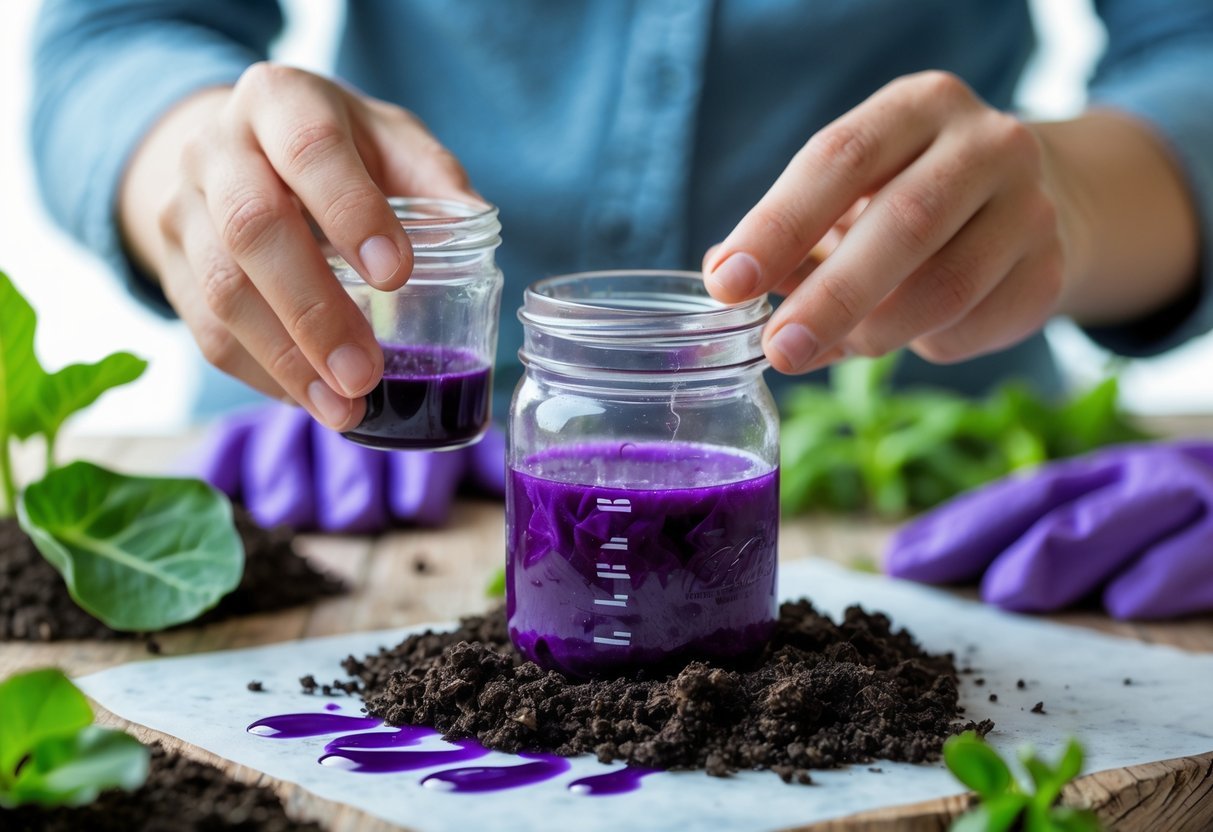
9. Test Soil pH Using Purple Cabbage Juice
You can check your soil’s pH by using purple cabbage juice as a natural indicator. When you mix the juice with soil, the color changes show the pH level. Red means acidic, purple means neutral, and green means alkaline. This helps you decide if you should add lime or sulfur.
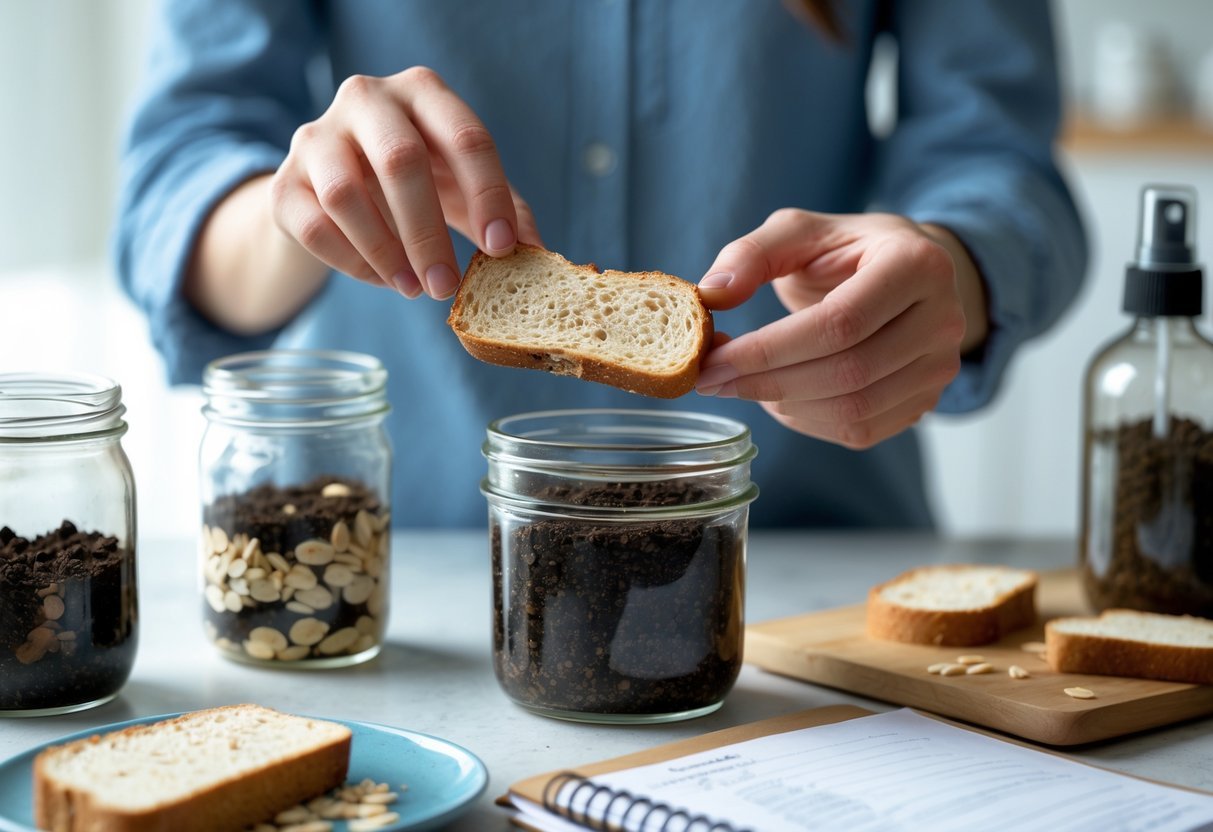
10. Simple Test for Soil Microbe Activity Using Bread or Oatmeal
Place a small piece of bread or some oatmeal directly in your soil. After a few days, check for signs like mold or breakdown of the material. This shows that useful microbes are active, helping your soil stay healthy and support plant growth.
11. Simple Way to Check Soil Warmth
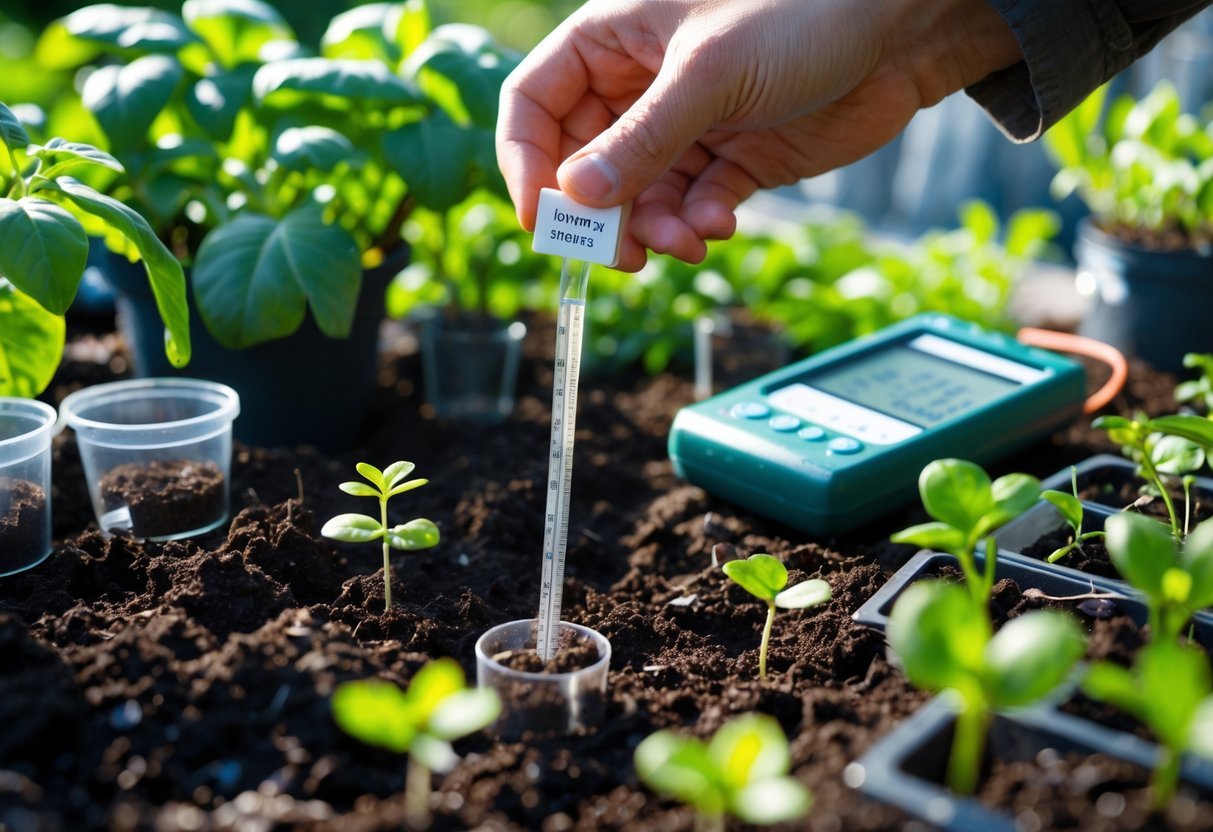
You can use a regular thermometer to measure the soil temperature before planting. Seeds need a certain warmth to start growing, so checking temperature helps you pick the best time. Keeping track of heat helps avoid planting too early and improves your garden’s success.
12. Checking Water Drainage in Raised Beds
To test water drainage in your raised bed, dig a small hole and fill it with water. Measure how long it takes for the water to drain completely. If water drains too quickly or too slowly, you can adjust your soil mix to improve moisture balance. This simple test helps ensure your plants get the right amount of water.
13. Checking Soil Salt Levels with a Multimeter
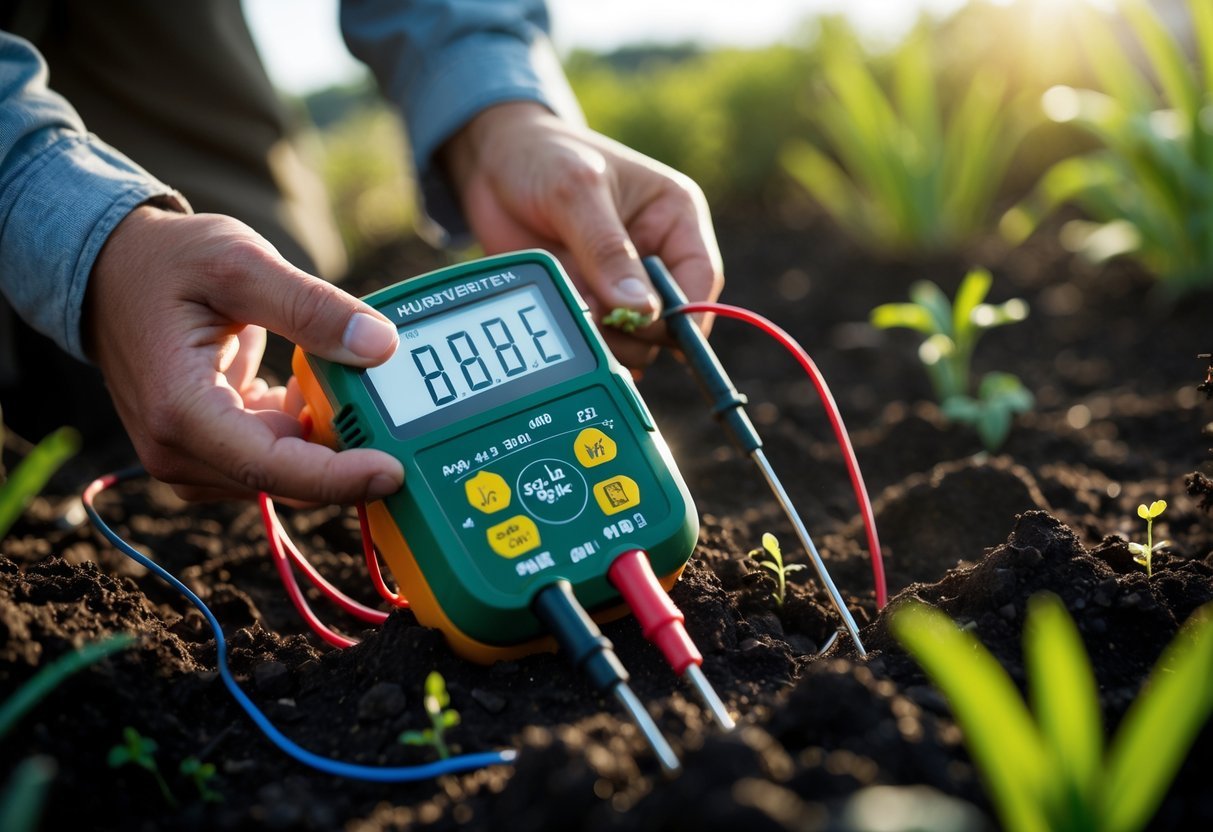
You can use a multimeter to find out how much salt is in your soil by measuring its electrical conductivity. Salt levels affect how plants absorb water, which can slow their growth. This method works well if you live in dry places or use treated water.
14. DIY Soil Moisture Sensor
You can build a simple sensor using just nails, wires, and a battery to check how much water is in the soil. This tool helps you know when your plants need watering, so they don’t get too dry or too wet. It’s an easy and cheap option compared to store-bought sensors.
15. Test Soil by Growing Fast Plants
You can plant quick-growing crops like radishes or beans in your garden soil. Watch the seedlings closely for a week or two. Look for signs like poor growth, discoloration, or damage. This method helps you see how well your soil supports plants before planting on a larger scale.
16. Simple Test for Soil Life Activity
You can check soil health by measuring how much carbon dioxide soil microbes release. Put some soil in a closed jar with a CO₂ indicator inside. The color change in the indicator shows how active the soil life is. More activity means your soil is supporting healthy plant growth.
17. DIY Earthworm Tea Bag Check
You can test your soil’s health by placing earthworms inside a tea bag or mesh pouch and burying it in your garden soil. Leave it there for about a day. When you dig it up, look at the worms’ condition.
If the worms are active and healthy, it usually means the soil has good moisture and balanced pH levels. This simple method lets you use earthworms as natural indicators of how suitable your soil is for plants.
To perform the test:
- Put a few earthworms in a tea bag or fine mesh
- Bury it about 6 to 8 inches deep in your garden
- Wait 24 hours, then carefully check the worms
Healthy worms suggest your soil’s moisture and acidity are in a good range for plant growth.

