10 Creative Ways to Repurpose Broken Pots in Your Garden
1. Create a Spilled Flower Pot Display
Transform a half-broken container into a stunning spilled flower pot display. Position the broken side facing downward and plant cascading flowers that appear to be spilling out onto the ground. This waterfall-like arrangement creates a magical illusion and serves as an eye-catching focal point in your front yard or garden bed.
2. Design a Fairy Garden
Turn a large broken planter into an enchanting fairy garden. Use the broken sections as natural entrances or pathways. Add tiny decorative elements like miniature houses, benches, and figurines among small plants to create a whimsical industry that both children and adults will adore.
3. Make a Multi-Layered Planting
Stack broken pots of various sizes to create a multi-level planting display. Position the pieces strategically to form different planting pockets, then fill each layer with soil and different plants. This technique adds depth and dimension to your garden while giving new purpose to broken pottery.
4. Use as Decorative Mulch
Break your pot into smaller pieces and use them as decorative mulch around plants. These clay fragments help retain soil moisture, suppress weeds, and add an interesting textural element to your garden beds. Plus, the terracotta color creates a beautiful contrast against green foliage.
5. Build a Succulent Arrangement
Succulents thrive in broken pots due to their minimal soil requirements. Arrange pot fragments to create interesting shapes, fill with well-draining soil, and plant various succulents for a drought-tolerant display. Add decorative rocks or pebbles to enhance the natural aesthetic.
6. Create Mosaic Art
Transform broken pot pieces into beautiful mosaic art for your garden. Use the fragments to decorate stepping stones, garden walls, or even other intact planters. Combine with colorful tiles or glass pieces to create stunning patterns that add artistic flair to your outdoor space.
7. Make Plant Markers
Use smaller broken pot shards as plant markers in your garden. Simply write the names of herbs, vegetables, or flowers with a permanent marker or paint pen on each piece. These rustic markers are weatherproof and blend seamlessly with your garden’s natural elements.
8. Design a Mini Rock Garden
Arrange larger pot fragments to create the structure for a miniature rock garden. Fill with gravel, small rocks, and drought-tolerant plants like sedums or small cacti. This low-maintenance garden feature looks particularly striking in modern industry designs.
9. Create a Bird Bath
Repurpose the bottom portion of a broken pot as a simple bird bath. Place it on a stable base, fill with water, and add a few small rocks for birds to perch on. Position it where you can easily view visiting birds while providing them with a needed water source.
10. Build Drainage Answers
Use broken pot pieces at the bottom of intact containers to improve drainage. The fragments create air pockets that prevent soil compaction and water logging, helping your plants thrive. This practical solution keeps broken pot pieces out of landfills while serving an essential gardening function.
Creating Fairy Gardens with Broken Terracotta Pots
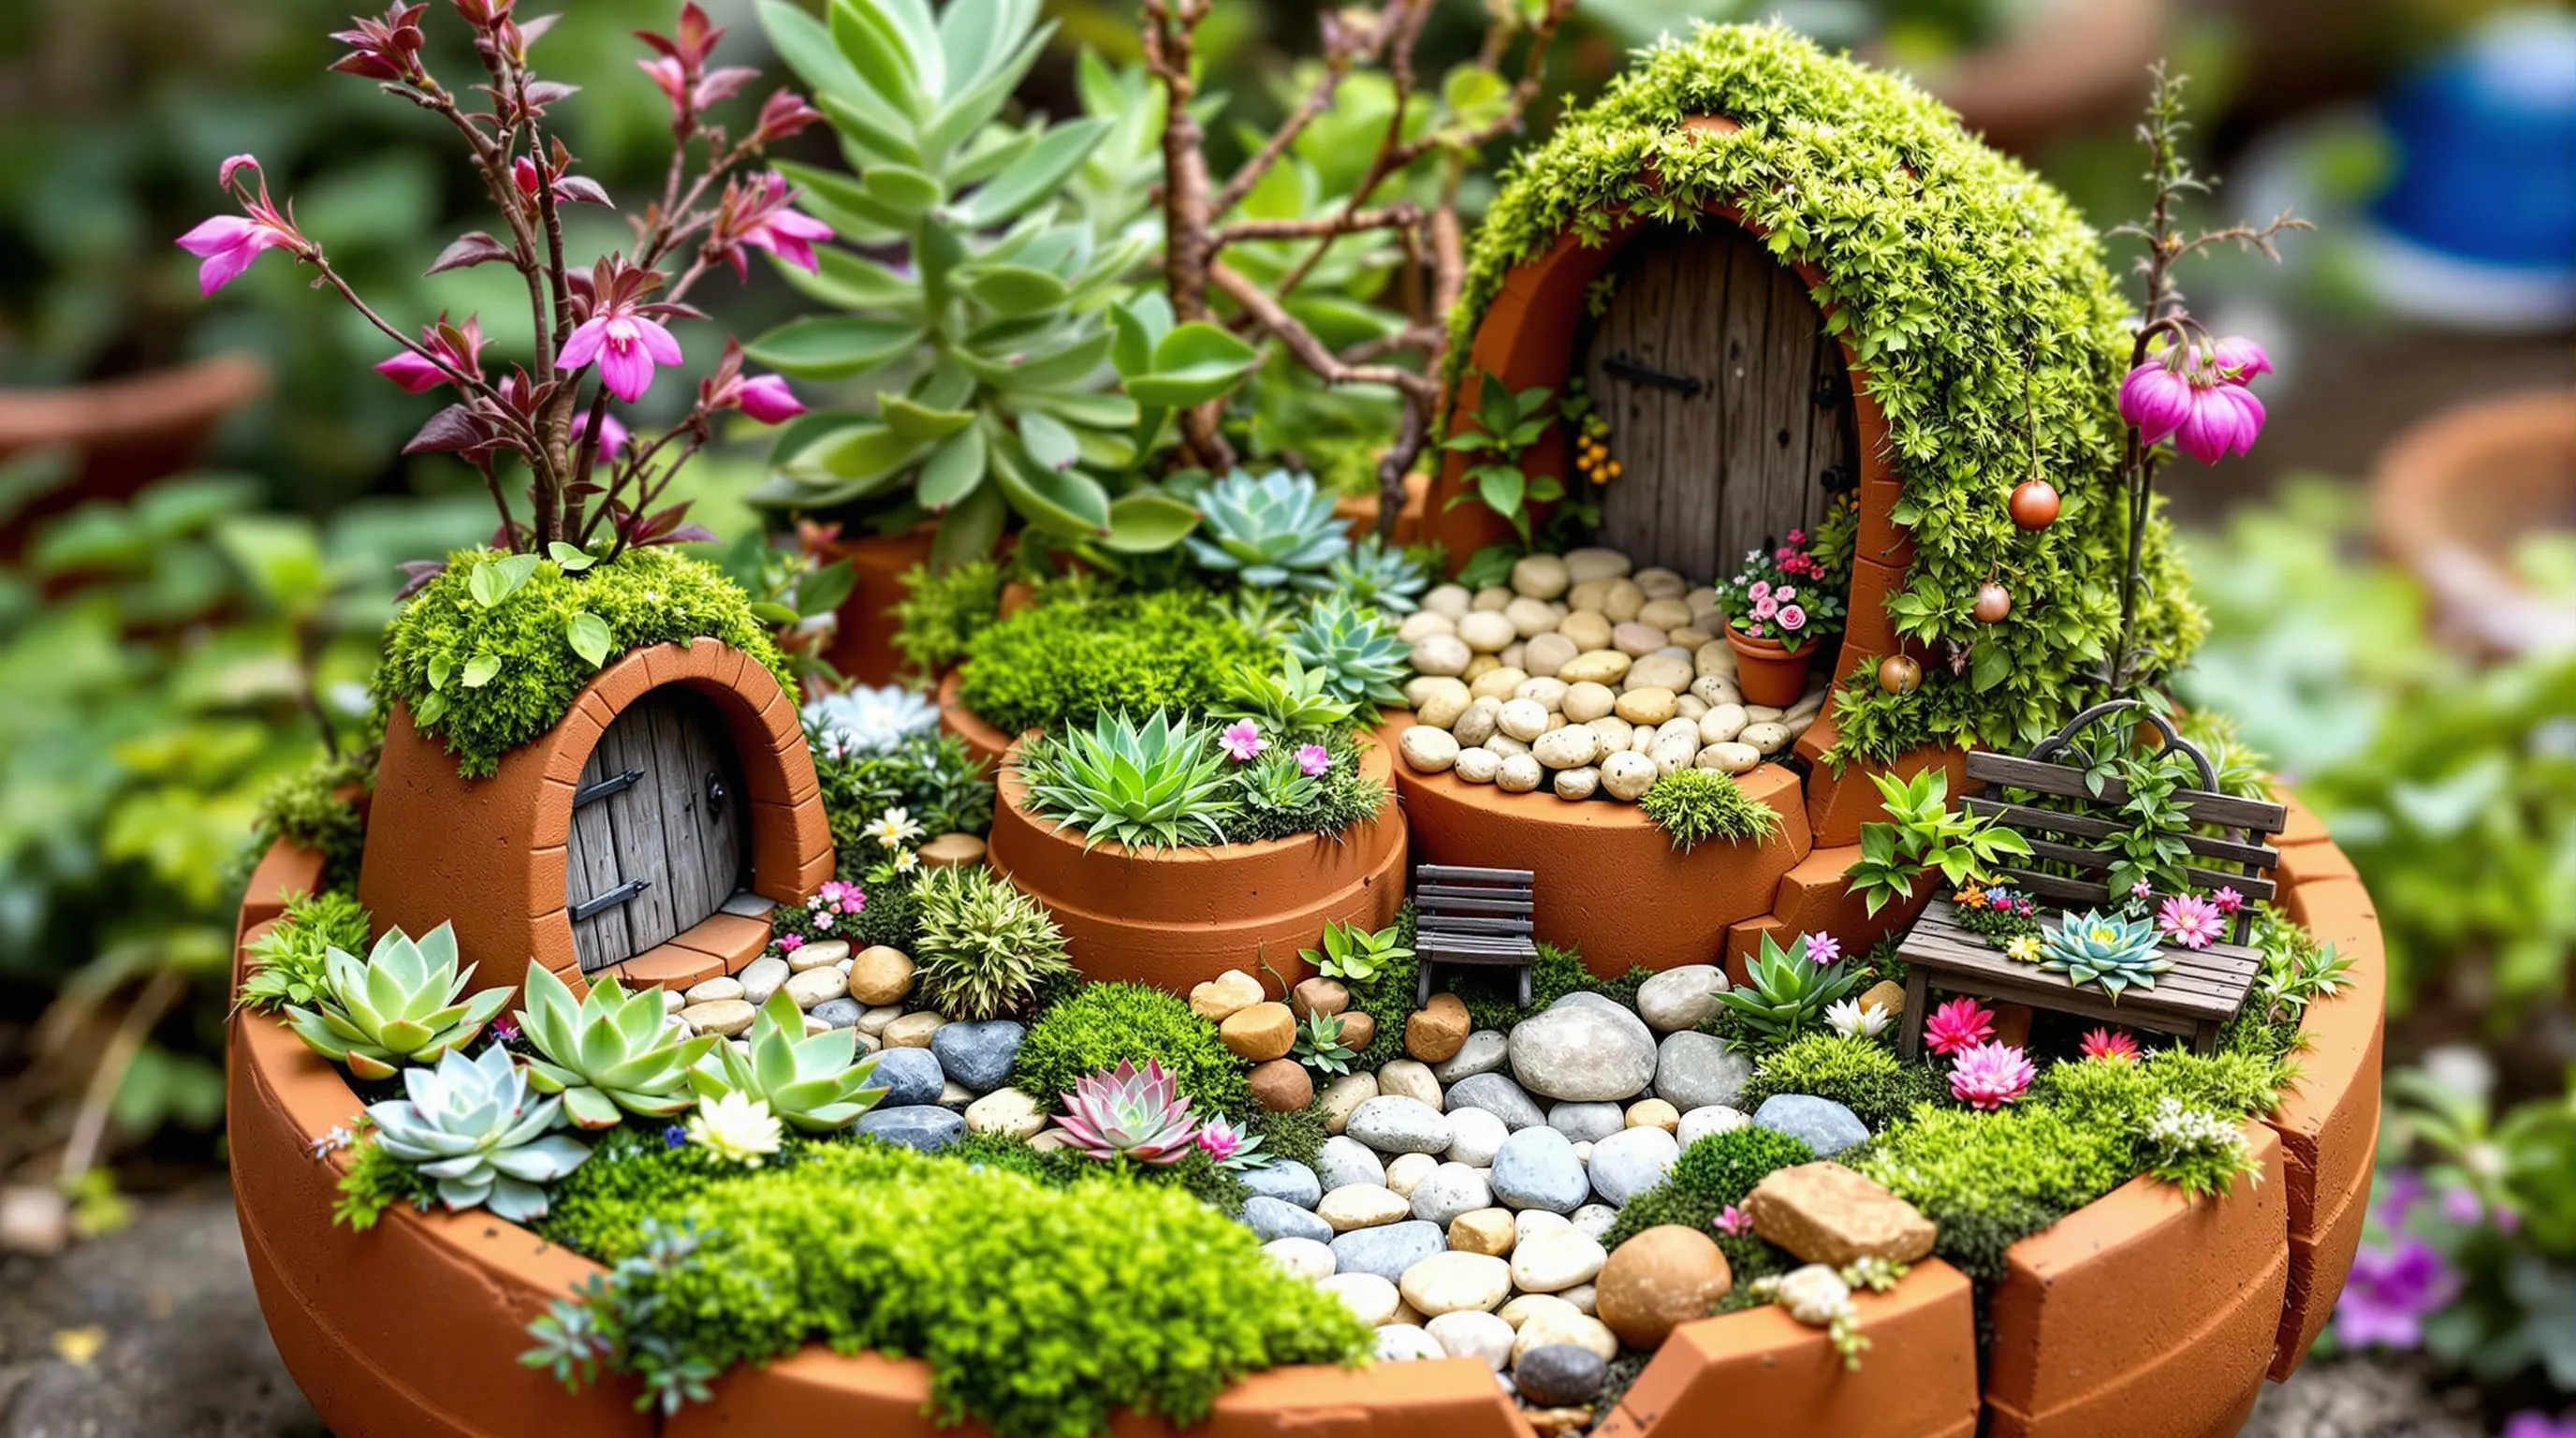
Broken terracotta pots offer the perfect foundation for creating enchanting fairy gardens. These miniature worlds transform garden mishaps into magical displays that captivate both children and adults alike.
Designing Enchanted Miniature Landscapes
Start by arranging the largest broken pot piece as your base, then use smaller shards to create terraced levels and pathways. Position the pieces to form natural stairs, plateaus, and hidden nooks where tiny inhabitants might dwell. Succulents like hens and chicks (sempervivum) work perfectly in these gardens, creating a lush, compact industry that stays neat while adding texture. Fill empty spaces with moss for a soft, green carpet effect. Add pebbles and small rocks to create natural boundaries and pathways between different areas of your fairy garden. For a desert-themed fairy garden, combine cacti with the terracotta pieces to create a striking miniature industry. Remember to wear protective gloves when handling broken pot pieces to prevent injury.
Adding Fairy Garden Accessories
The magic truly comes alive when you incorporate fairy garden accessories into your broken pot creation. Install a tiny fairy door against one of the pot fragments to suggest an entrance to a fairy dwelling. Add miniature furniture like benches, tables, or even a pergola to create inviting spaces for your imaginary residents. Small decorative elements such as fairy houses, bird baths, and birdhouses serve as focal points that draw the eye through your miniature industry. Consider including tiny figurines, ladybugs, or angels to add character and whimsy. String fairy lights through your creation for an enchanting nighttime glow, or add sparkly stones for a touch of magic. You can even create themed gardens based on your interests—like beach themes with seashells or storybook-inspired scenes with character figurines. These thoughtful details transform a broken pot from garden waste into a captivating miniature industry that serves as a unique decorative element for indoor or outdoor spaces.
Crafting Beautiful Spill Pot Flower Arrangements
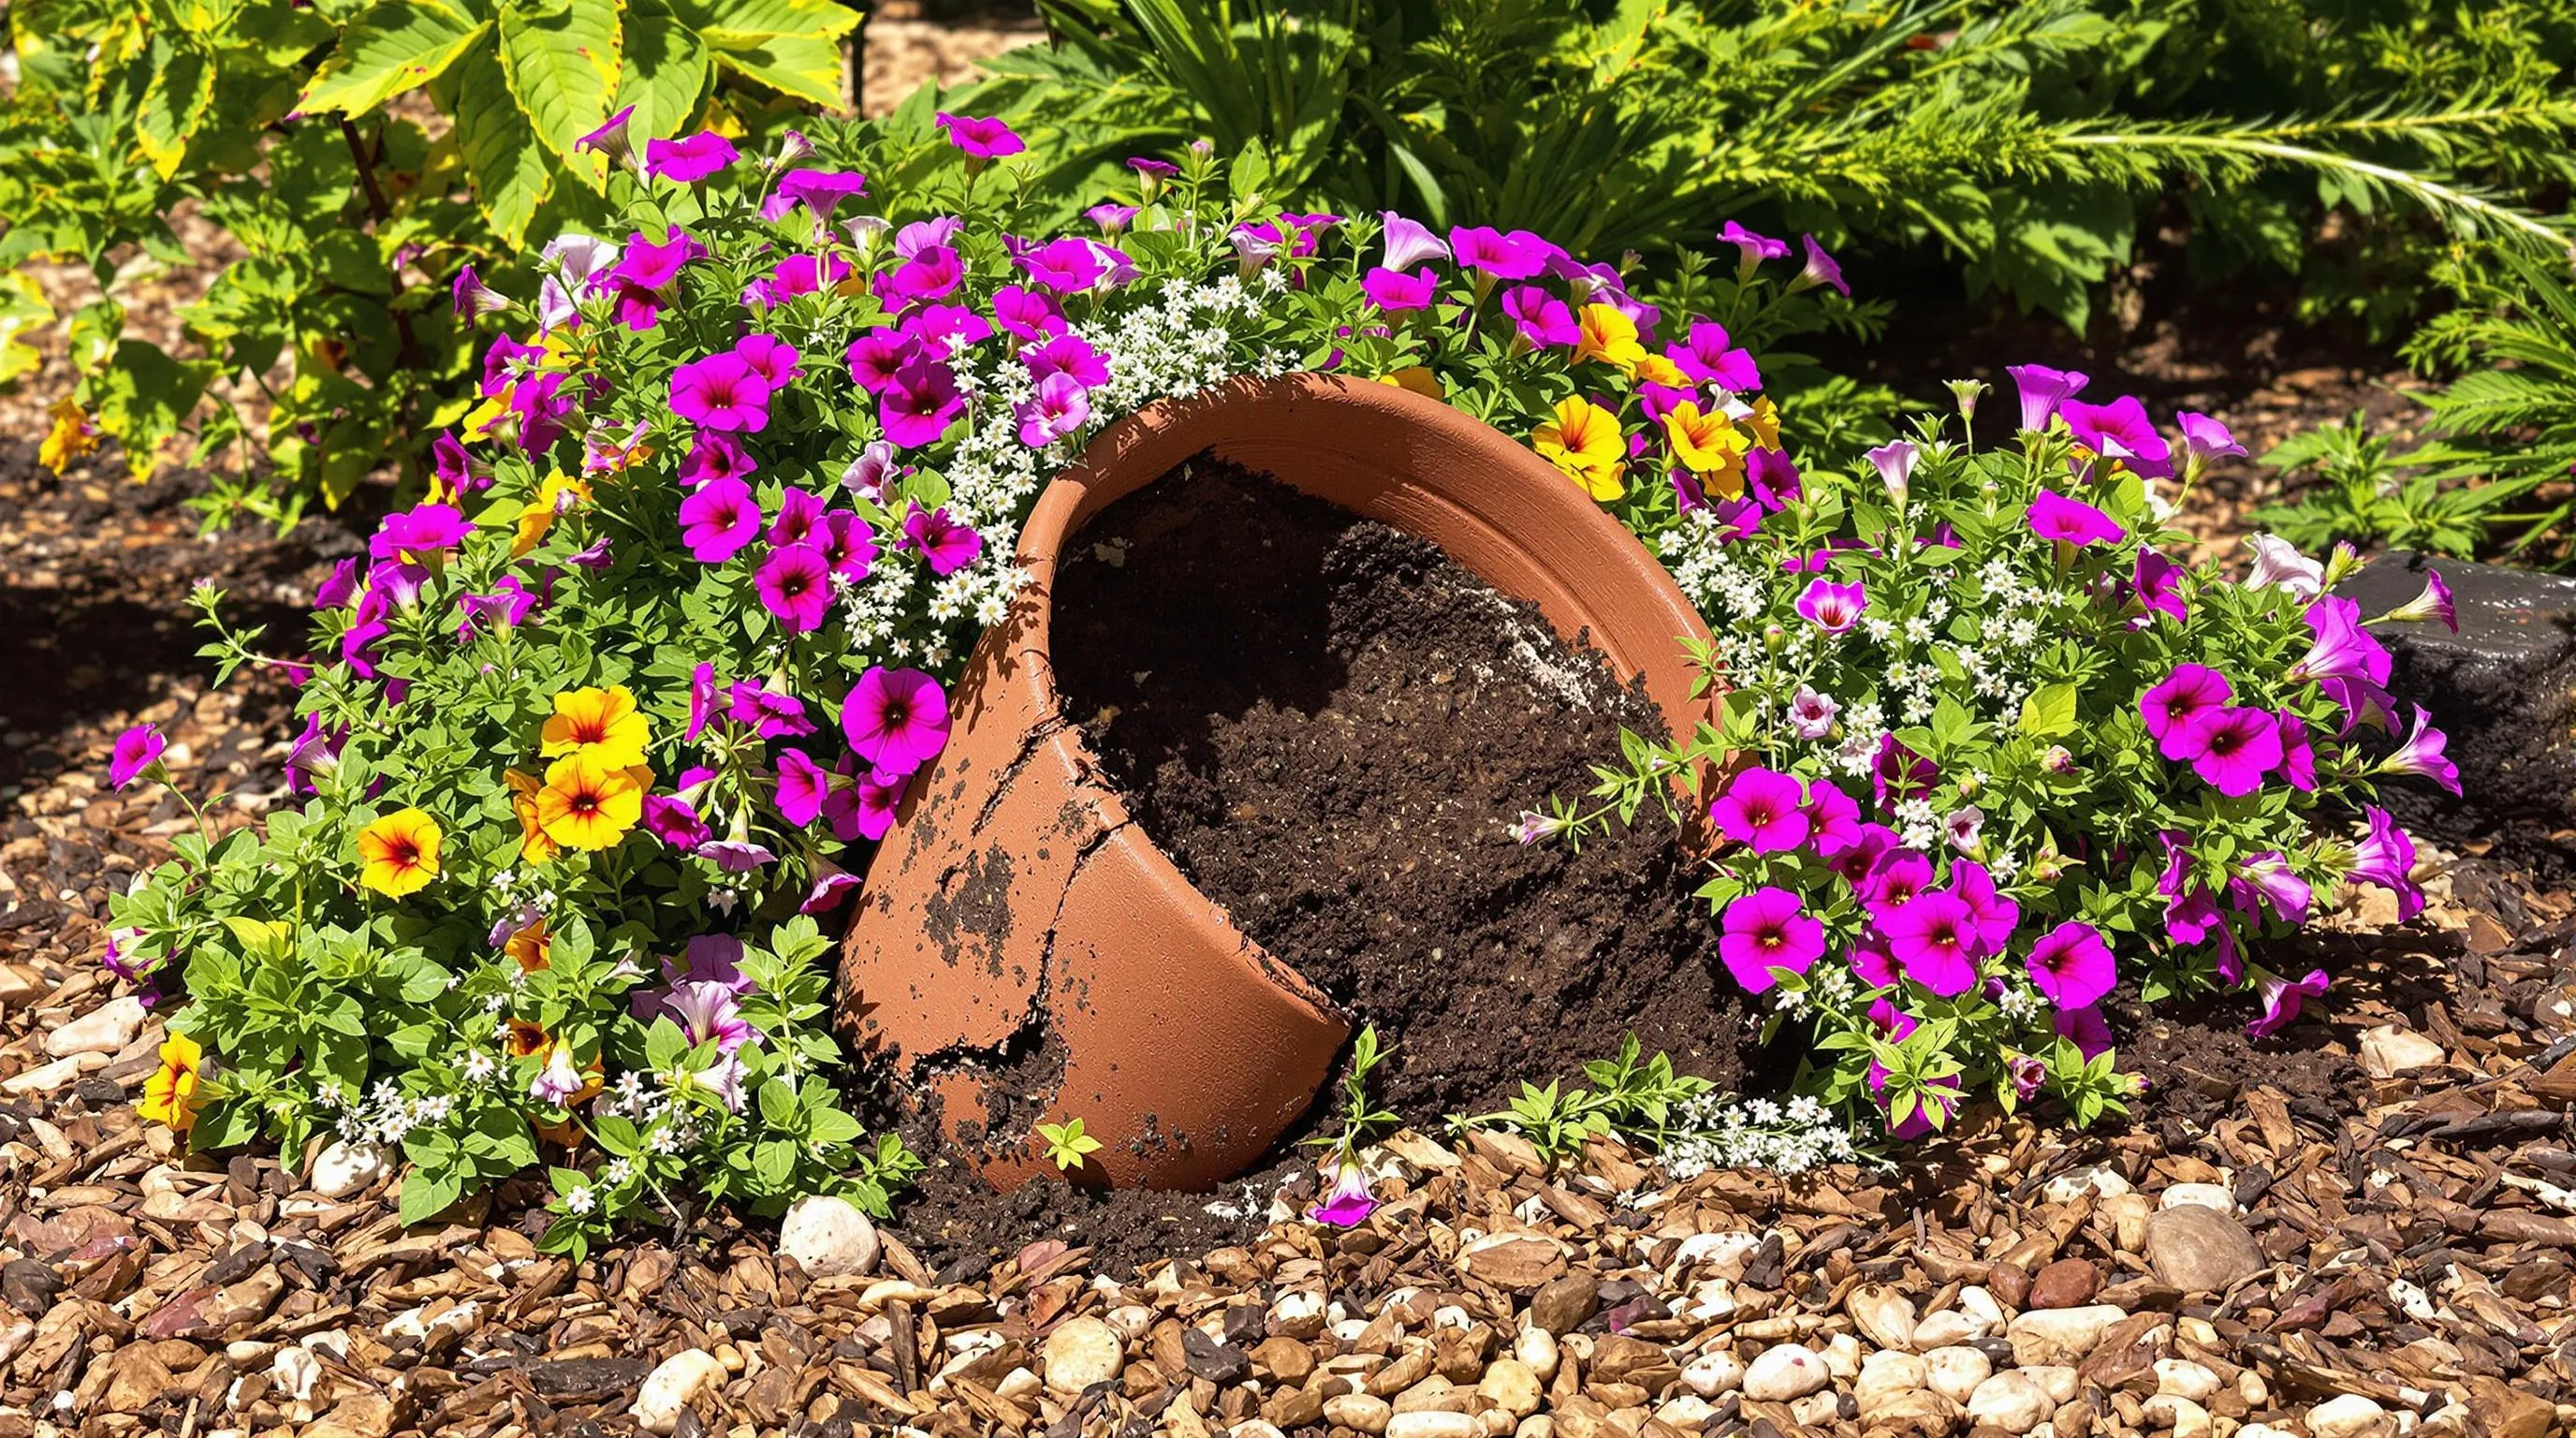
Spill pot flower arrangements create the illusion of flowers cascading or “spilling” out of a broken container, transforming garden mishaps into intentional art. These eye-catching displays add whimsy and visual interest to any garden space while making creative use of pots that would otherwise be discarded.
Selecting Plants for Cascading Effects
Choose plants that naturally trail or spread for the most convincing spill effect. Annuals like lobelia, alyssum, and trailing petunias create vibrant flowing displays with their abundant blooms. Creeping thyme, vinca vine, and ivy offer excellent green cascades with minimal maintenance. Succulents such as string of pearls, burro’s tail, and trailing jade work beautifully in drier climates and require less watering. For year-round appeal, combine flowering plants with ornamental grasses like blue fescue or Japanese forest grass to add texture and movement. Match your plant selection to the pot’s location—sun-loving varieties for bright spots and shade-tolerant options for covered areas.
Step-by-Step Assembly Guide
Start by selecting a broken pot where at least half remains intact to hold soil. Position the pot at a 45-degree angle, partially burying it in the ground or in a larger container for stability. Add rocks at the bottom for drainage, then fill the intact portion with quality potting mix. Plant upright specimens (like compact perennials or ornamental grasses) at the back of the arrangement to create height. Arrange trailing plants along the “spill” path, starting from inside the pot and extending outward. Use industry pins to secure longer vines if necessary. Add a layer of decorative mulch or pebbles around the plants to finish the look and help retain moisture. Water thoroughly after planting, being careful not to disturb the arrangement. For added visual interest, incorporate contrasting colors and textures among your chosen plants to create depth and dimension in your spill pot display.
Building Multi-Tiered Succulent Gardens
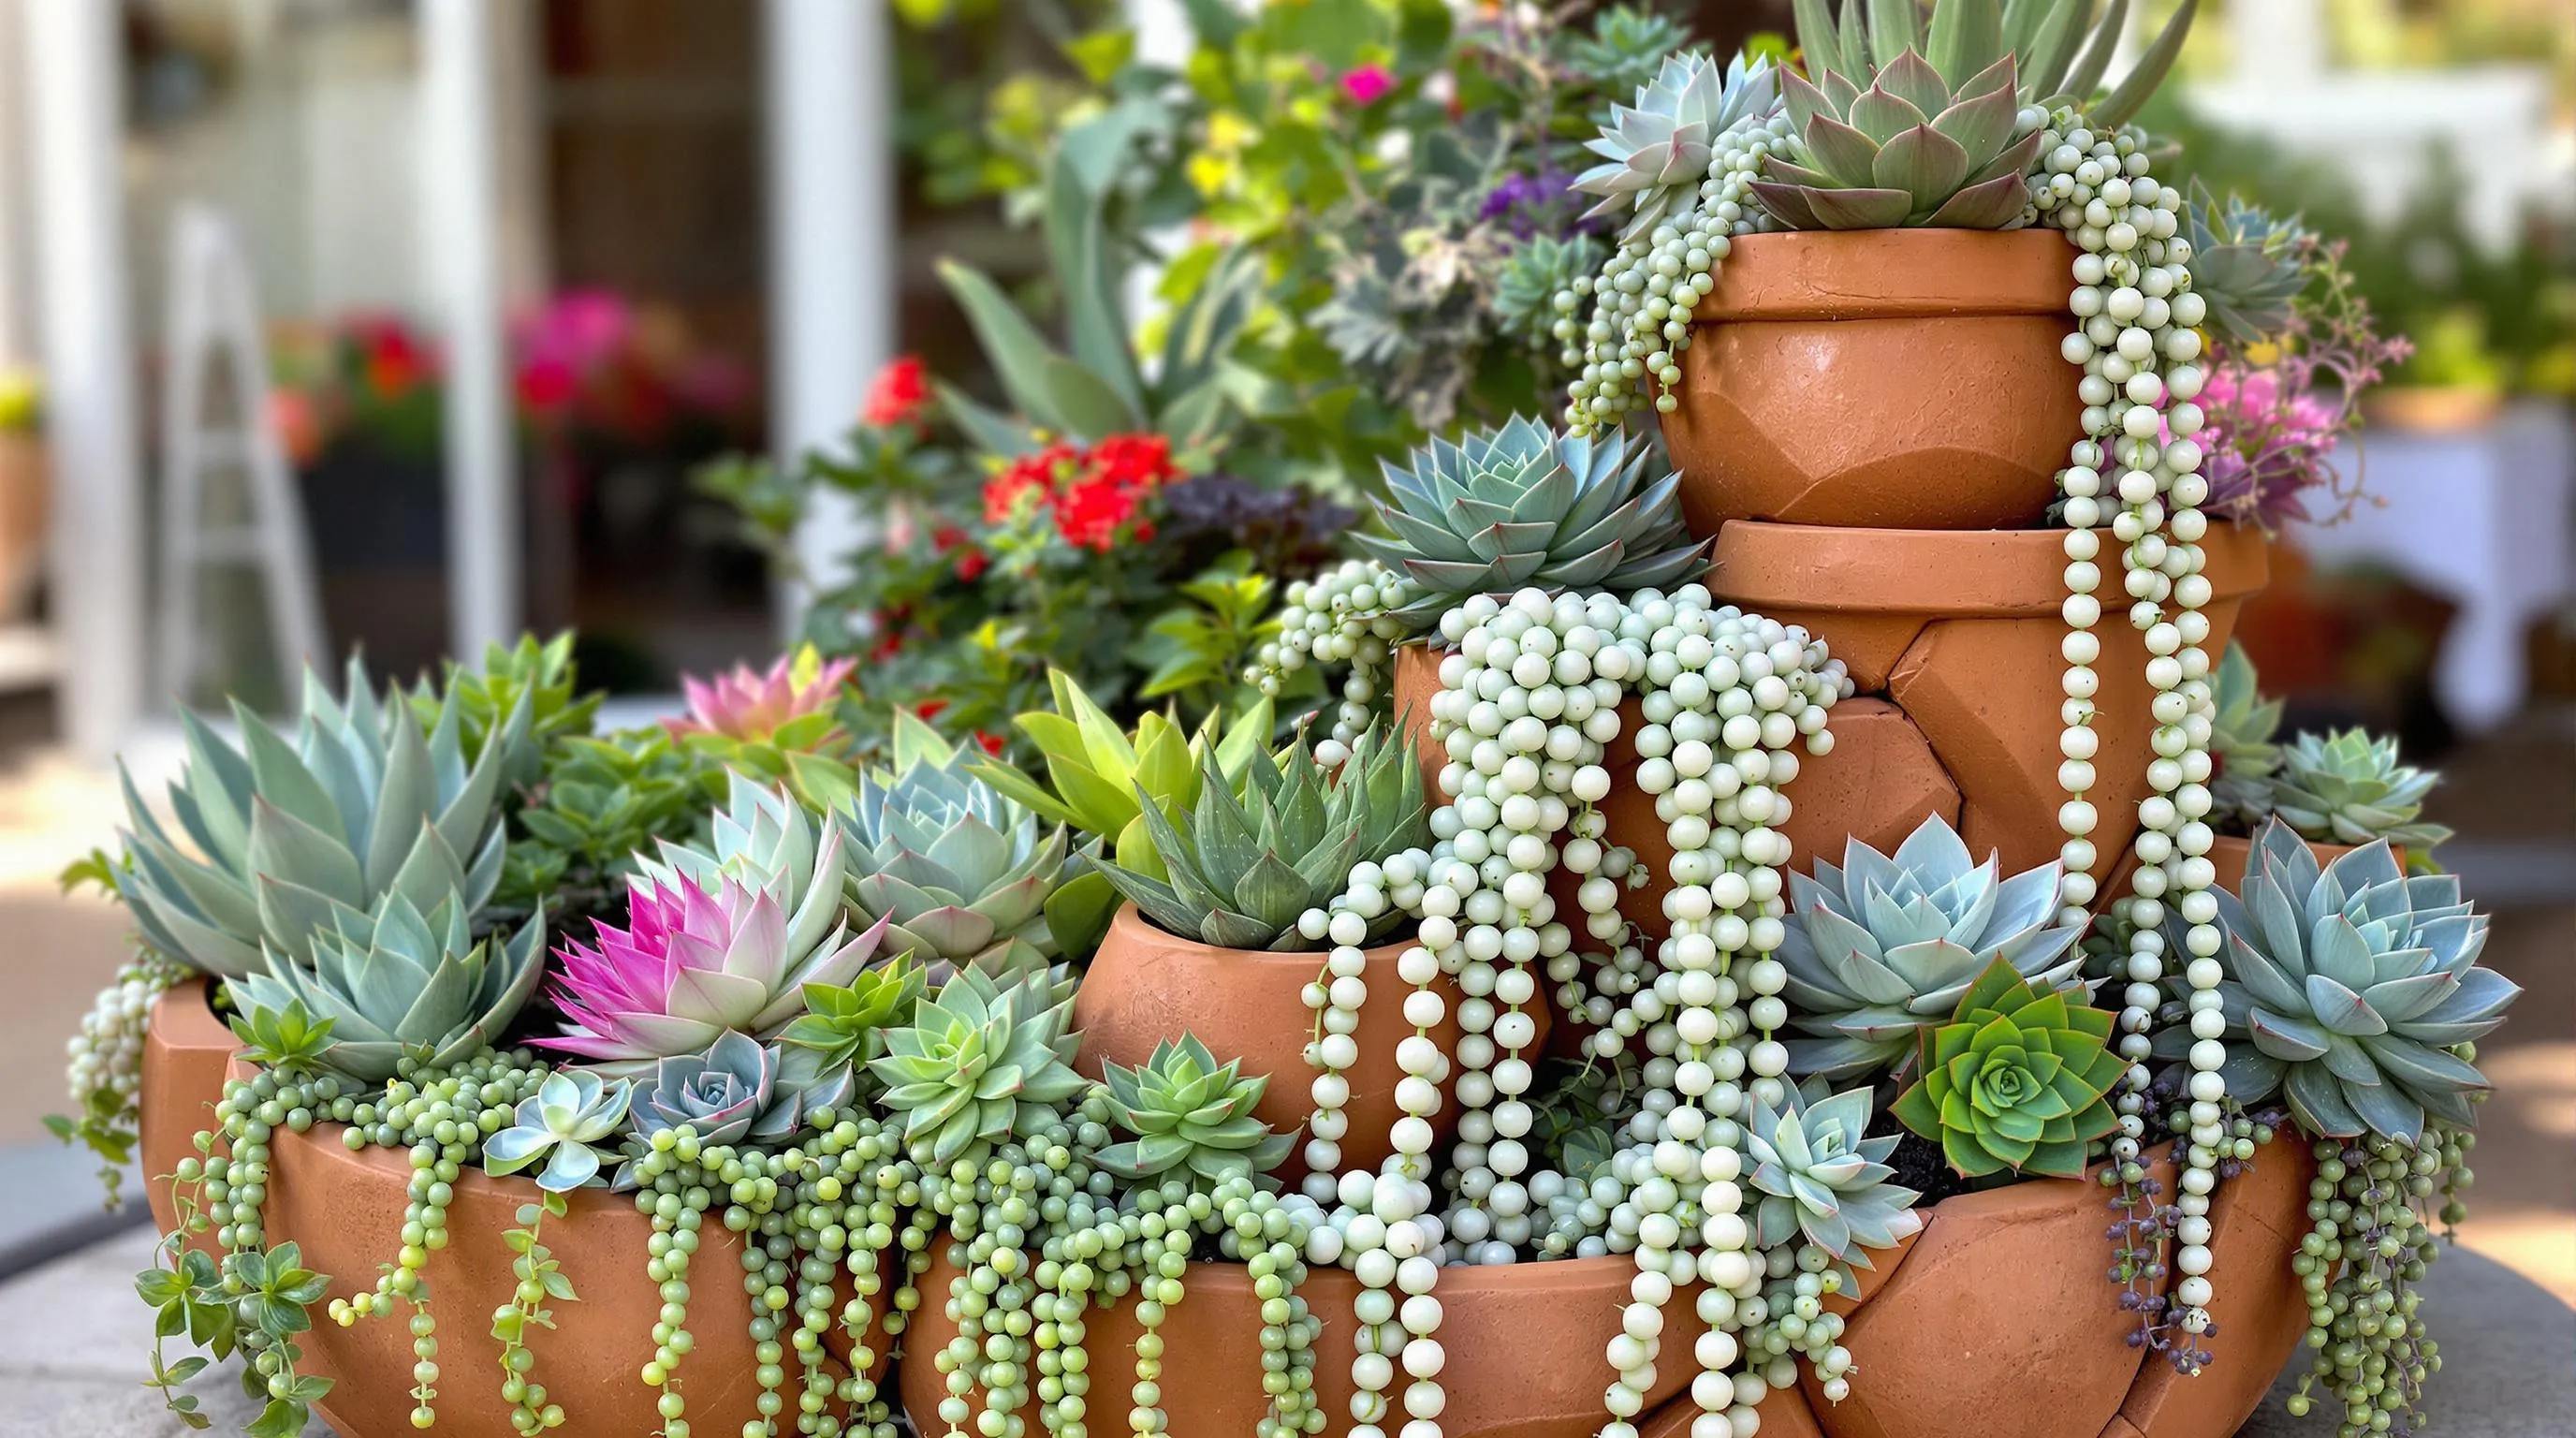
Transform your broken pots into stunning multi-tiered succulent gardens that add depth and visual interest to your outdoor or indoor space. These creative arrangements make use of the broken pieces to create natural-looking terraced landscapes that showcase the unique beauty of succulents.
Choosing the Right Succulents for Broken Pots
Succulents are ideal candidates for broken pot gardens due to their shallow root systems and ability to thrive in limited soil space. Select varieties like echeverias, sedums, and hens and chicks that tolerate dry conditions and require minimal maintenance. When planning your arrangement, combine different textures, colors, and growth habits for visual interest. Trailing varieties such as string of pearls can cascade over the edges of your broken pot, while upright types like aloe or small cacti create height and focal points. For optimal growth, choose succulents with similar light and water requirements to ensure all plants in your arrangement thrive together.
Arranging Layers for Visual Impact
Create stunning dimension in your broken pot garden by strategically positioning pottery fragments to form natural terraces. Start by using the pot’s base as your foundation, then arrange larger broken pieces to create walls and divisions between planting areas. Position big chunks of pottery at varying heights to establish distinct growing zones within the arrangement. Add soil behind these “walls” to create planting pockets at different elevations. For maximum visual impact, place taller succulents at the highest points and let trailing varieties spill over the edges of lower tiers. Incorporate small pebbles or decorative rocks between plantings to enhance the miniature industry effect and provide stability to your arrangement. This multi-level approach not only maximizes your planting space but also transforms broken pottery into an artistic, eye-catching garden feature that showcases the natural beauty of succulents.
Transforming Broken Pieces into Mosaic Art
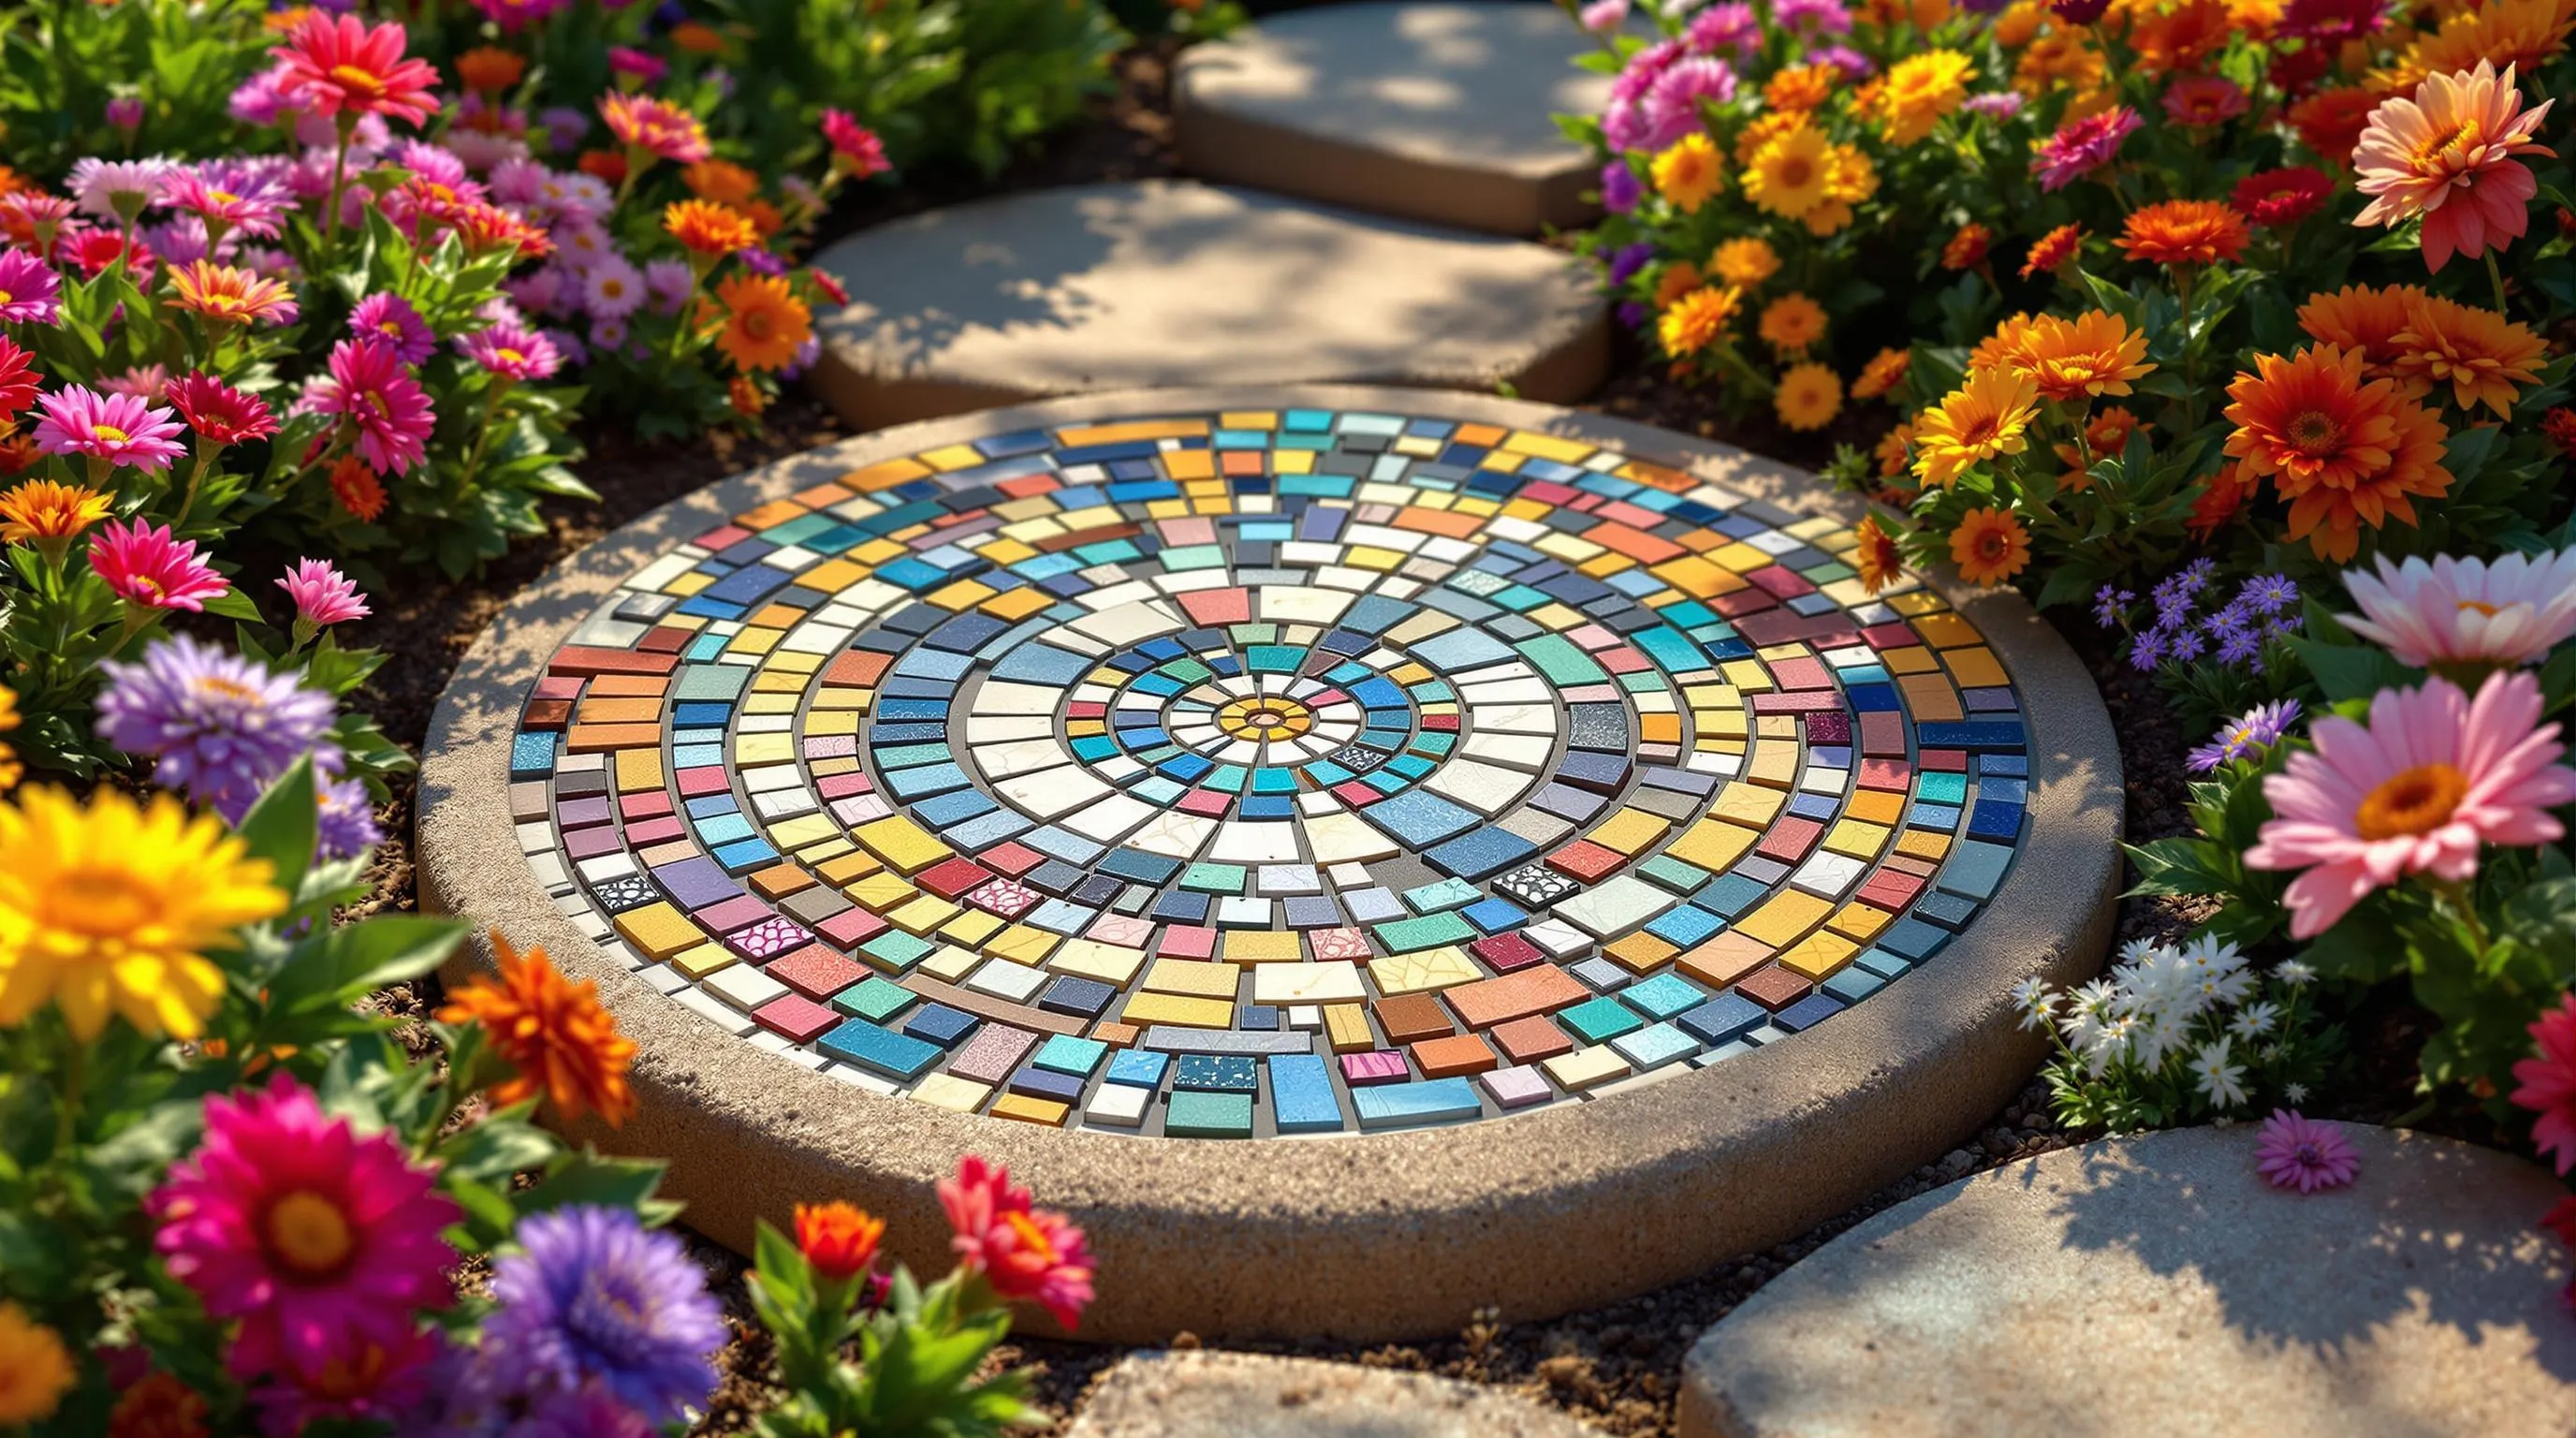
Broken pottery pieces offer the perfect opportunity to create stunning mosaic art for your garden. By arranging colorful fragments into artistic patterns, you’ll transform garden accidents into intentional beauty. Mosaics allow you to preserve sentimental pieces while adding unique decorative elements to your outdoor space.
Garden Stepping Stones
Turn your broken pots into functional garden stepping stones that blend beauty with practicality. Start by creating a circular form using a plastic plant saucer or disposable cake pan lined with plastic wrap. Mix quick-setting concrete according to package directions and pour it into your mold. While the concrete is still wet, arrange your broken pot pieces on the surface in a pleasing pattern, pressing them slightly into the mixture. Add colorful glass beads, marbles, or decorative stones to enhance your design. Allow the stepping stone to cure completely (typically 24-48 hours) before removing it from the mold. Place your finished stepping stones along garden paths or in areas where you need stable footing, creating a trail of personalized art that guides visitors through your garden.
Decorative Wall Hangings
Create eye-catching wall art for garden fences or outdoor walls using broken pot fragments. Start with a sturdy backing material like plywood or a concrete paver. Apply waterproof adhesive to attach your broken pieces in an artistic arrangement—consider creating images like flowers, birds, or abstract patterns. Fill gaps between fragments with waterproof grout in a contrasting color to make your design pop. Once dry, seal the entire piece with outdoor-rated clear sealer to protect it from the elements. Mount your creation on a garden wall, fence, or shed to add a personalized artistic touch to previously plain surfaces. These decorative hangings catch sunlight beautifully, creating ever-changing visual interest that changes throughout the day as light shifts across your garden.
Making Practical Garden Markers from Pot Shards
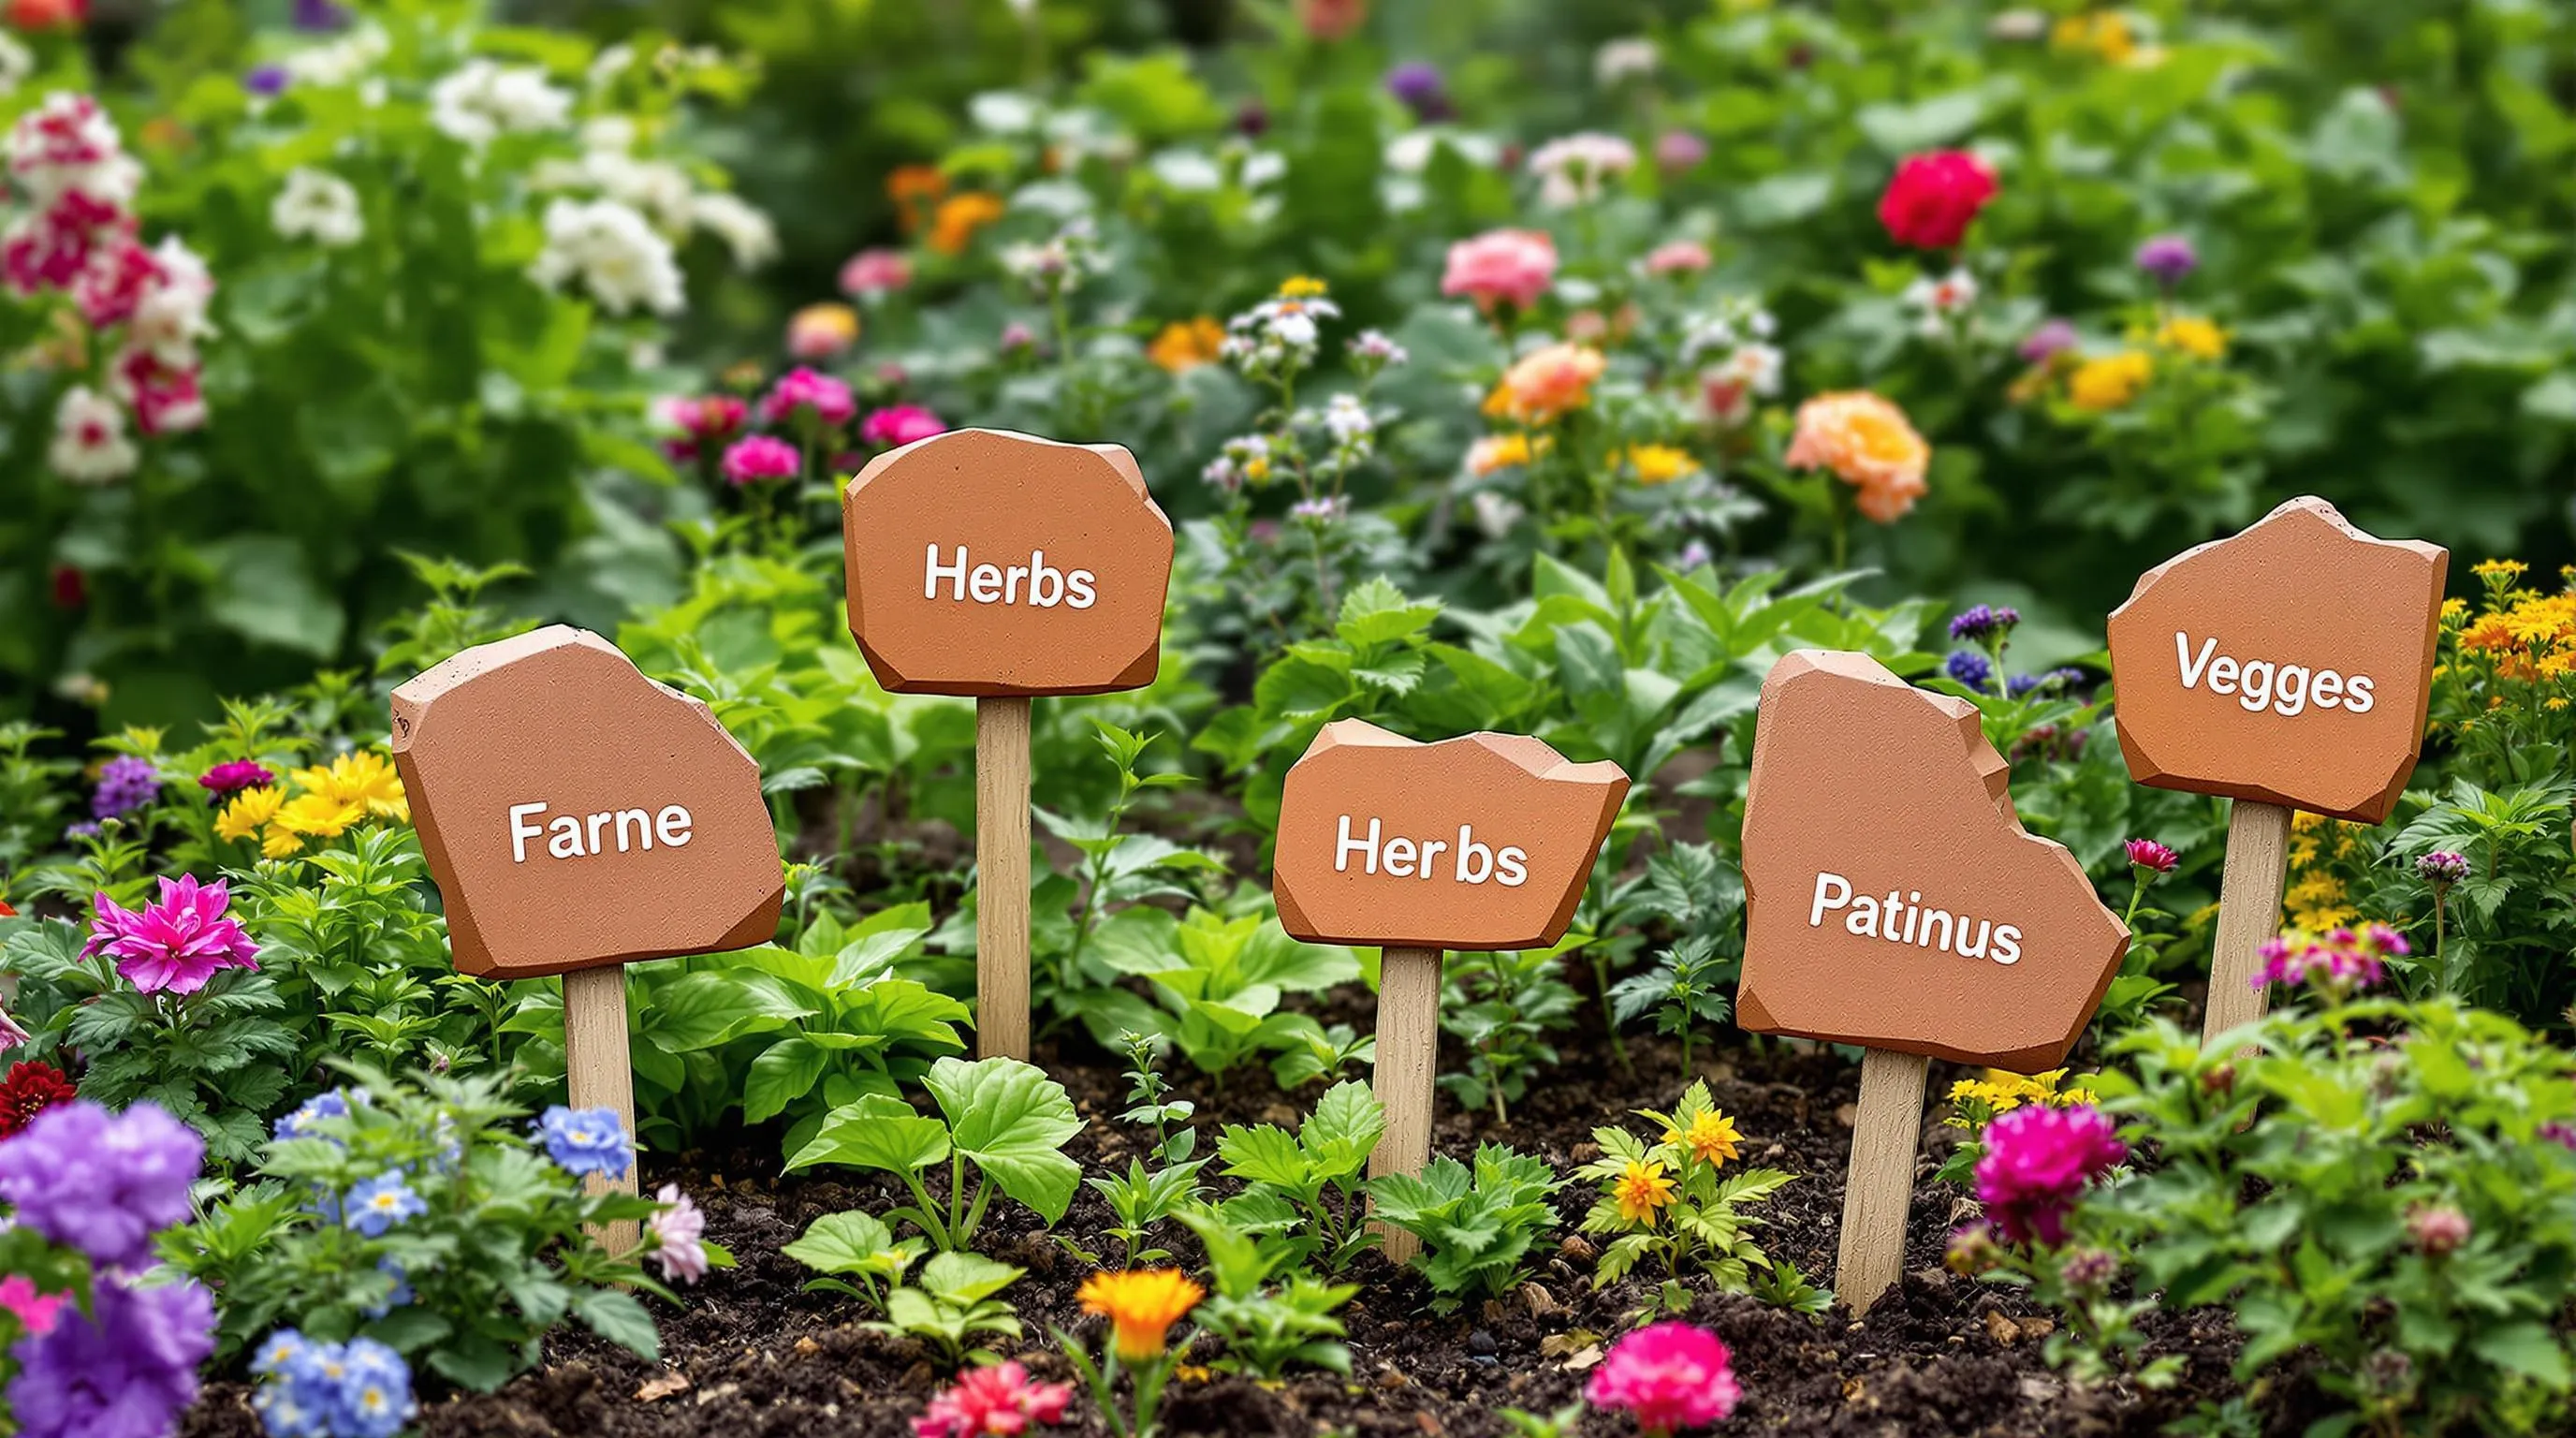
Broken pot fragments make perfect plant markers that withstand weather and blend beautifully with your garden aesthetic. These durable shards can be transformed into practical identification tags that last far longer than traditional plastic markers. Instead of discarding your broken terracotta or ceramic pots, repurpose them into functional garden accessories that add character while helping you track what’s growing where.
Labeling Herbs and Vegetables
Transform your broken pot pieces into practical herb and vegetable markers that add rustic charm to your garden beds. Simply select flat fragments of appropriate size, clean them thoroughly, and write plant names using a waterproof permanent marker or outdoor paint. For more durability, apply a clear sealant after the writing has dried. These terracotta markers work especially well in herb gardens, providing a natural aesthetic that plastic alternatives can’t match. Position them at the base of each plant or partially buried with the labeled portion visible. For organized vegetable plots, use larger shards for row markers and smaller pieces for individual plants, helping you track varieties throughout the growing season.
Decorative Painting Techniques
Elevate your pot shard markers with decorative painting techniques that make them both functional and artistic. Start with a base coat of white or light-colored outdoor paint to create a canvas for your designs. Use fine-tipped brushes and weather-resistant acrylic paints to add plant illustrations alongside their names, making identification even easier. Try creating botanical-style drawings of the herbs or vegetables, or add simple decorative borders and patterns that complement your garden style. For added protection and longevity, finish with two coats of clear outdoor sealer. These personalized markers become miniature works of art that enhance your garden’s appearance while serving a practical purpose in identifying your precious plants.
Using Broken Pots for Garden Bed Edging
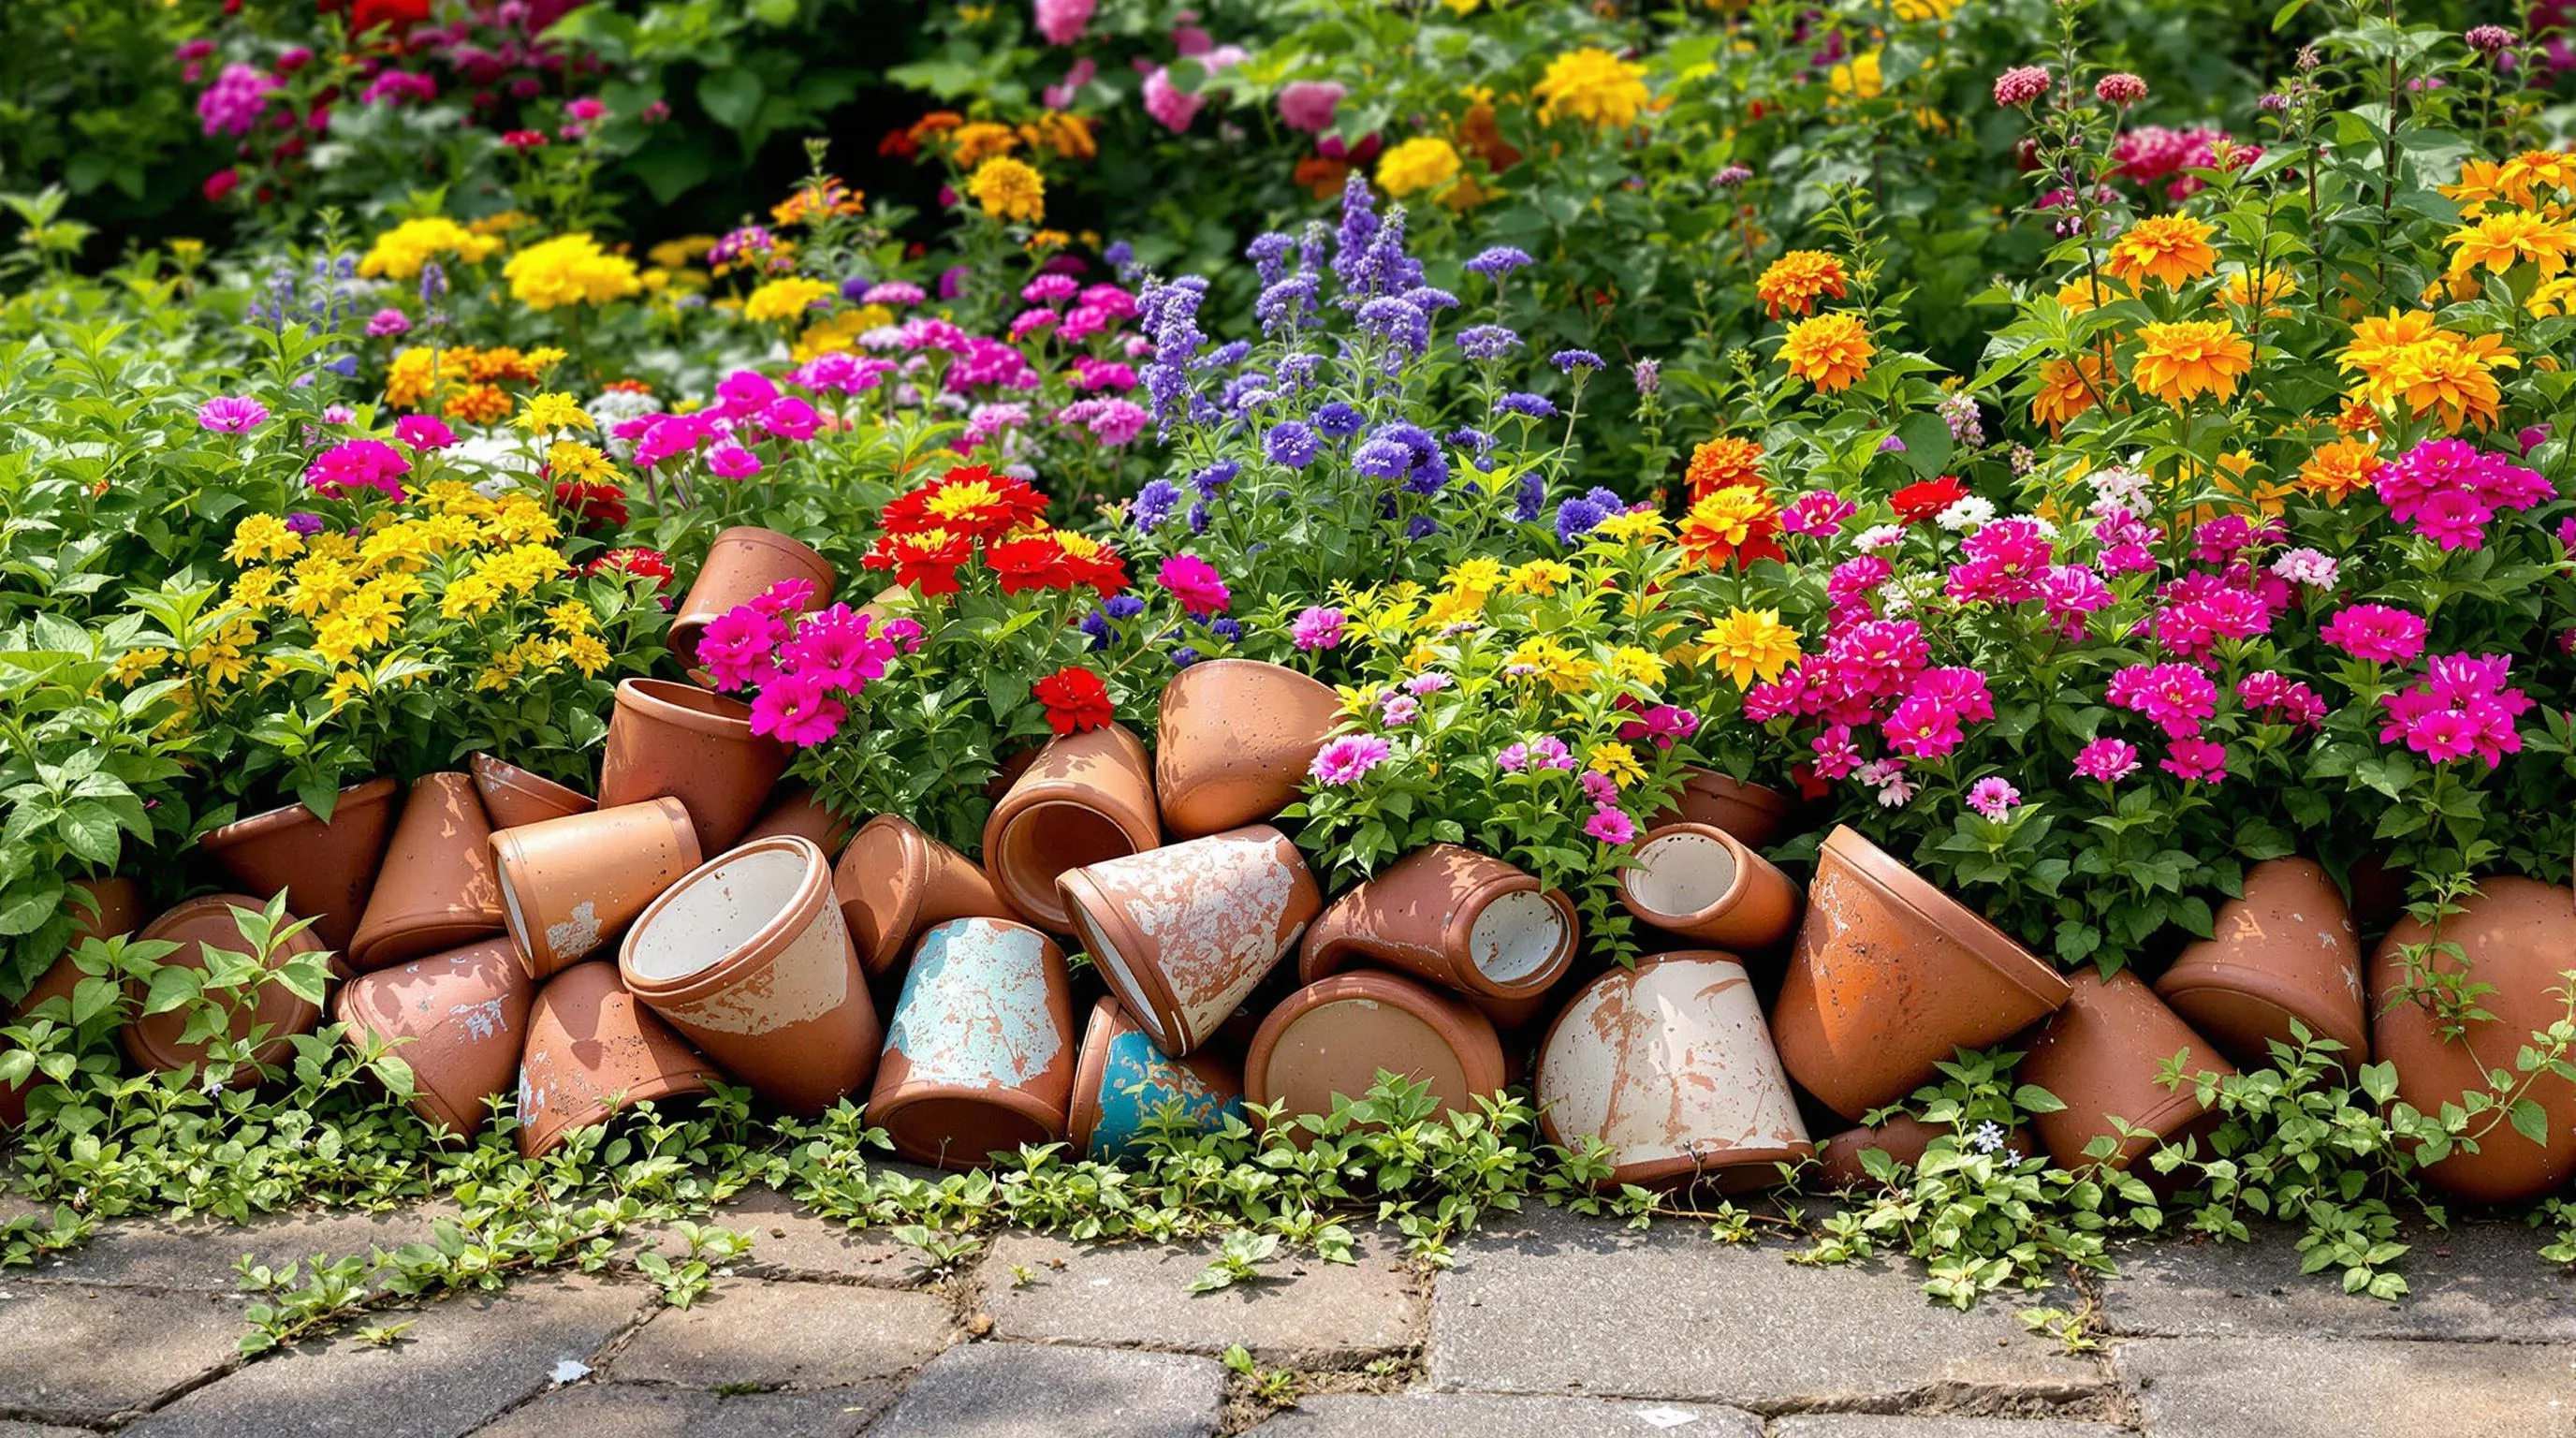
Broken terracotta pots make exceptional garden bed edging materials, offering both rustic charm and practical functionality. By repurposing these fragments, you’ll create distinctive borders while keeping your garden sustainable and visually interesting.
Installation Methods for Durability
To ensure your broken pot edging lasts through changing seasons, bury each piece approximately one-third to half of its height into the soil. Position the curved side facing outward for a smooth, finished appearance. For maximum stability, dig a small trench along your garden bed edge, arrange the pieces closely together, and backfill with soil on both sides to anchor them firmly. Apply a thin layer of outdoor-safe sealant to terracotta fragments to prevent further cracking during freeze-thaw cycles. For uneven pieces, use a rubber mallet to gently tap them into position without causing additional breakage. This installation method creates a durable border that effectively keeps mulch in place while defining your garden spaces.
Design Patterns and Layouts
Create visual interest by arranging broken pot pieces in thoughtful patterns along your garden edges. Try alternating tall and short fragments for a rhythmic, undulating border effect, or position similarly sized pieces for a more uniform look. Combine terracotta with other materials like stones or brick fragments for textural contrast. For a cohesive appearance, use pieces from pots of similar colors, or embrace variety by mixing different pottery types. Curved garden beds benefit from smaller fragments that can follow gentle contours, while straight edges work well with larger, more uniform pieces. Enhance your edging by planting low-growing specimens like creeping thyme or alyssum alongside the border, allowing them to softly spill over the pottery edges for a natural, established look.
Creating Wildlife Habitats with Broken Containers
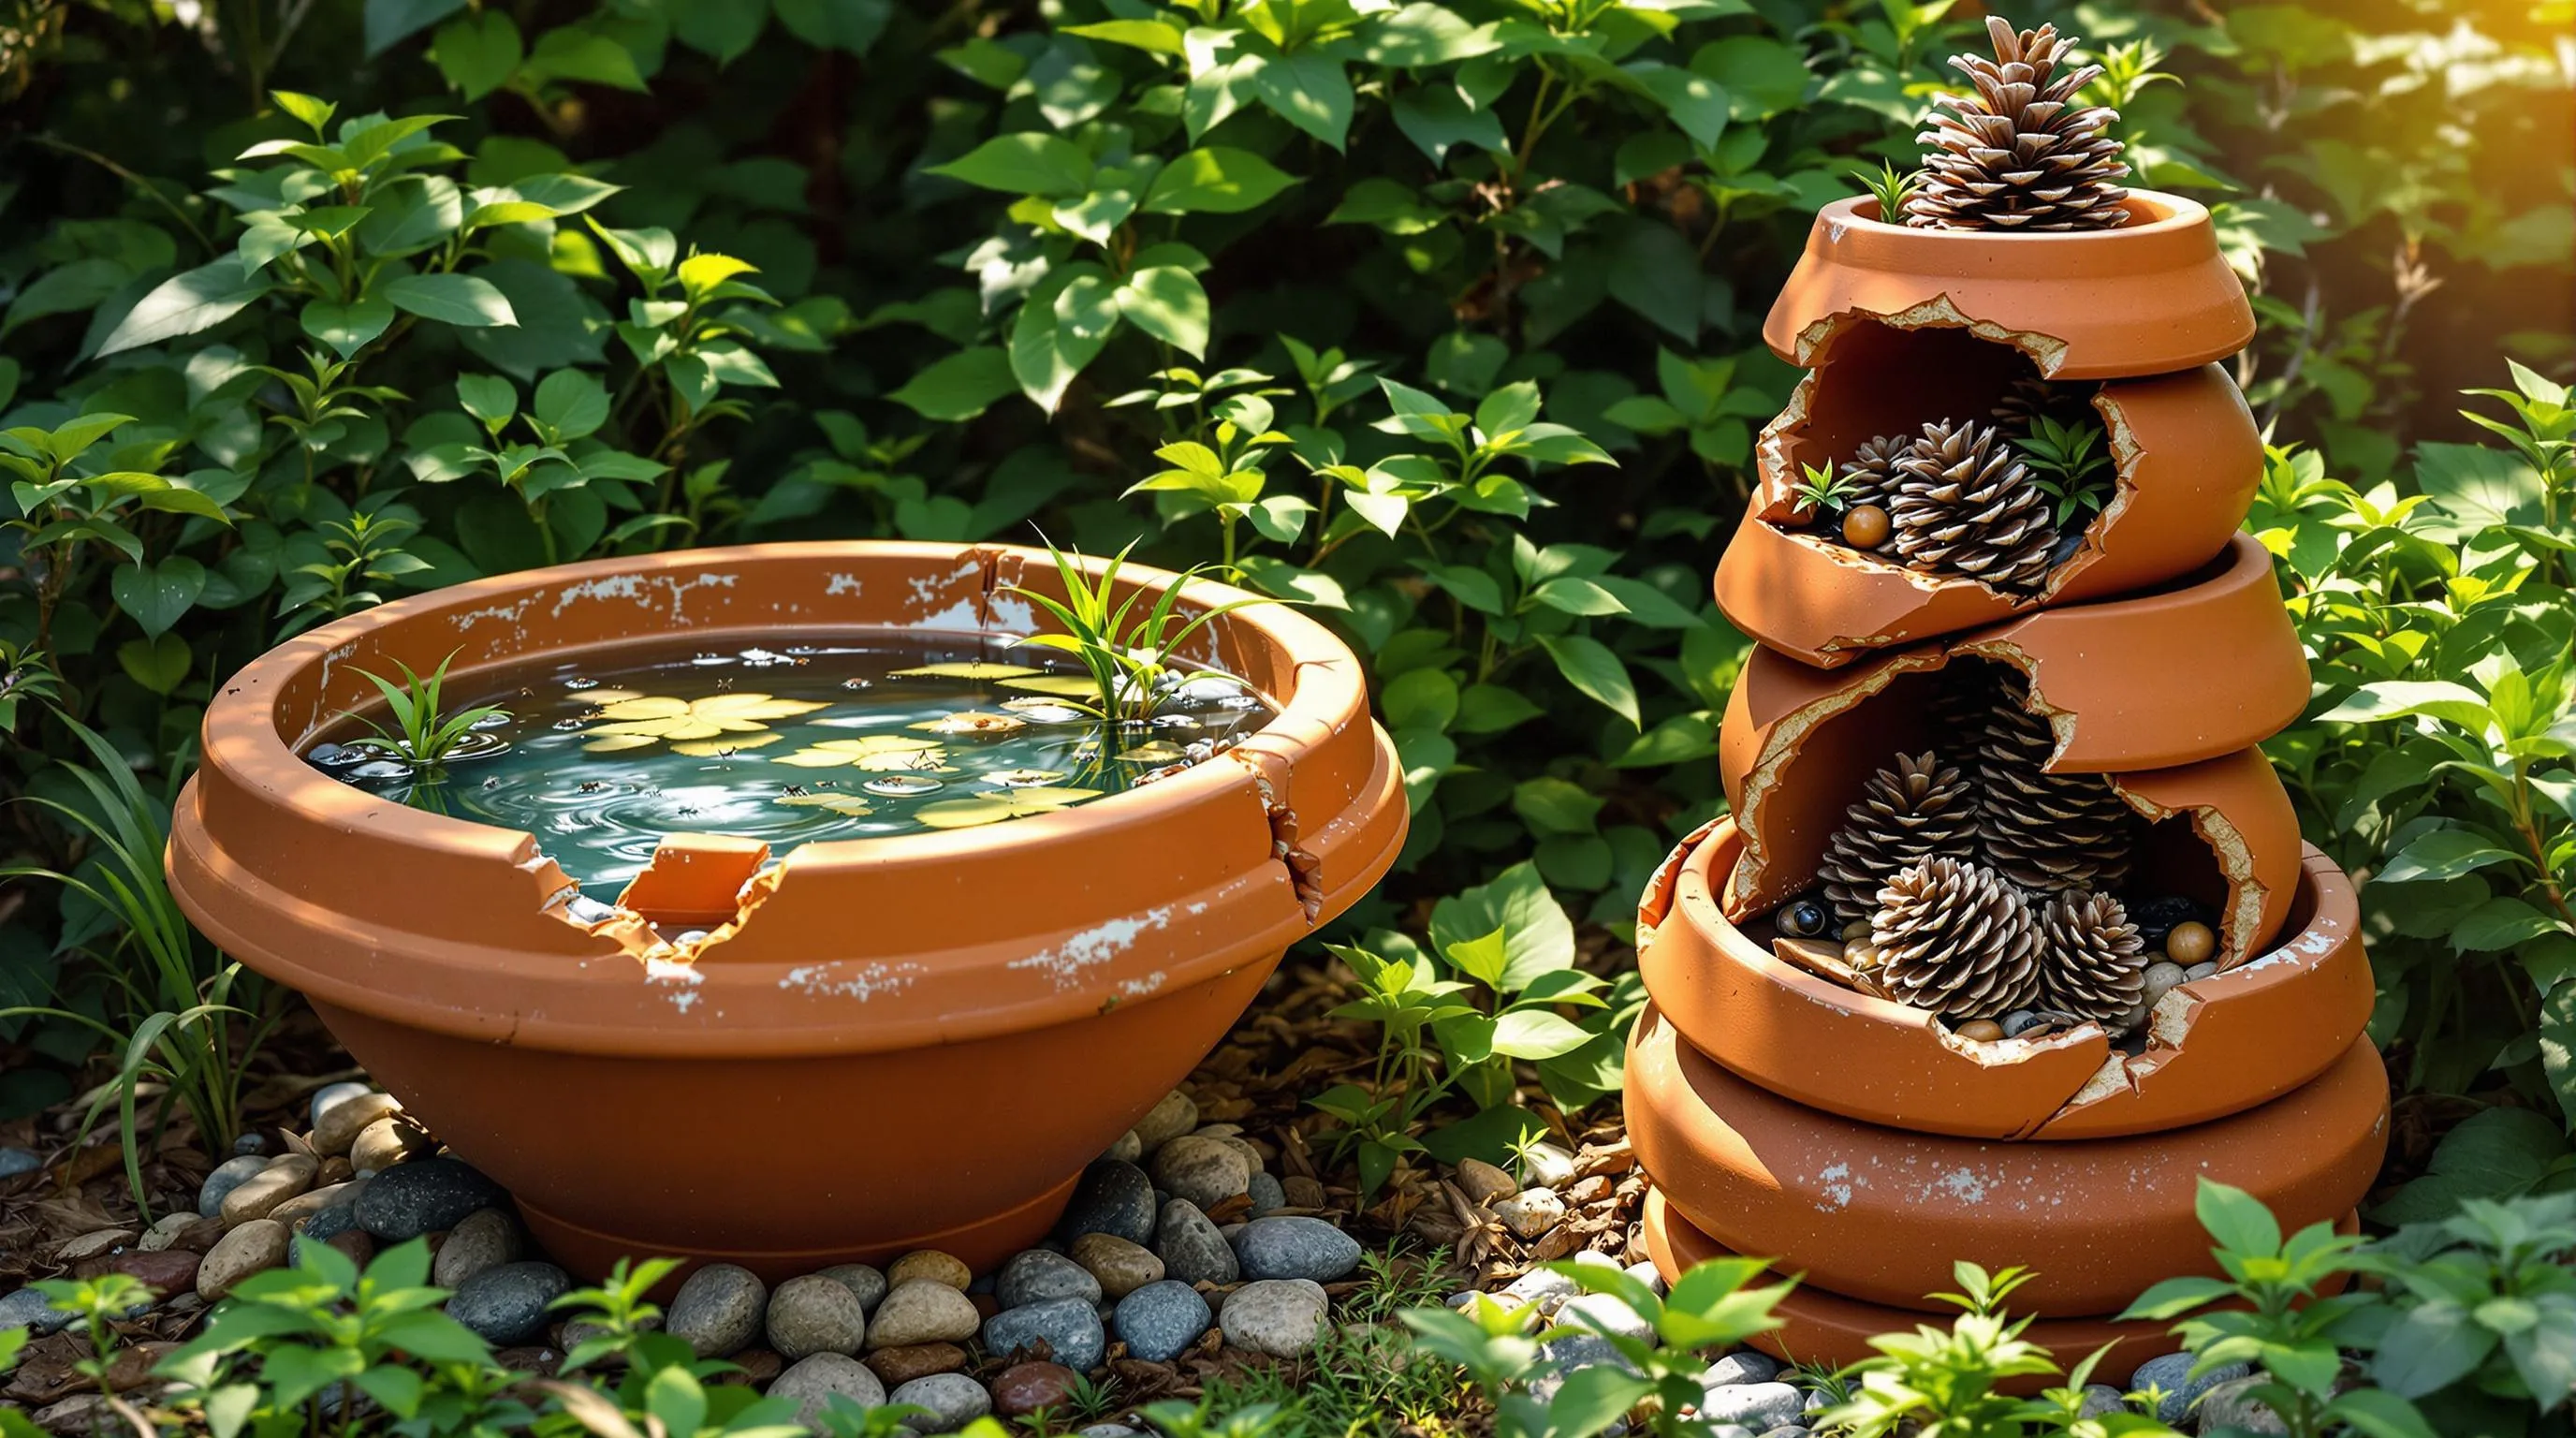
Broken pots can serve as perfect foundations for creating wildlife-friendly spaces in your garden. These upcycled containers provide natural-looking habitats that blend seamlessly with your outdoor environment while supporting local biodiversity.
Bird Baths and Feeders
Transform your broken containers into charming bird habitats that attract feathered visitors to your garden. Create a simple bird bath by inverting a larger fragment as a sturdy base and placing a shallow, concave piece on top to hold water. For added stability, use waterproof adhesive to secure the pieces together. Place your DIY bird bath in a quiet, partially shaded area where birds can safely drink and bathe. For feeders, position a broken pot on its side, secure it to a post or hang it from a tree, and fill with birdseed. The natural terracotta material provides a rustic aesthetic that blends beautifully with garden surroundings while offering birds protection from the elements. Add decorative elements like small pebbles or glass beads around the rim to enhance visual appeal and provide perching spots.
Insect and Amphibian Shelters
Broken pots make ideal shelters for beneficial insects and small amphibians that help maintain garden health. Create bug hotels by stacking pot fragments with the curved sides facing downward to form cave-like spaces. Fill the gaps with natural materials like pinecones, hollow stems, and dried leaves to provide nesting spaces for solitary bees, ladybugs, and other helpful insects. For amphibian habitats, partially bury larger broken pot sections in damp, shaded areas of your garden, creating cool, moist environments that frogs and toads love. Position several pieces at different angles to create multiple entry points and hiding spaces. These shelters not only support biodiversity but also help with natural pest control as many insects and amphibians feed on common garden pests like aphids and slugs.
Recycling Pot Fragments for Drainage Solutions
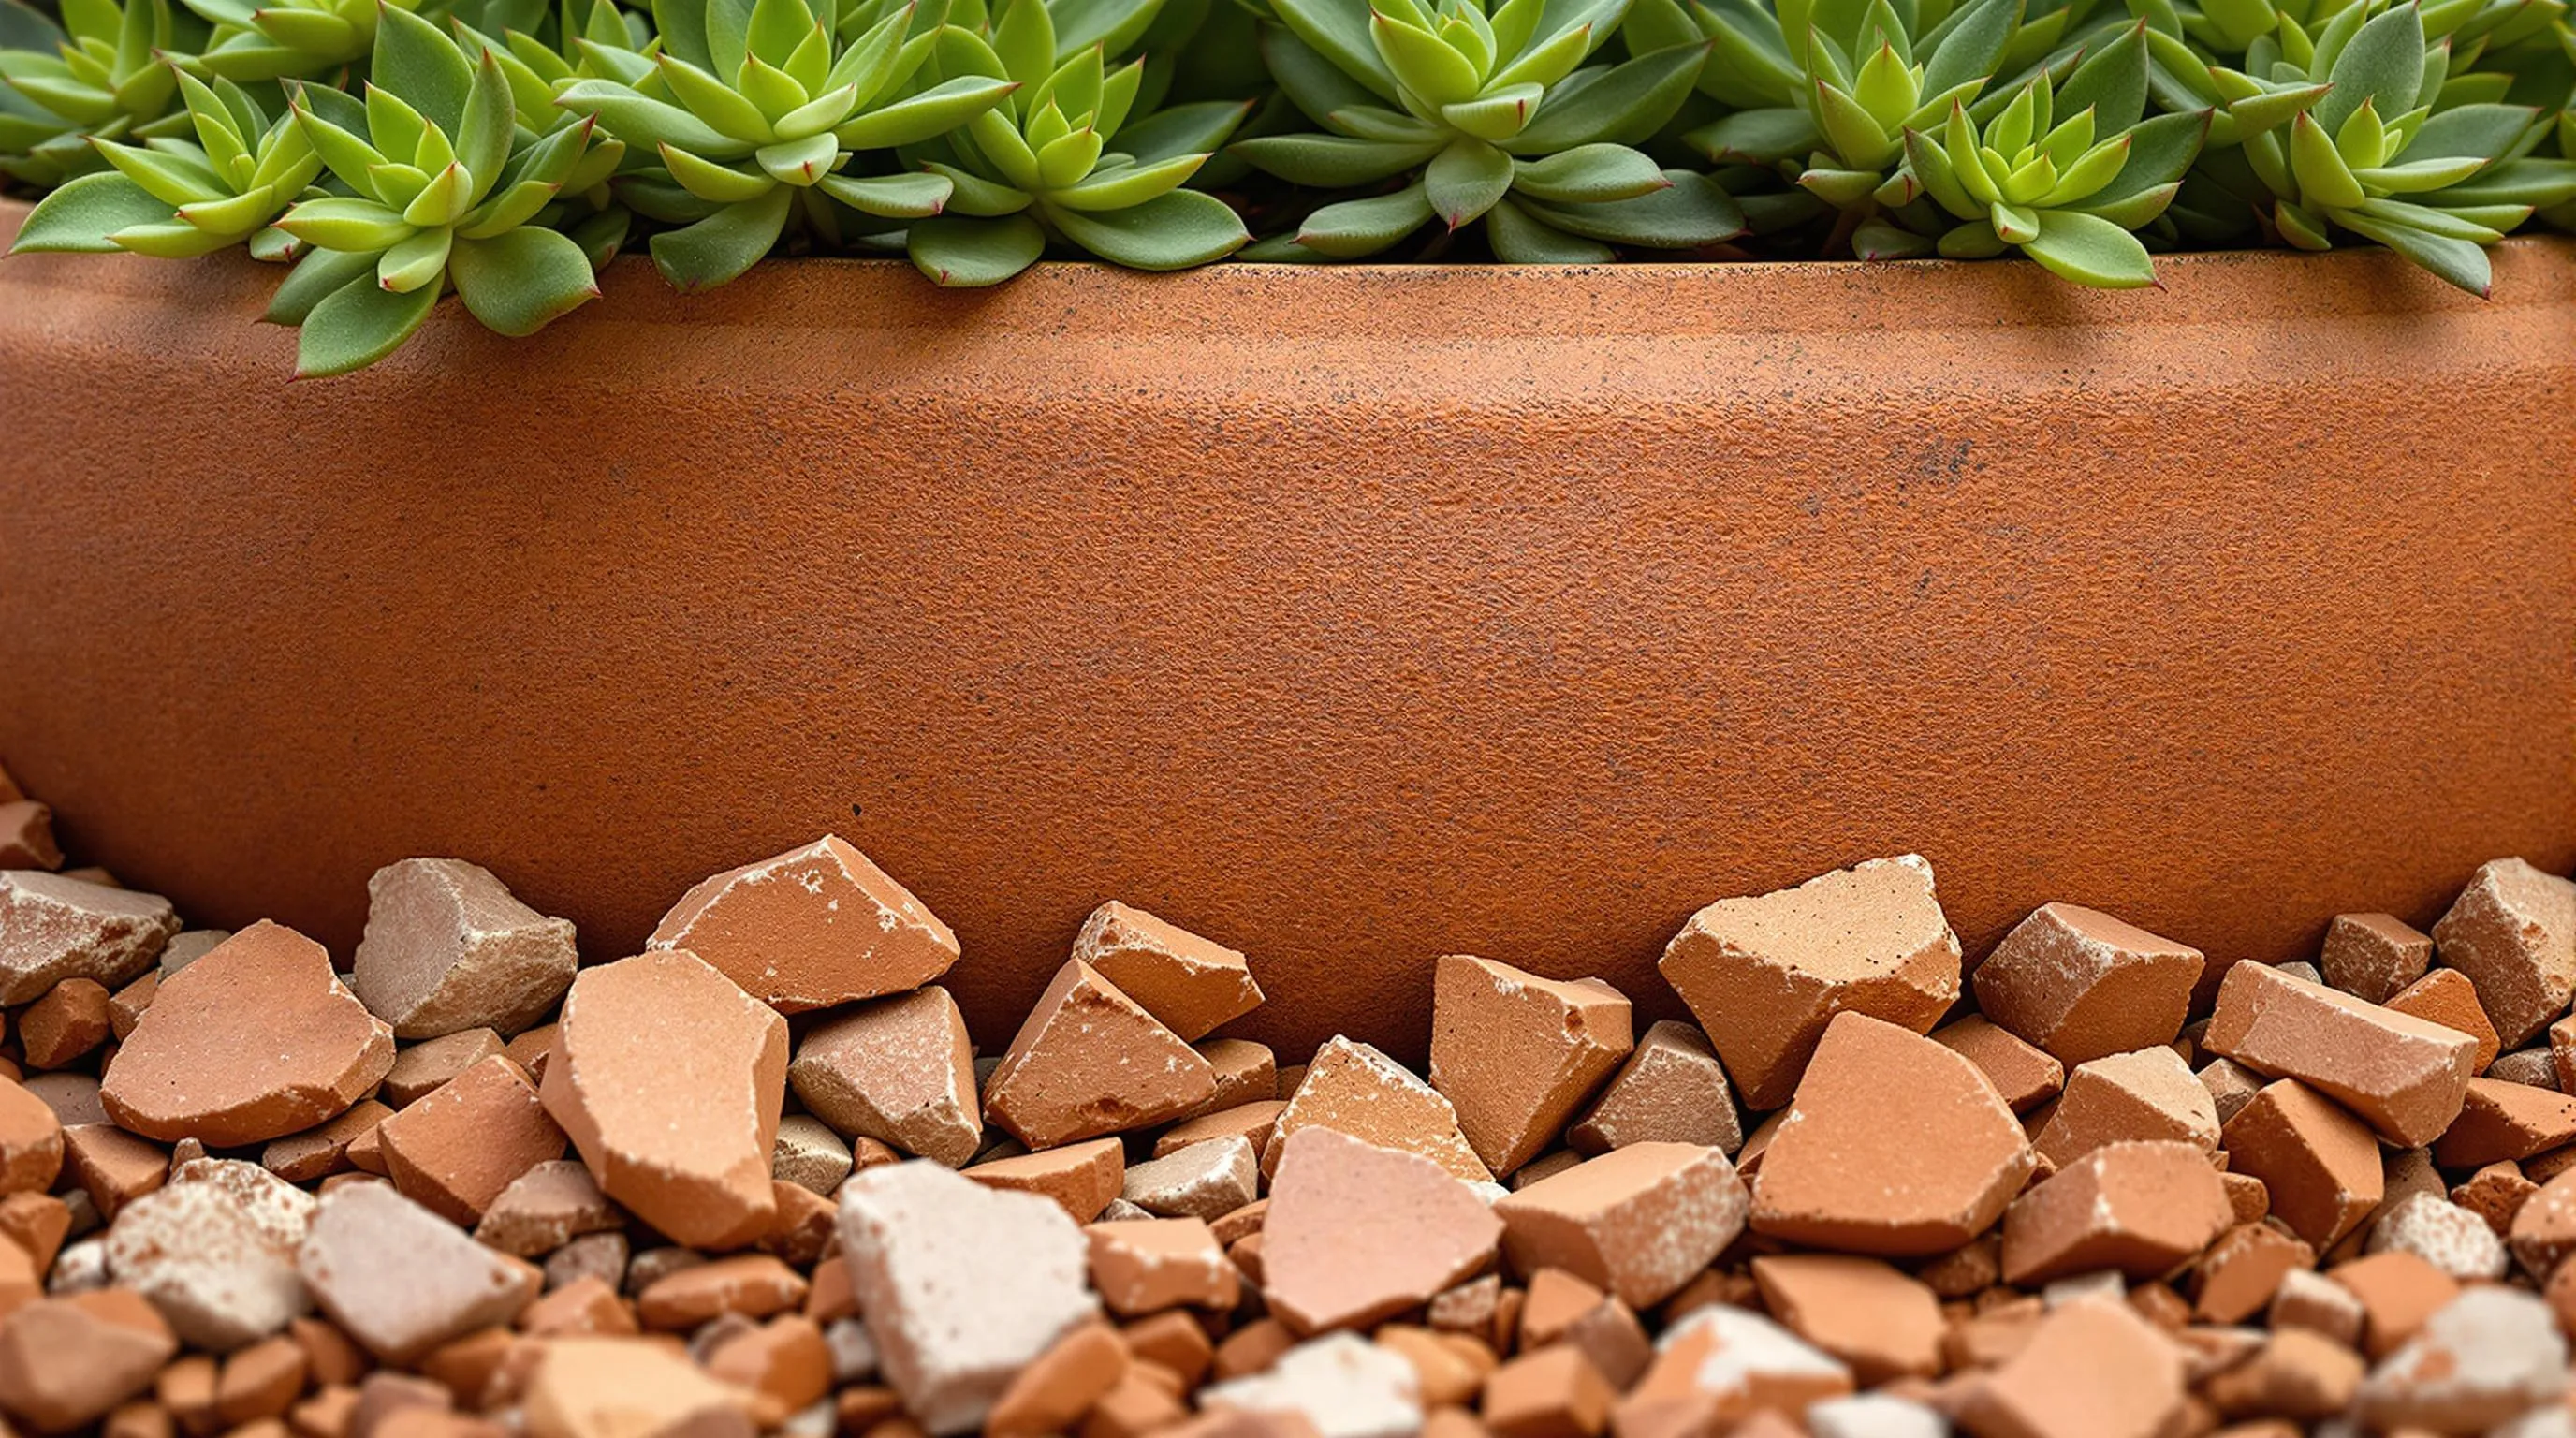
Broken pottery pieces serve a valuable purpose in gardening beyond their aesthetic potential. Recycling terracotta and ceramic fragments creates effective drainage answers that improve plant health while reducing waste.
Bottom-of-Pot Drainage Technique
Placing broken clay pot pieces at the bottom of planters significantly improves drainage for water-sensitive plants. This time-tested technique prevents soil compaction that can lead to root rot and other moisture-related issues. Simply arrange the fragments with curved sides facing down to create small air pockets that allow excess water to flow away from roots. This method works particularly well for container plants that prefer drier conditions, such as succulents, cacti, and Mediterranean herbs. The porous nature of terracotta fragments also helps maintain optimal soil moisture levels by absorbing excess water and releasing it gradually as the surrounding soil dries.
Water Flow Management
Strategically positioned pot fragments can direct water flow throughout your garden. Use larger curved pieces to create mini channels that guide rainwater toward thirsty plants or away from areas prone to erosion. In raised beds, arrange pottery shards in a slight slope beneath the soil to prevent water pooling around delicate root systems. For potted plants, crushing terracotta into smaller pieces creates a gravel-like drainage layer that’s more effective than using plastic alternatives since the clay naturally absorbs and releases moisture. This recycling approach not only solves drainage issues but also adds a layer of sustainability to your garden design while extending the useful life of broken pottery that would otherwise end up in landfills.
Crafting Alpine and Rock Gardens in Broken Containers
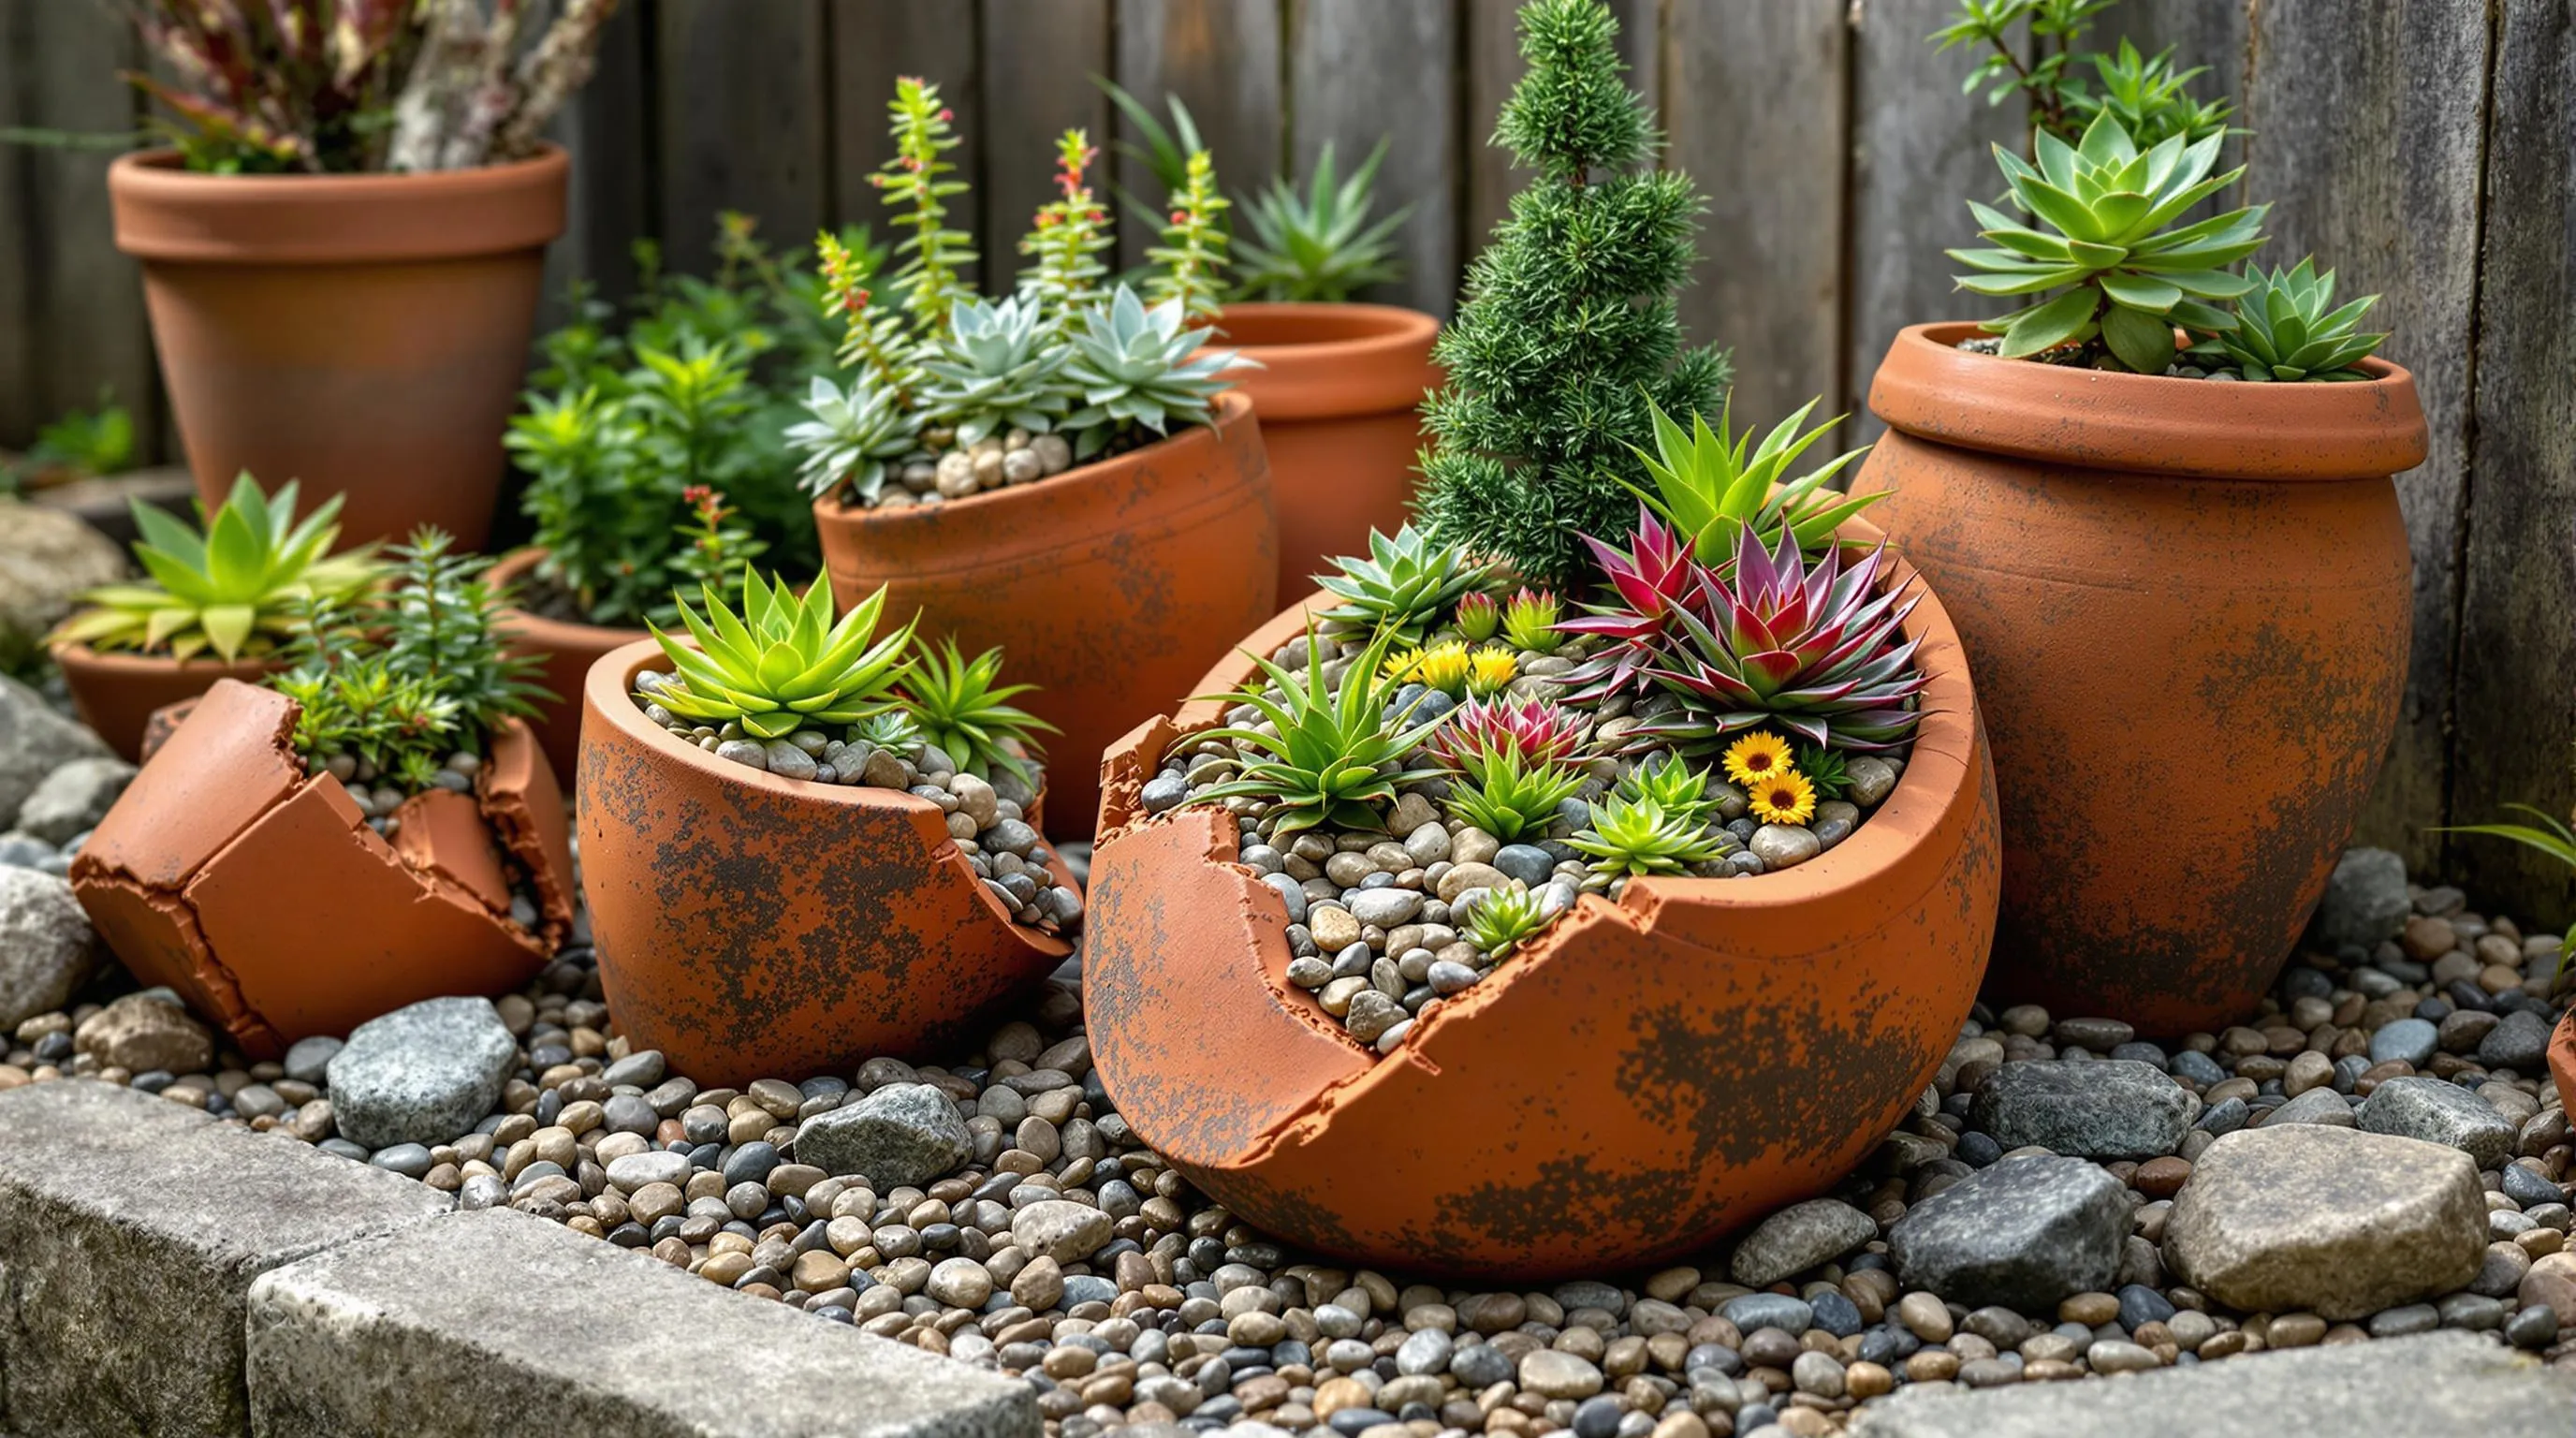
Broken pots create the perfect foundation for miniature alpine and rock gardens, mimicking the natural terrain these plants thrive in. Their irregular edges and varied depths provide the perfect environment for recreating mountainous landscapes in a small space.
Plant Selection for Miniature Landscapes
When selecting plants for your broken pot rock garden, focus on species that naturally grow in rocky, well-drained environments. Choose miniature varieties of sedum, sempervivum (hens and chicks), saxifraga, and small alpine grasses that stay compact. Dwarf conifers add structure and year-round interest, while small-flowering plants like rock cress (Aubrieta) and alpine phlox bring seasonal color bursts. For authentic alpine aesthetics, include tiny flowering gems like gentians and edelweiss if your climate permits. These plants have evolved to withstand harsh conditions, making them ideal for the shallow soil depth often available in broken containers.
Arrangement Tips for Natural Appearance
Create a naturalistic rock garden by positioning your broken pot pieces to form crevices, ledges, and small plateaus that mimic natural rock formations. Place larger fragments at varying angles to establish different microclimates—some areas with more sun exposure and others with more shade. Layer potting soil mixed with sand and small gravel to ensure excellent drainage, essential for alpine plants. Position your smallest plants in cracks and crevices, allowing trailing varieties to cascade over edges. Incorporate small pebbles and decorative rocks between plantings to complete the alpine aesthetic. For the most natural look, avoid symmetrical arrangements and instead create irregular groupings that resemble how these plants would grow in their native habitats.
Turning Broken Ceramics into Garden Art Installations
Your broken pots aren’t just garden mishaps but opportunities for creative expression. By reimagining these fragments as stepping stones fairy gardens alpine landscapes or drainage answers you’re participating in a beautiful form of garden upcycling.
These projects not only reduce waste but transform ordinary gardens into personalized artistic spaces. Whether you’re creating mosaic masterpieces wildlife habitats or cascading flower displays each broken piece contributes to a unique garden story.
Remember that gardening isn’t always about perfection. Sometimes it’s those unexpected cracks and breaks that lead to the most beautiful creations. Your broken pots have endless potential waiting to be discovered with just a little imagination and creativity.


